Windows Phone Mobile VR – VISR-VR SDK
Since my previous posts on Windows Phone mobile VR /uncategorized/vr/windows%20phone/2016/01/25/windows-phone-mobile-vr-update.html Microsoft Virtual Academy has published a six-part course called Creating Virtual and Augmented Reality Apps on the Windows Platform where Louis Deane (VISR-VR CEO) and I discuss Virtual Reality, Augmented Reality and Mixed Reality. We take you from 0-60; from no VR knowledge to where you would have the skills to create a VR app and get it published to the Windows Store
In module 4 of the course Louis demonstrates the VISR-VR SDK and I’d like to make a quick-start here for those without the time for the course:
Requirements
You will need to install Unity3D – you can download installers for both Windows and Mac OS X here http://unity3d.com/get-unity/update
The core product is free to use.
VISR-VR SDK – you can clone the git repo here https://github.com/visr-vr/visr-vr-sdk/ or download the Unity package from here http://visr-vr.com/developer/
A mobile VR viewer of some kind – VISR have good range you can order from here http://visr-vr.com/shop/ . They range from basic cardboard up to more sturdy Pro options
Import Packages into Unity
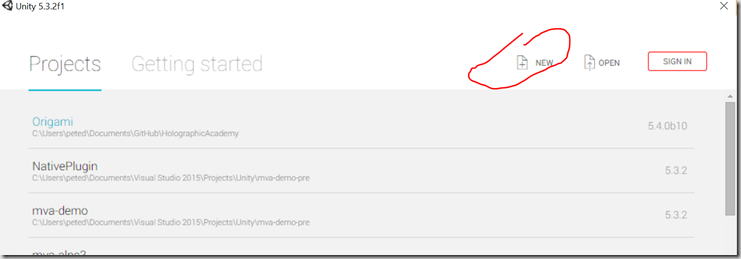
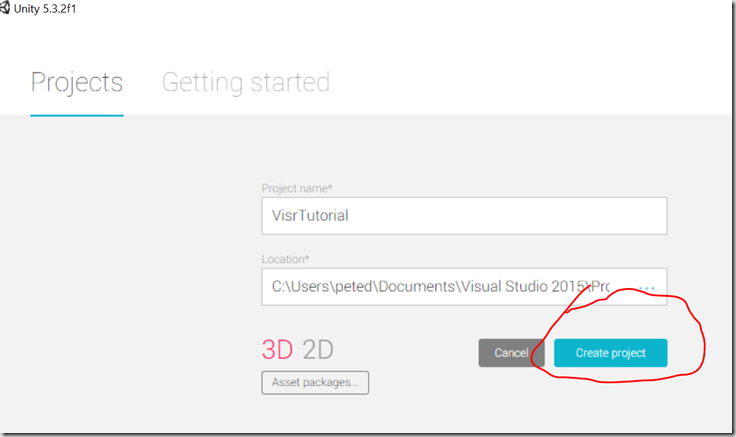
First, create a new project in Unity
followed by
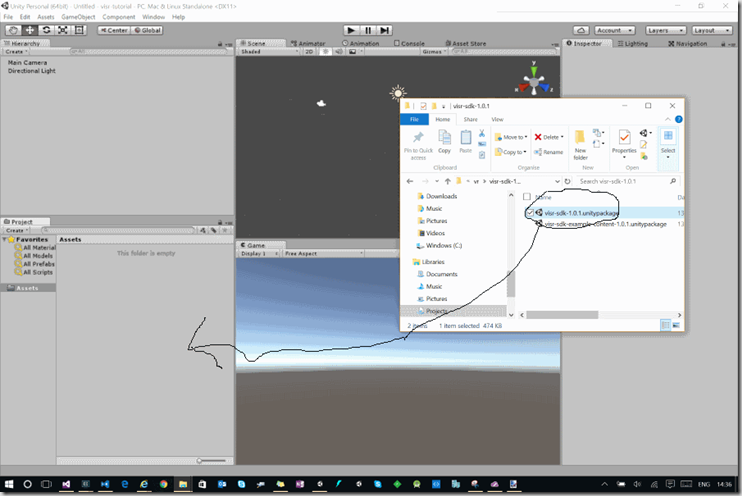
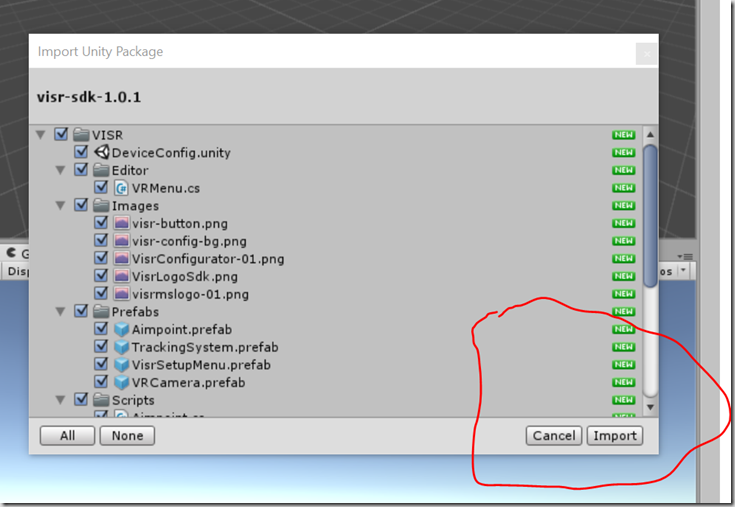
Then import the VISR SDK Unity package by either dragging and dropping it onto your assets folder or use the Unity Assets menu to import a custom package.
Followed by
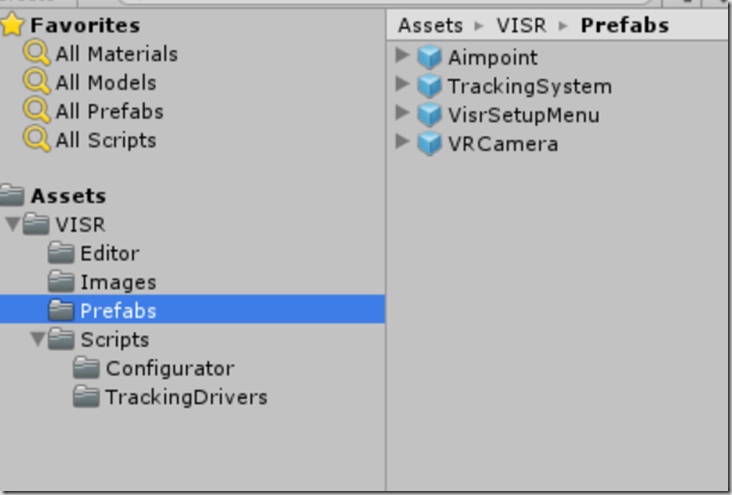
You should now have the VISR folder in your Assets folder:
Notice that there are some scripts, some prefabs and some images, etc. If you want to explore the code and see how the head tracking or rendering works it is all here to see.
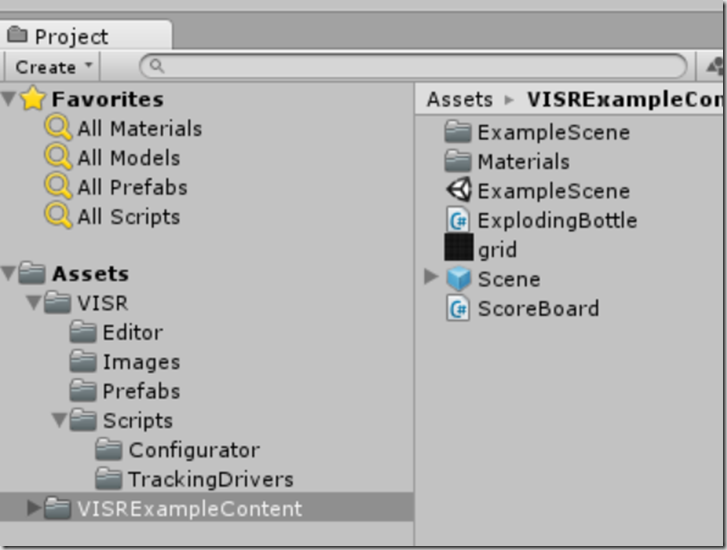
Now, let’s pull in the example scene which is the same one we use in the course. The file visr-sdk-example-content-1.0.1.unitypackage can be dragged into the Assets folder in the same way that we brought the SDK in. Once done the Assets folder should resemble the image below:
You can then drag the ExampleScene into your current scene and you can remove the existing directional light and existing main camera (as the example scene has a VR camera set up already).
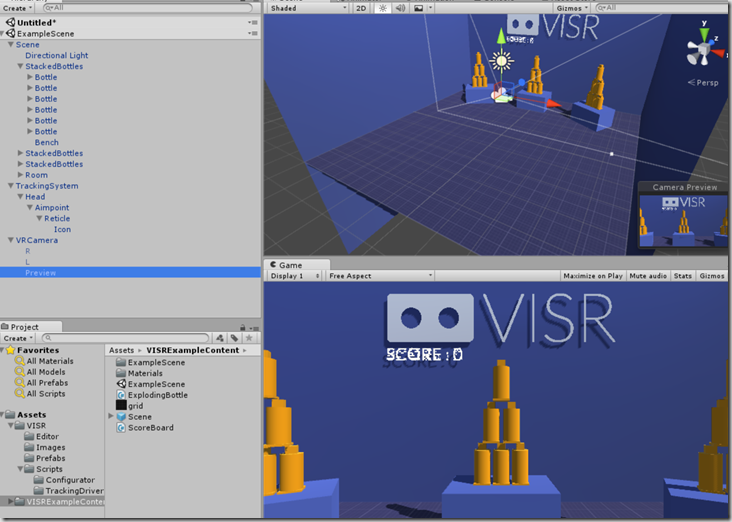
In the course video Louis builds the items up by dragging prefabs into the main scene but this is all now setup so it’s worth pausing here for a minute to take a look to see what we now have:
Tracking System
The tracking system represents the viewing position and orientation and is set up to represent a viewers head – also other geometry could be attached here such as hands + feet which will be positioned relative to the tracking system. If you are unfamiliar with mobile head tracking please see /unity/unity3d/vr/wp8/2015/01/08/windows-phone-mobile-vr-gyro-head-tracking-in-unity3d.html
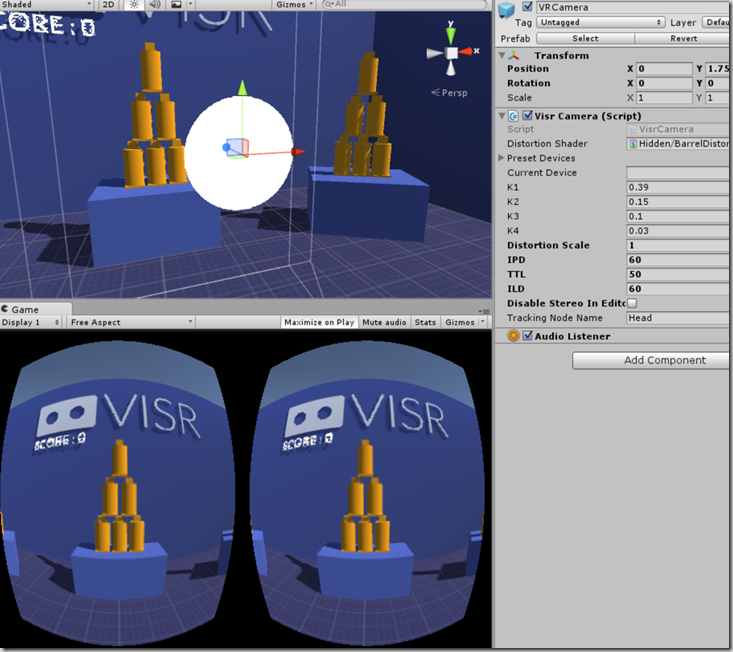
VRCamera
The VRCamera takes care of stereoscopic rendering and lens distortion correction (for more details on those topics please see /headset/mobile%20vr/unity/visr/vr/windows%20phone/2015/01/29/windows-phone-mobile-vr-stereoscopic-rendering-lens-distortion-in-unity-3d.html). If you select the VRCamera in the scene and in the property inspector find the setting ‘Disable Stereo in Editor’ and uncheck it then you can view and experiment with the settings for the rendering such as the inter-pupillary distance (IPD) and the coefficients of distortion. .
Stacked Bottles
The bottles are set up as rigid bodies and configured such that tapping the mobile screen when the aim ray is pointing at them will apply a force and knock them over.
Deploy to a Windows Phone
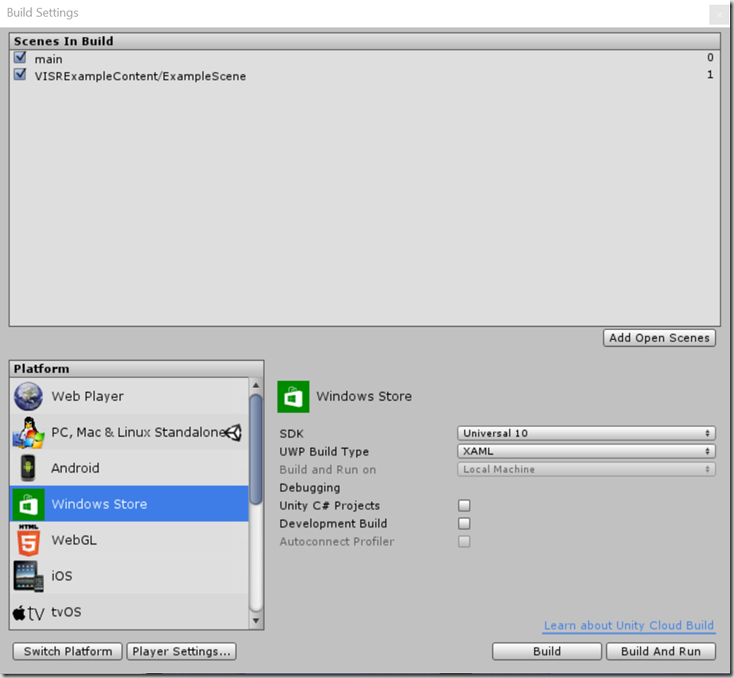
Select the Unity command File > Build Settings which will invoke the following dialog:
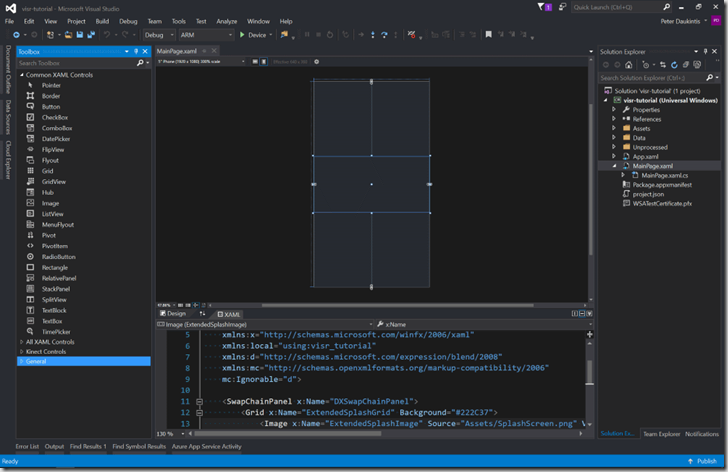
Click on ‘Add Open Scenes’ and select the Windows Store option and choose Universal 10, XAML and hit Build. Unity will then prompt you for an output folder location and then will generate a Visual Studio project which you can build and debug on a Windows 10 mobile or desktop. The screenshot below shows the resulting project opened in Visual Studio 2015.
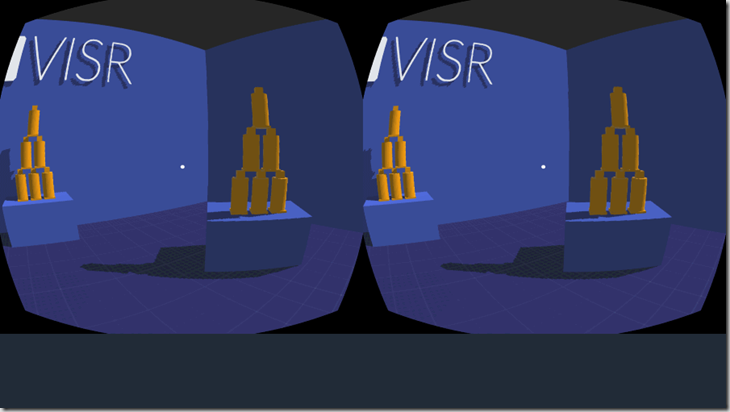
and finally some screenshots of the example VR scene running on my Lumia 950 XL:
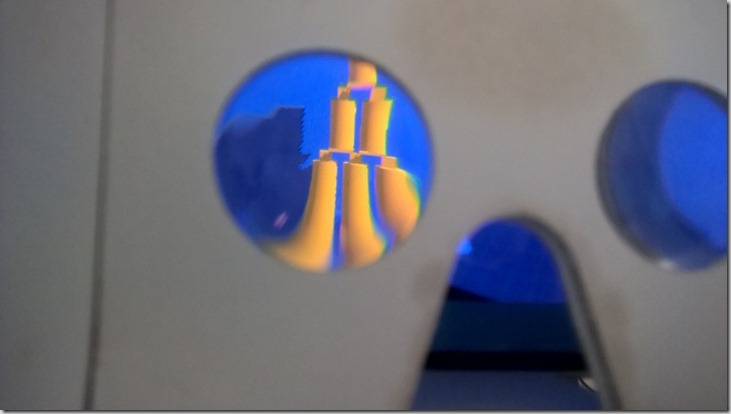
and from inside the cardboard headset:
Hopefully, you can see how straight-forward it is to get your mobile vr ideas up and running – check out the MVA final module for details of how to submit your completed vr game or demo to the Windows Store.




Comments