Windows Phone Mobile VR (Gyro Head Tracking in Unity3D)
Mobile VR
Recently I have been tracking the surge in interest in virtual reality and things certainly seem to have moved on in the last 20 years! Having experienced a number of Oculus Rift DK2 demos and various other mobile VR demos I have become excited about the rapid tech advances and the possibilities for the near-term future. Leaving future speculation aside, as a techie my first thoughts were to find some demos to run on my windows phone. I couldn’t find any so started to look into ways to create them myself using an inexpensive headset of some kind.
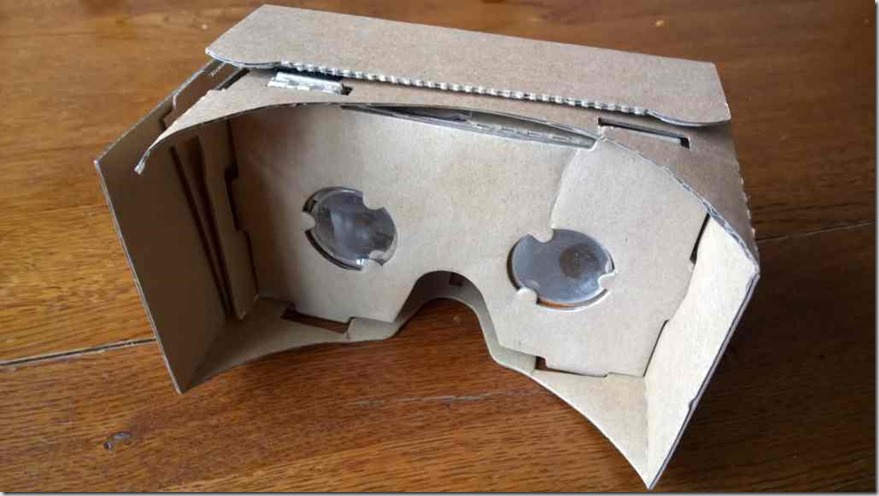
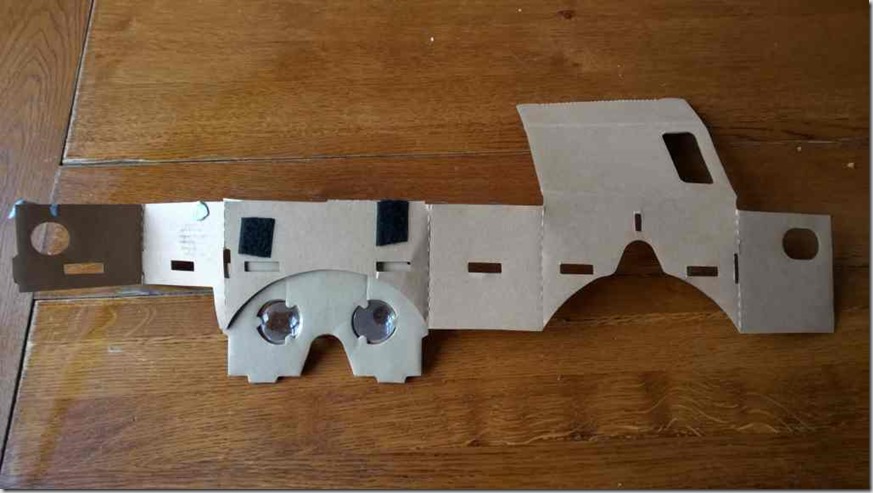
If you haven’t seen any mobile VR solutions here is an example of the lowest budget version I could find which illustrates the main components required:
The phone slides in behind the lenses at the back.
The basic idea behind how this works is that each eye receives a 2d image of a 3d perspective view which are rendered offset from each other. The brain assembles these projections from the retina giving the illusion of depth.
The lenses allow a much wider field of vision but they also distort the image. These factors result in the need to render your 3D scene twice, side-by-side each from a slightly different viewpoints and also to render it in such a way as to ‘undo’ the lens distortion and keep any straight lines looking straight.
I ordered this functioning cardboard headset at a cost of £2; unfortunately, I can’t fit my Lumia 930 inside it but it illustrates the parts involved.
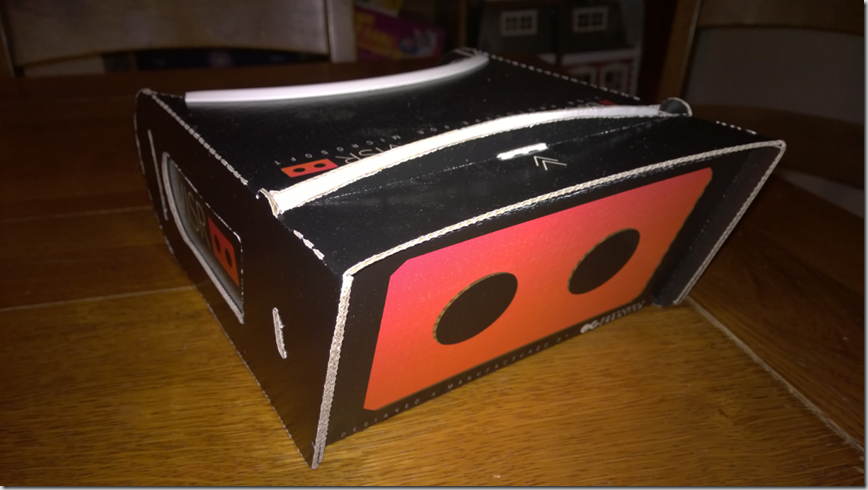
Since this won’t accommodate my phone for subsequent posts I will be using a prototype of the ViSR headset see their Kickstarter here https://www.kickstarter.com/projects/1122924030/visr-virtual-reality/description. This is a much better built version made of laminated corrugate which feels really solid and is expected to be sold at a £15 price point. If you’re into mobile VR go to the Kickstarter and pledge – there are even pre-release developer edition headsets available. The ViSR developers are working on a Unity package which will be available for this headset which will enable devs to get up and running quickly.
Gyroscope
Another aspect of mobile VR is that when you have your headset on and you rotate your head the scene view should orient appropriately to give you a sense that you are in the scene and looking around. This is what I will focus on in this post to get the ball rolling and I’m going to try to keep it as simple as possible. Most mid-high end smart phones come equipped with a gyroscope and that is what I’m going to use to achieve the head tracking. We can get readings from the gyroscope in a Unity script which will allow us to orient the view appropriately.
- public class HeadTrack : MonoBehaviour
- {
- private bool gyroBool;
- private Gyroscope gyro;
- private Quaternion rotFix;
- private Vector3 initial = new Vector3(90, 180, 0);
- // Use this for initialization
- void Start()
- {
- Screen.orientation = ScreenOrientation.LandscapeLeft;
- Screen.sleepTimeout = SleepTimeout.NeverSleep;
- gyroBool = SystemInfo.supportsGyroscope;
- Debug.Log("gyro bool = " + gyroBool.ToString());
- if (gyroBool)
- {
- gyro = Input.gyro;
- gyro.enabled = true;
- rotFix = new Quaternion(0, 0, 0.7071f, 0.7071f);
- }
- else
- {
- Debug.Log("No Gyro Support");
- }
- }
- // Update is called once per frame
- void Update()
- {
- if (gyroBool)
- {
- var camRot = gyro.attitude * rotFix;
- transform.eulerAngles = initial;
- transform.localRotation *= camRot;
- }
- }
- }
Note that the coordinate systems need to be aligned between Unity and the data coming from the phone. So simply taking this script and attaching it to the Main Camera in a Unity scene, building it for Windows Phone 8.1
I added the Visual Studio Tools as I’m more comfortable editing and debugging in Visual Studio. You can download the tools from here https://visualstudiogallery.msdn.microsoft.com/20b80b8c-659b-45ef-96c1-437828fe7cf2.
For the Unity scene in the video I created a terrain object, added some hills and added a skybox to the camera with a nice sunny day texture.
Building this unity scene into a windows app can be achieved as follows:
- Edit the unity build settings dialog to choose the platform Windows Store or Windows Phone 8 (Windows Store will give the choice between 8.0, 8.1, Phone 8.1 or Universal 8.1). I used Windows Store + Phone 8.1
- Choose ‘Build’ and select a location for the output solution
- Open the generated solution in Visual Studio
- Debug from Visual Studio
Running the resulting app will show using orientation in an app in a pretty simple, but effective way.
First Person Camera
It would be nice to use this to drive a first person camera so that we can use a different input method to allow the camera to move forward and backwards as at the moment the camera is stuck in one spot. Unity has a package to help here:
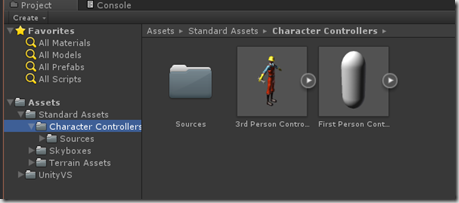
Use File > Assets > Import Package and choose Character Controller and import everything into your project. Now, under Standard Assets > Character Controllers you will see two character controllers; one for third person and one for first person.
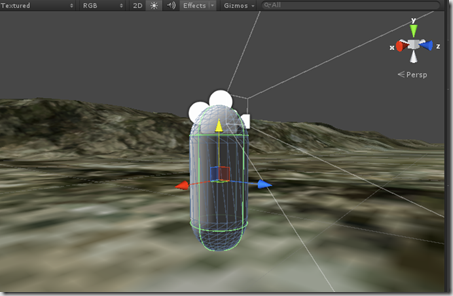
You can drag the First Person Controller into your scene and delete the existing Main Camera as there is one included with the Character Controller. You will also need to position your character controller above the terrain floor otherwise it will just keep falling; it’s a rigid body so reacts accordingly.
Out of the box you can use mouse to orbit and keyboard to navigate the camera forwards, backwards and to jump. We’re going to replace the input with our head tracking and add some buttons to ‘walk’ forwards and backwards. So now, as before drag the HeadTrack.cs script onto the new Camera. This gets us back to the functionality we had before but we can now wire up some of the other actions. I’ll just stick to forwards and backwards for now.
Before this I noticed that some of the scripts associated with the FP Controller are javascript so I found these equivalent scripts http://forum.unity3d.com/threads/charactermotor-fpsinputcontroller-platforminputcontroller-in-c.64378/ and used those as a base.(I wanted to share values between scripts and the javascript and c# scripts were being compiled in an order that meant I couldn’t do this easily).
I then provided the direction movement vectors to the FPSInputController.cs script using some static variables which I marshalled to the unity render thread from the xaml environment where I altered those values in response to button presses. (Note that this was done for convenience).
I added this xaml into the content of the SwapChainPanel
- <Grid>
- <Grid.RowDefinitions>
- <RowDefinition></RowDefinition>
- <RowDefinition Height="Auto"></RowDefinition>
- </Grid.RowDefinitions>
- <Grid Grid.Row="1">
- <Button IsHoldingEnabled="True"
- Holding="ForwardHolding">forward</Button>
- <Button IsHoldingEnabled="True"
- Holding="BackwardHolding"
- HorizontalAlignment="Right">backward</Button>
- </Grid>
- </Grid>
These are the button event handlers:
- private void BackwardHolding(object sender, HoldingRoutedEventArgs e)
- {
- MoveVertical(-1);
- }
- private static void MoveVertical(int val)
- {
- if (UnityPlayer.AppCallbacks.Instance.IsInitialized())
- {
- UnityPlayer.AppCallbacks.Instance.InvokeOnAppThread(new UnityPlayer.AppCallbackItem(() =>
- {
- MobileInput.VerticalAxis = val;
- }
- ), false);
- }
- }
- private void ForwardHolding(object sender, HoldingRoutedEventArgs e)
- {
- MoveVertical(1);
- }
- private void Button_PointerReleased(object sender, PointerRoutedEventArgs e)
- {
- MoveVertical(0);
- }
(On reflection this should just marshal over when the user presses and releases to avoid queuing up too many calls).
The sample Unity project is on Github here https://github.com/peted70/head-tracking-unity
In the next post I will look at stereoscopic rendering and removing the lens distortion effect so that I can run the demo inside my ViSR.




Comments