glTF + DirectX part 2
Following the initial intro post see /3d/c%23/coroutines/dx11/fluent/glb/gltf/treeview/uwp/2018/05/25/gltf-directx.html I’m going to write a few follow up posts to highlight some of my learnings from writing this sample
glTF
glTF has been designed with some fundamental principles in mind;
Physically-based rendering
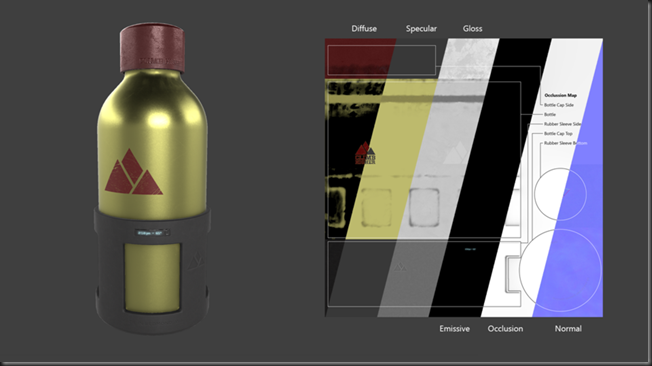
Often it has not been a priority to provide rendering that looks the same across different platforms but the more the rendering is based on physically correct principles then visual consistency naturally follows. So instead of fudge factors and magic numbers to make a material look right in a particular scene glTF embraces physically based rendering to help with consistency. For more info on PBR see http://blog.selfshadow.com/publications/s2012-shading-course/burley/s2012_pbs_disney_brdf_notes_v3.pdf and bear in mind that PBR encompasses a range of different techniques and implementation choices rather than just one or two.
Buffer Management
glTF is designed to not require expensive and difficult parsing of the data instead choosing a representation close to how the graphics APIs will require the data. As an example of that consider vertex and index buffers; these exist in glTF as binary data in a file that can be referenced directly as a block of memory and handed off to the GPU using, in DirectX terms by passing the memory to CreateBuffer.
glTF Support
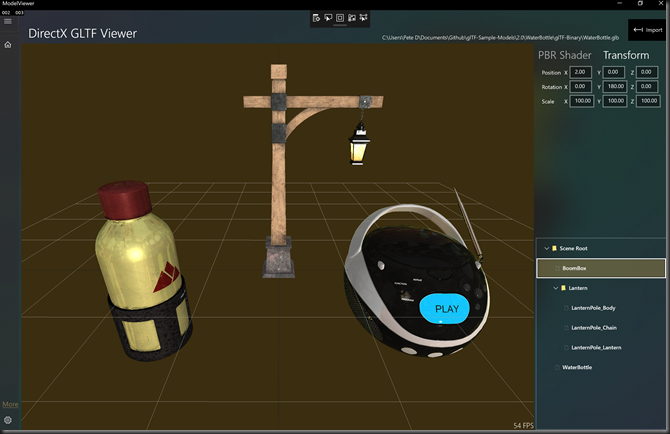
Just the basic features of glTF are supported for now so the sample does not currently support animations, vertex skinning or any glTF extensions. There is a great set of sample models that you can use for development here https://github.com/KhronosGroup/glTF-Sample-Models. Here’s a few of them rendered by the sample:
Loader
Initially, I started the project with my own file parser but I replaced that with the Microsoft.glTF.CPP library obtained via Nuget which includes deserialisation of a glTF and also serialisation which I am not currently using. I have an example of the library’s usage here /3d/3dmodels/c++/glb/gltf/2018/05/01/glb-reading-and-writing.html
Environment Map
In order to carry out the image-based lighting in the sample the code loads in a ‘Texture Cube’ which can be referenced in a pixel shader to lookup values from the environment and blend with the current colour on the surface being rendered. The pixel shader can sample the texture cube at a reflection vector on a point on the surface and factor that into the lighting calculation. There is one set of images used for the texture cube in the sample code and you can see its effect on the Boombox model:
This technique can be used for lighting a model consistently with it’s environment and/or providing realistic reflections.
Selective PBR rendering
In the same way that the Khronos sample allows you to switch parts of the PBR shader on/off you can do the same here and this can give an insight into the different parts of the PBR shader which at first glance can seem overwhelming. Here are some of the different parts of the pixel shader shown on the Damaged Helmet sample model:
sRGB
I’m not going to delve into the details of sRGB but here’s some info about how it relates to DirectX https://msdn.microsoft.com/en-us/library/windows/desktop/hh972627(v=vs.85).aspx and for a more general understanding https://en.wikipedia.org/wiki/SRGB. Suffice to say that it is important to understand what colour space you are carrying out pixel shader operations in. Since all of the sample code is here https://github.com/Microsoft/glTF-DXViewer you can check out how the colour space is dealt with both within the shader calculations and when setting up the rendering buffers in DirectX.
For the next post we’ll look into the software architecture as even this small sample is quite instructive in how you might arrange the code for a 3D application.


Comments