HoloLens–optimising with Simplygon
In case you missed it Microsoft recently acquired Simplygon and, as of the timing of BUILD 2017 it is now being offered completely free. So, no royalties or licensing fees required.The free model is for one node per license and for further nodes there is a cost (see - https://www.simplygon.com/) for further details. As I understand it Simplygon has a distributed processing model in which you can connect to a server running on your local machine or externally and there is a grid model for distributing the processing load. I will only use the local processing model as I am using Simplygon in the context of building a ‘’proof of concept” for the HoloLens. Simplygon is also structured around integration into your content pipeline which would be a huge advantage for a real application/game but I will not discuss that here – we are just using the tools in a one-time, post-processing scenario. Without digressing into the details of the project I will say that it involves the anatomy of a cow and is designed to be used in an education scenario. We decided to use Unity and the HoloToolkit for Unity for rapid prototyping. The project ran over four days with the first half-day used to understand the requirements and decide the scope.
We were lucky enough to have some super-talented folks join us to build out the app. As a result we had some great 3D models but they weren’t perfect for running on a HoloLens so we included a work item to optimize for performance. There wasn’t a huge amount of time for this so we prioritised things that could be done quickly with the highest impact. This is what we decided on:
- mesh decimation (some of the models were high polygon) – for this we used a combination of hand optimisation and Simplygon remeshing
- texture atlases so that we could use fewer materials resulting in fewer draw calls (again we used Simplygon for this)
- replaced all shaders with HoloToolkit Fast Configurable Shader
- used sjngle-pass instanced rendering
- turned off all unnecessary lighting calculations in the shaders
Getting Set Up
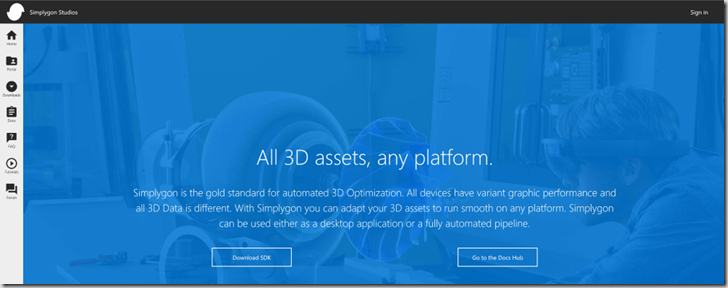
Start by navigating your browser to https://www.simplygon.com/ and go to the Developer Hub:
You will need to sign in with a Microsoft account to access the SDK/Tools
If you don’t have a Microsoft account you can get one here Microsoft account
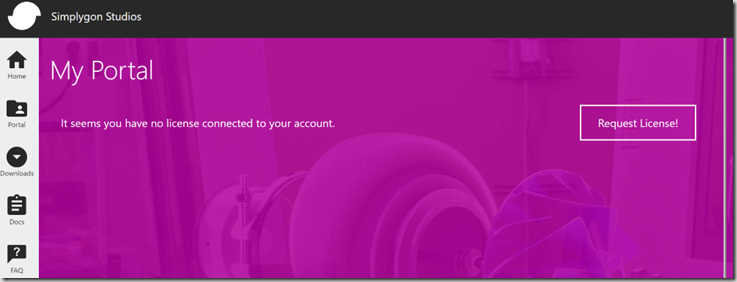
Once logged in you can request a license on the portal tab:
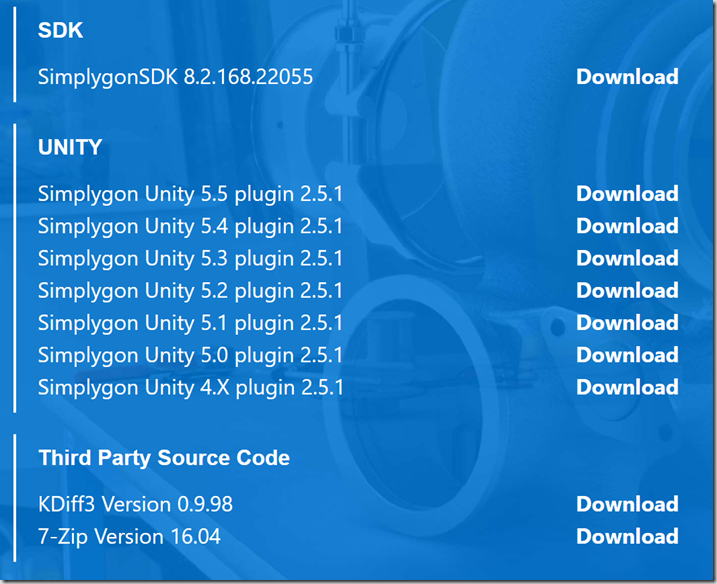
Once you request a license, accept the EULA you will get the license immediately and can use it to download the SDK. The SDK download includes the desktop app and everything you need:
Once installed you should have a system tray app
From which you can register your license. You can run the desktop app called SImplygon UI and start up in local mode using the username and password user/user the app will start using a server running on 127.0.0.1:55001 by default. If the app doesn’t start you can check the server is running using netstat –a from a command prompt.
My Microsoft IT set up SurfaceBook failed to start this server and this prevented me from using the app on that machine. I checked the firewall setup and it looked correct so I suspect some policy is being applied which blocks this but I haven’t got to the bottom of that yet.
Simplygon UI
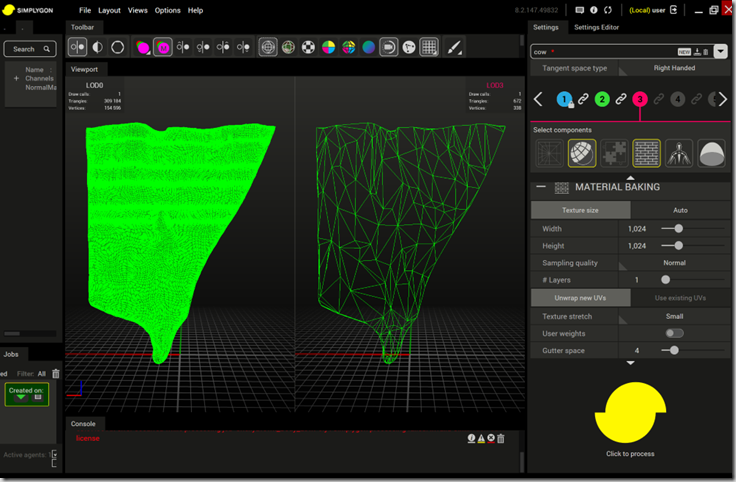
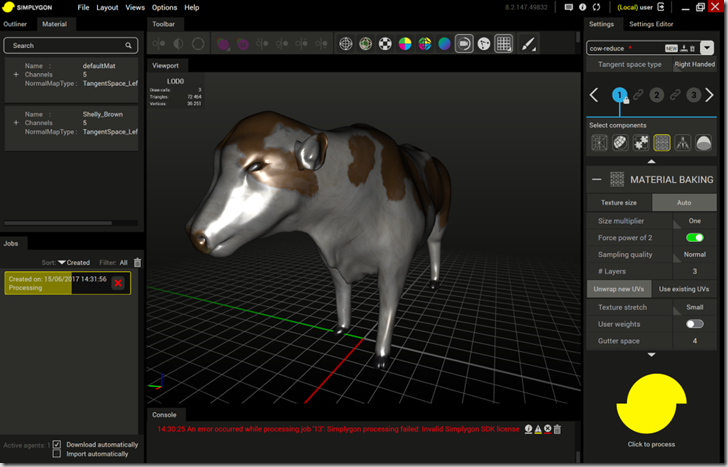
I used the standalone Simplygon UI desktop application and the way that it works is that you can create and save profiles which can contain one or more ‘level of detail’ settings. As a result of processing a scene with a profile I can output a whole LOD chain. You can choose different modules to add to each LOD; choosing from reduction/remeshing, material baking, etc. When you have your scene loaded (in my case loading FBX files output from 3DS Max) you can hit the button to begin processing. This sends the job to a web service and in my case this runs on the local PC.
Mesh Decimation
An easy way to determine whether triangle reduction in your models will improve performance is to drop an FPSDisplay prefab (included with the HoloToolkit) into your Unity scene and add just your model to the scene. Once done, view the model on a HoloLens device and modulate the size of the model in the display either by walking back and forwards or scaling the model. If the frame rate doesn’t increase when the model is tiny in the display then you are most-likely vertex-limited and would improve performance via decimation.
I would point out that there is no substitution for profiling the CPU/GPU and would recommend the Visual Studio graphics + performance profiling tools (see https://msdn.microsoft.com/en-us/library/hh873207.aspx)
Simplygon offers two different techniques for reducing triangle count of a model and by extension creating LODs (level of detail models) which can be switched in your app dynamically based on certain criteria such as how much of the screen they are taking up or how far they are from the camera. The cow app wouldn’t derive too much benefit from this technique since only one model would be displayed at a time. The best scenario for this would be different models being rendered at varying distances from the camera, allowing more models to be rendered for a given frame rate.
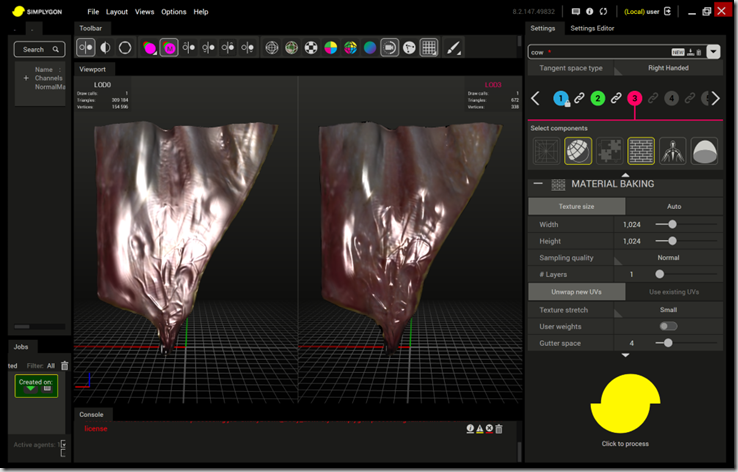
The two techniques are reduction vs remeshing; reduction being a process which retains significant vertices and topology whilst remeshing generates a new topology. In the quick tests I ran comparing the results of these two methods I found that the reduction controls were more intuitive but the results of remeshing retained a better object ‘silhouette’ and thus gave a better result. Here is an example reducing the original (shown on the left) from 309000 triangles to, shown on the right, 672 triangles:
This shows a part of a cow’s udder with the original model on the left and the decimated one on the right.
Here is the same model comparing a rendered result with lighting detail added back into the model using a normal map which was automatically generated by Simplygon.
Texture Atlases
In general, changing GPU state is a costly operation to the point that many graphics engines will optimise around reducing those state changes. A state change could be changing rendering mode, setting the current texture, etc. Unity will automate this process for you, so if can share as many materials as possible amongst your renderers then Unity will make an effort to batch these calls together and thus avoid the associated state changes.
See https://docs.unity3d.com/Manual/DrawCallBatching.html for more details of Unity draw call batching
The dynamic batching has a vertex limit of 900 vertices (other restrictions also apply – see the docs linked above) – you can trade this off against actually combining the meshes into one up front (note that this would work against Unity’s built-in culling as meshes could no longer be culled individually).
Anyway, when we received the cow models they had numerous materials associated which only differed in the textures they used. IF we could combine the textures into one and modify the UV coordinates to index into the combined texture then we could use one material for each model. This setup is known as a texture atlas and Simplygon can automate this process. We used this technique to reduce the cow model to one draw call.
Using the Material Baking options we can combine the textures and also generate normal maps which bake the geometry detail into a texture similar to my previous post using Blender. This shows the combined images I had output when processing the cow model:
Shaders
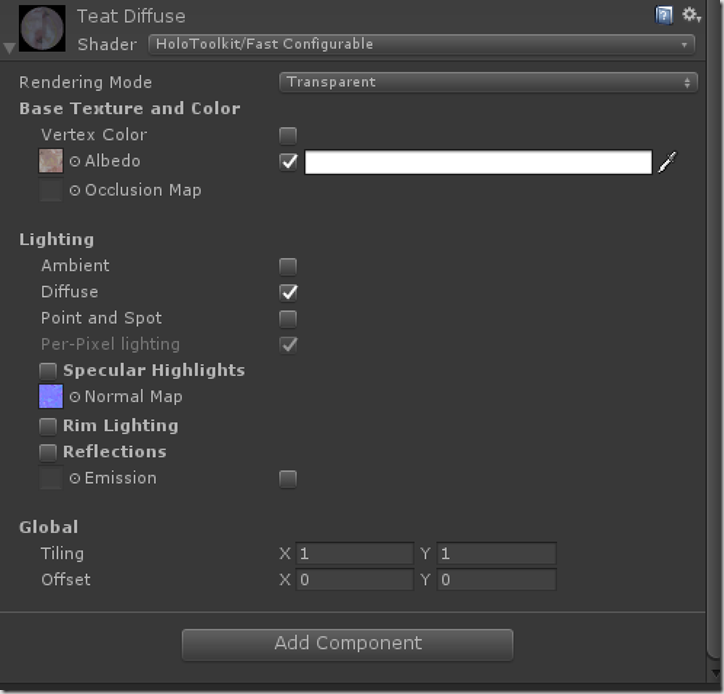
When importing an FBX file into Unity it will generate materials based on the standard Unity shader. The first job here was to replace these generated materials with the HoloToolkit Fast Configurable shader, hook up the maps generated previously and configure the lighting settings:
The final app was running at somewhere between 30 and 45 fps and with a bit more time and effort we were confident that with the help of Simplygon we could have this all running at a consistent 60fps.



![cow textures[94384] cow textures[94384]](/assets/images/2017/06/cow-textures94384_thumb.png)

Comments