
HoloLens 2 Unreal Project Template
Each time I wanted to create a HoloLens 2 Unreal Engine project I found myself recreating a blank level, setting up a GameMode and configuring the project. Like any programmer doing anything twice that can be automated is unpalatable, so...
TLDR;
Navigate a browser here peted70/hl2-ue-template (github.com) and carry out the instructions to install a project template configured with:
- Plugins (UX Tools, Graphics Tools, OpenXR)
- Recommended settings for a HoloLens application
- A map containing a cube that you can use your hands to interact with
That's it for the short version but stick around here for some more details about how this was created.
Creating a Project
Here are the steps I usually go through:
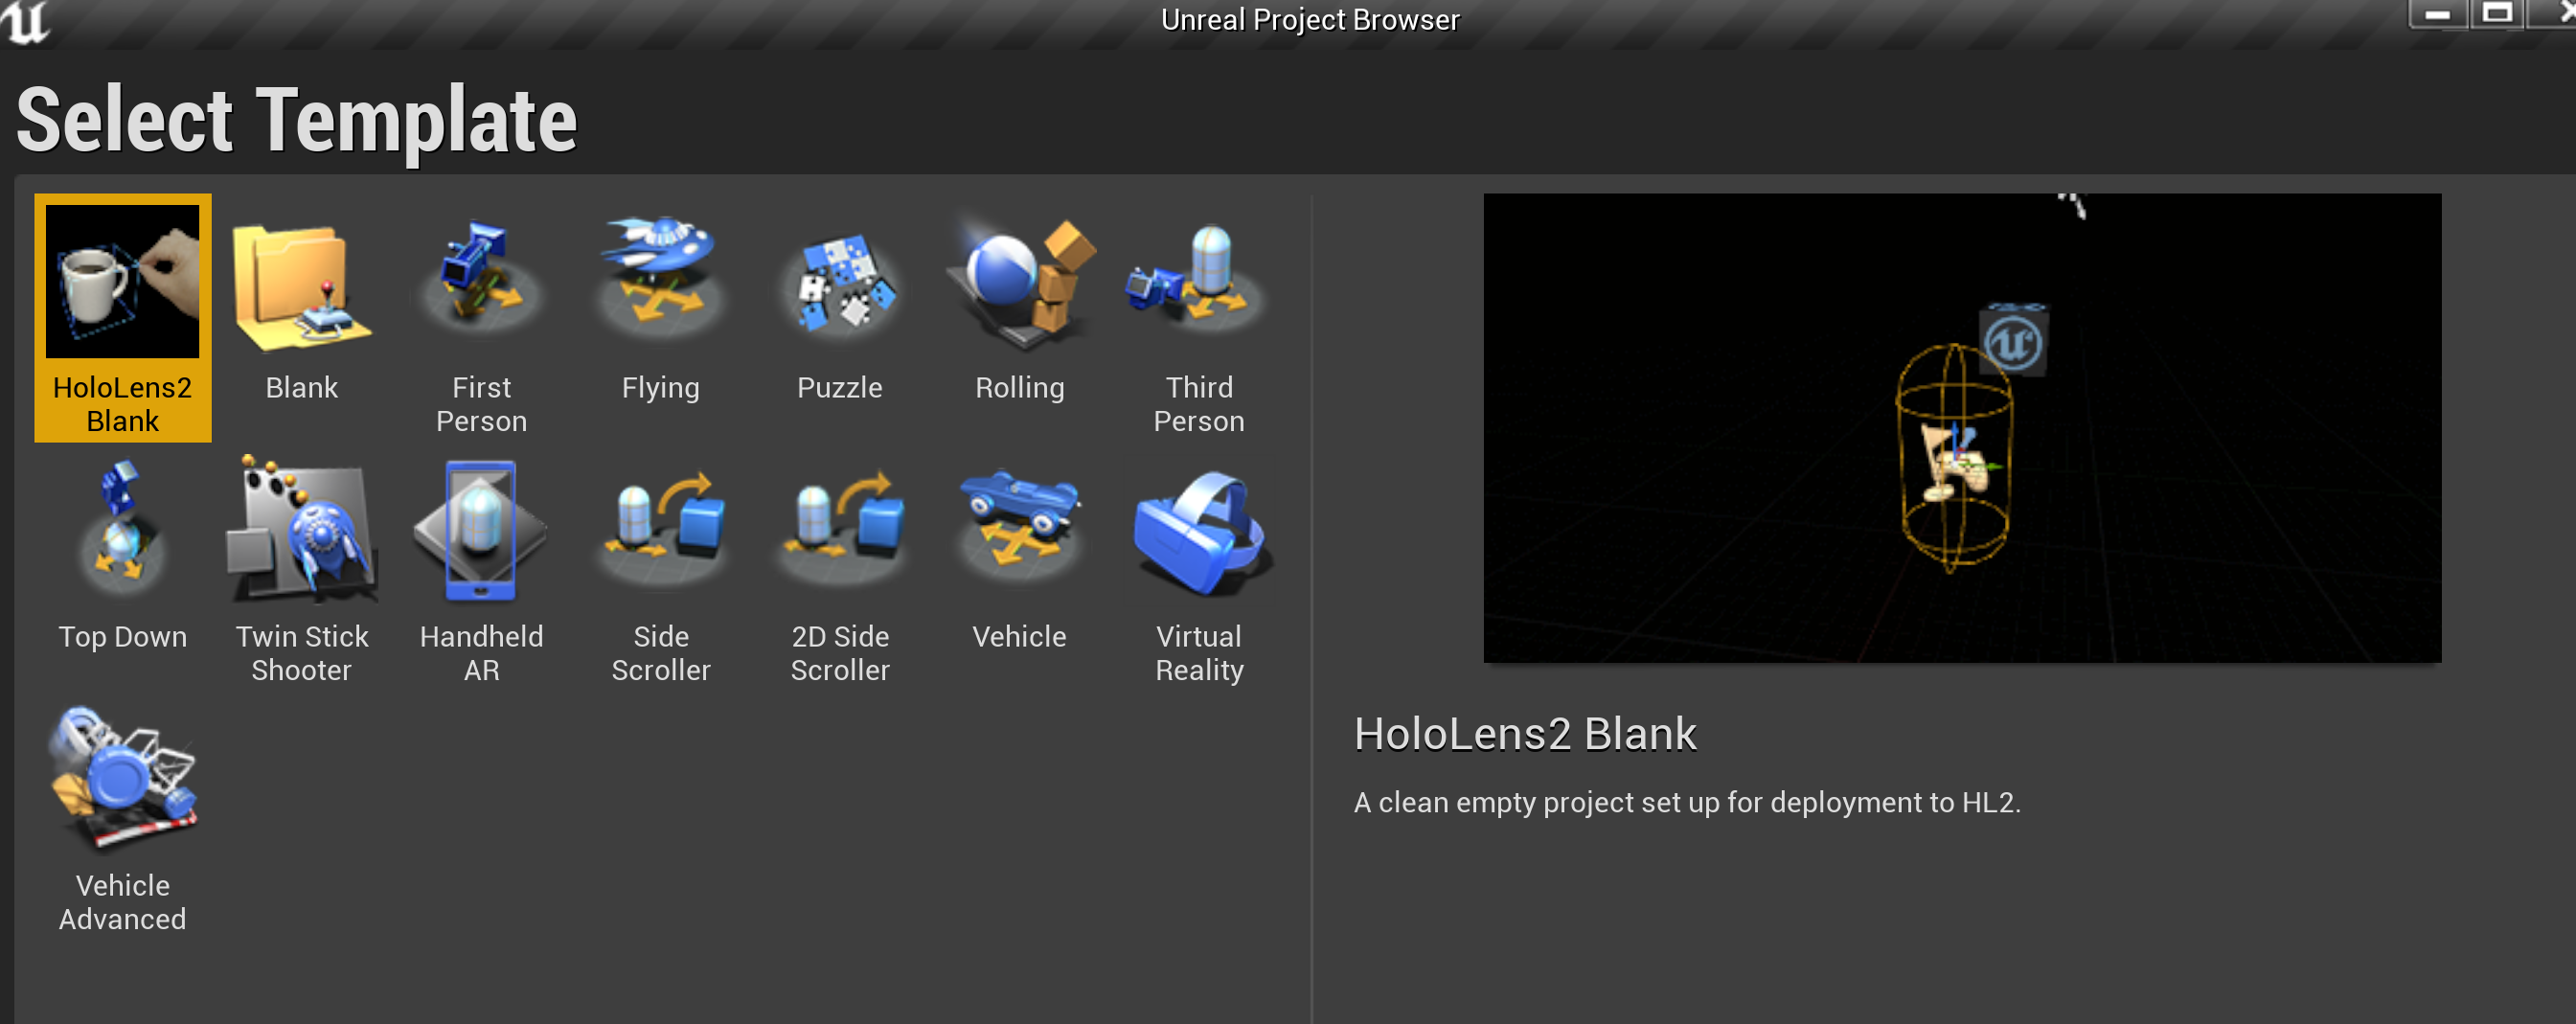
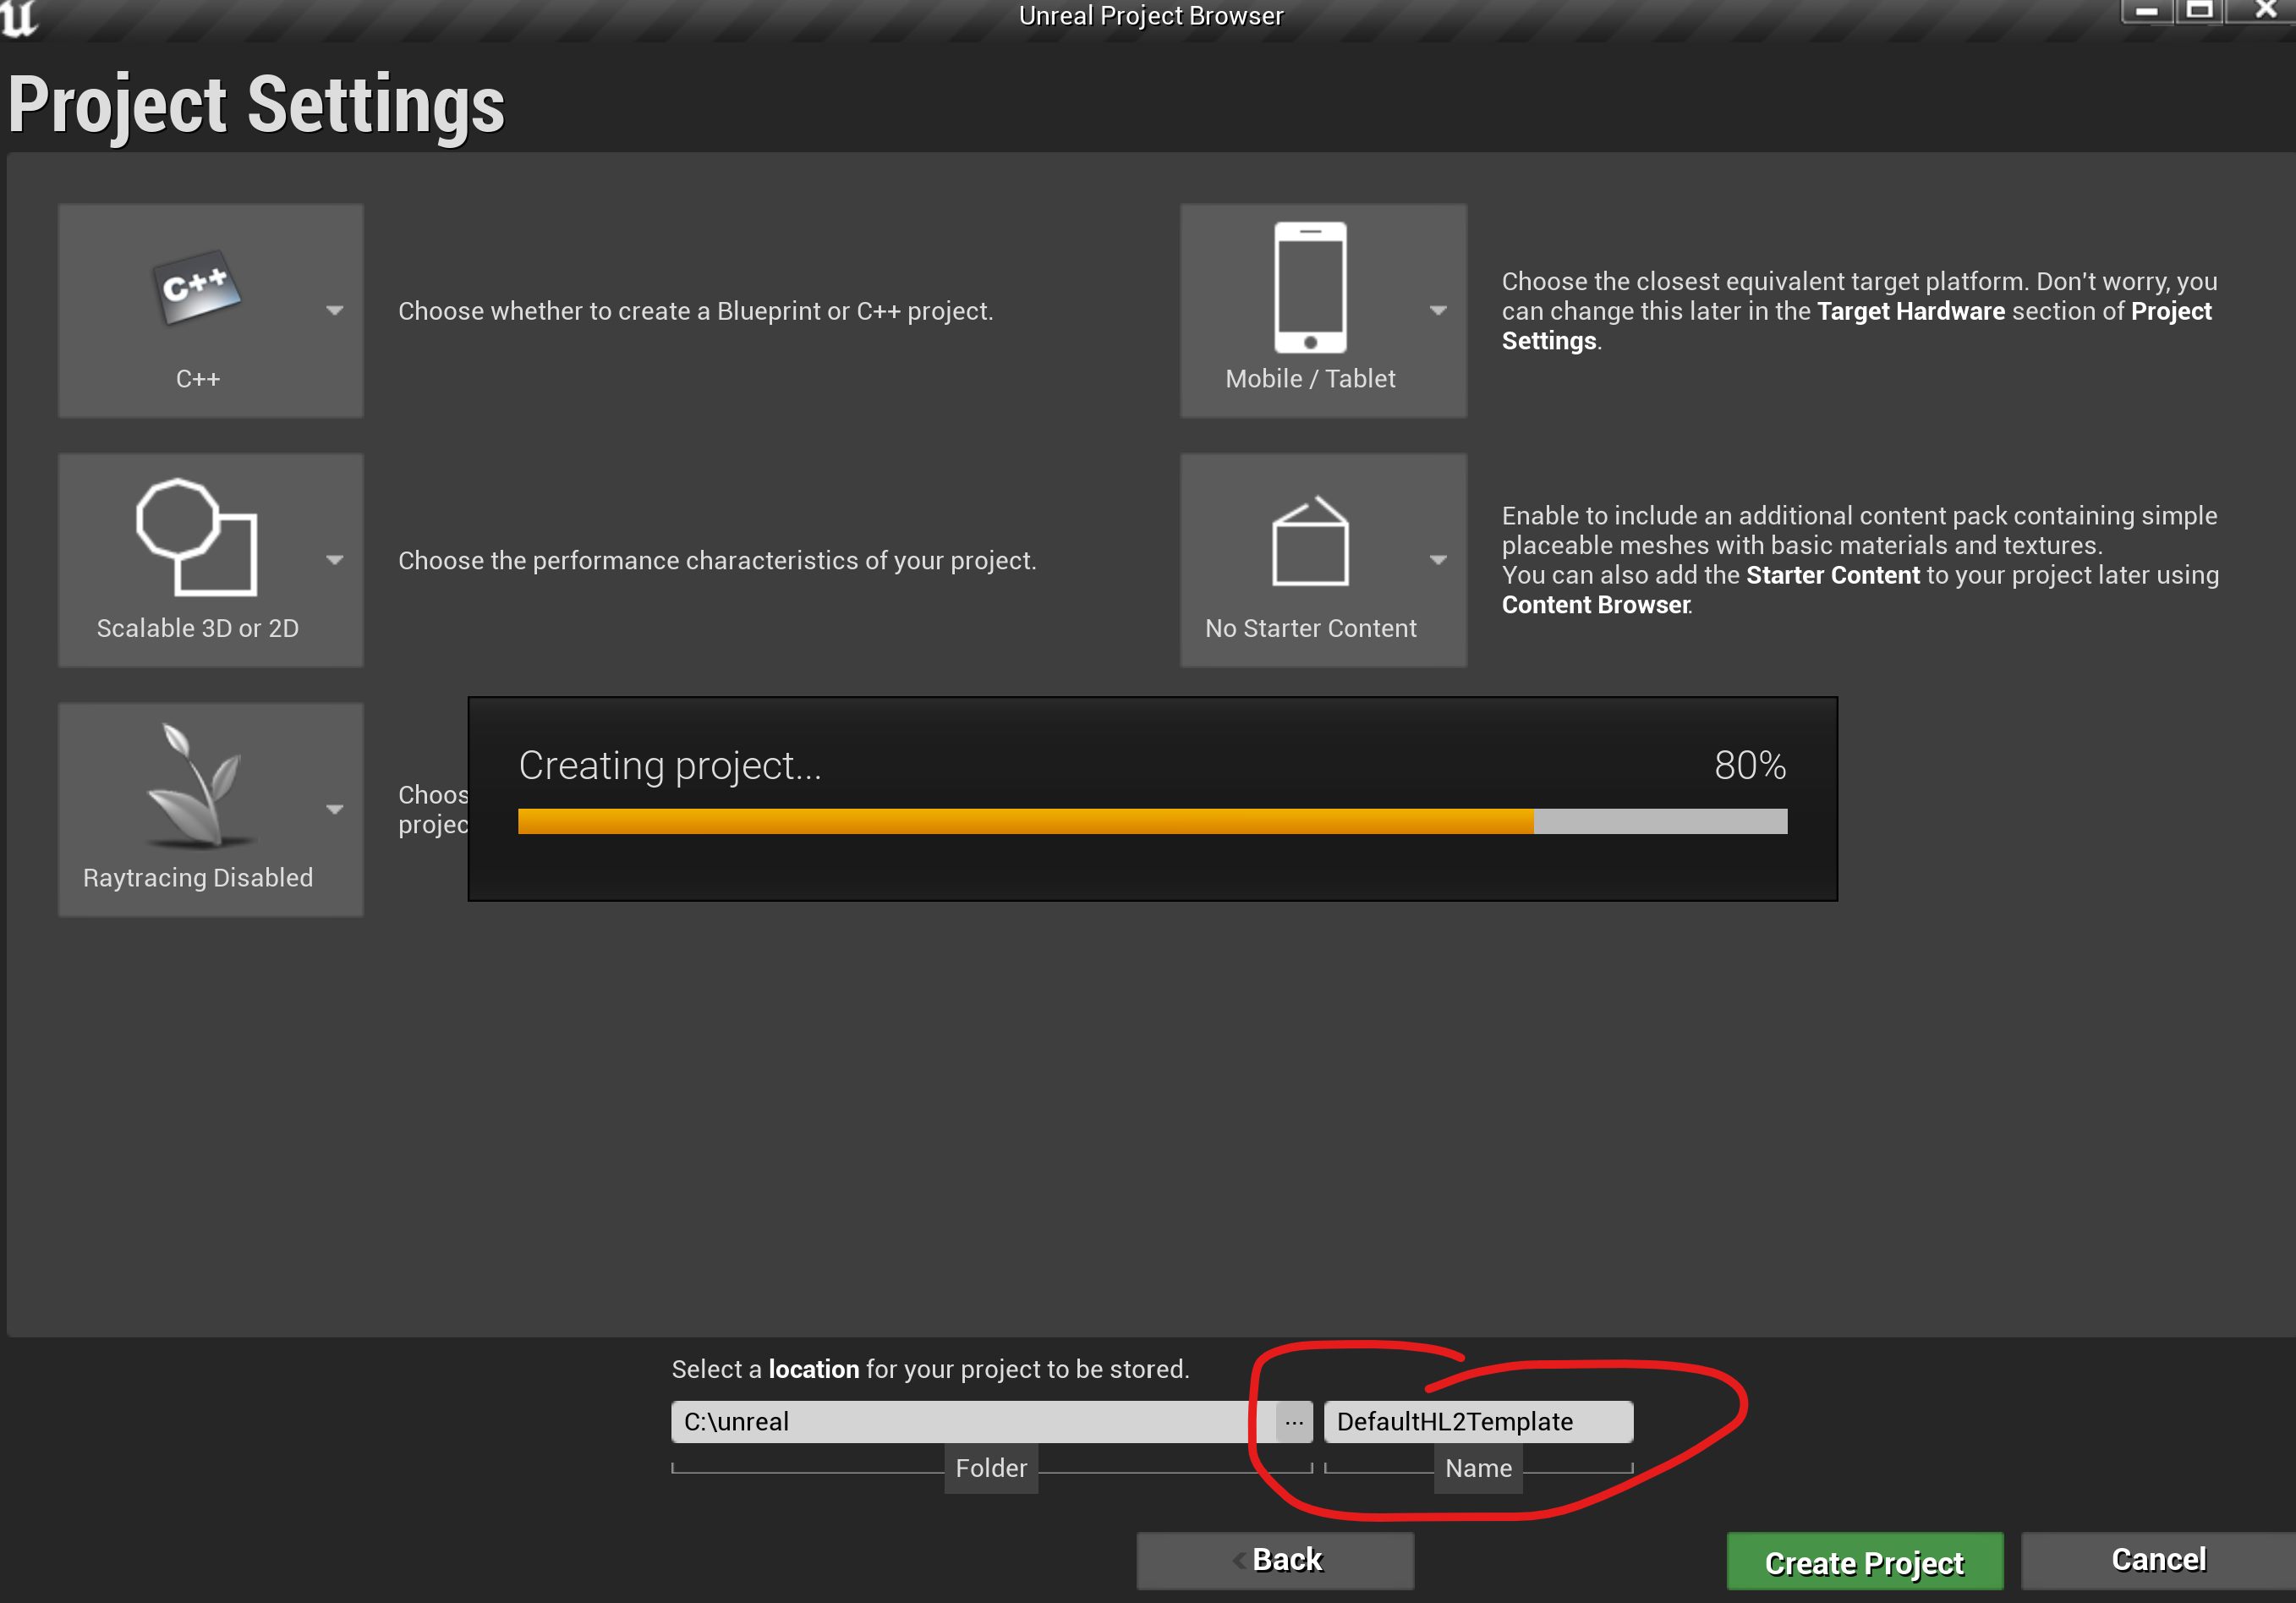
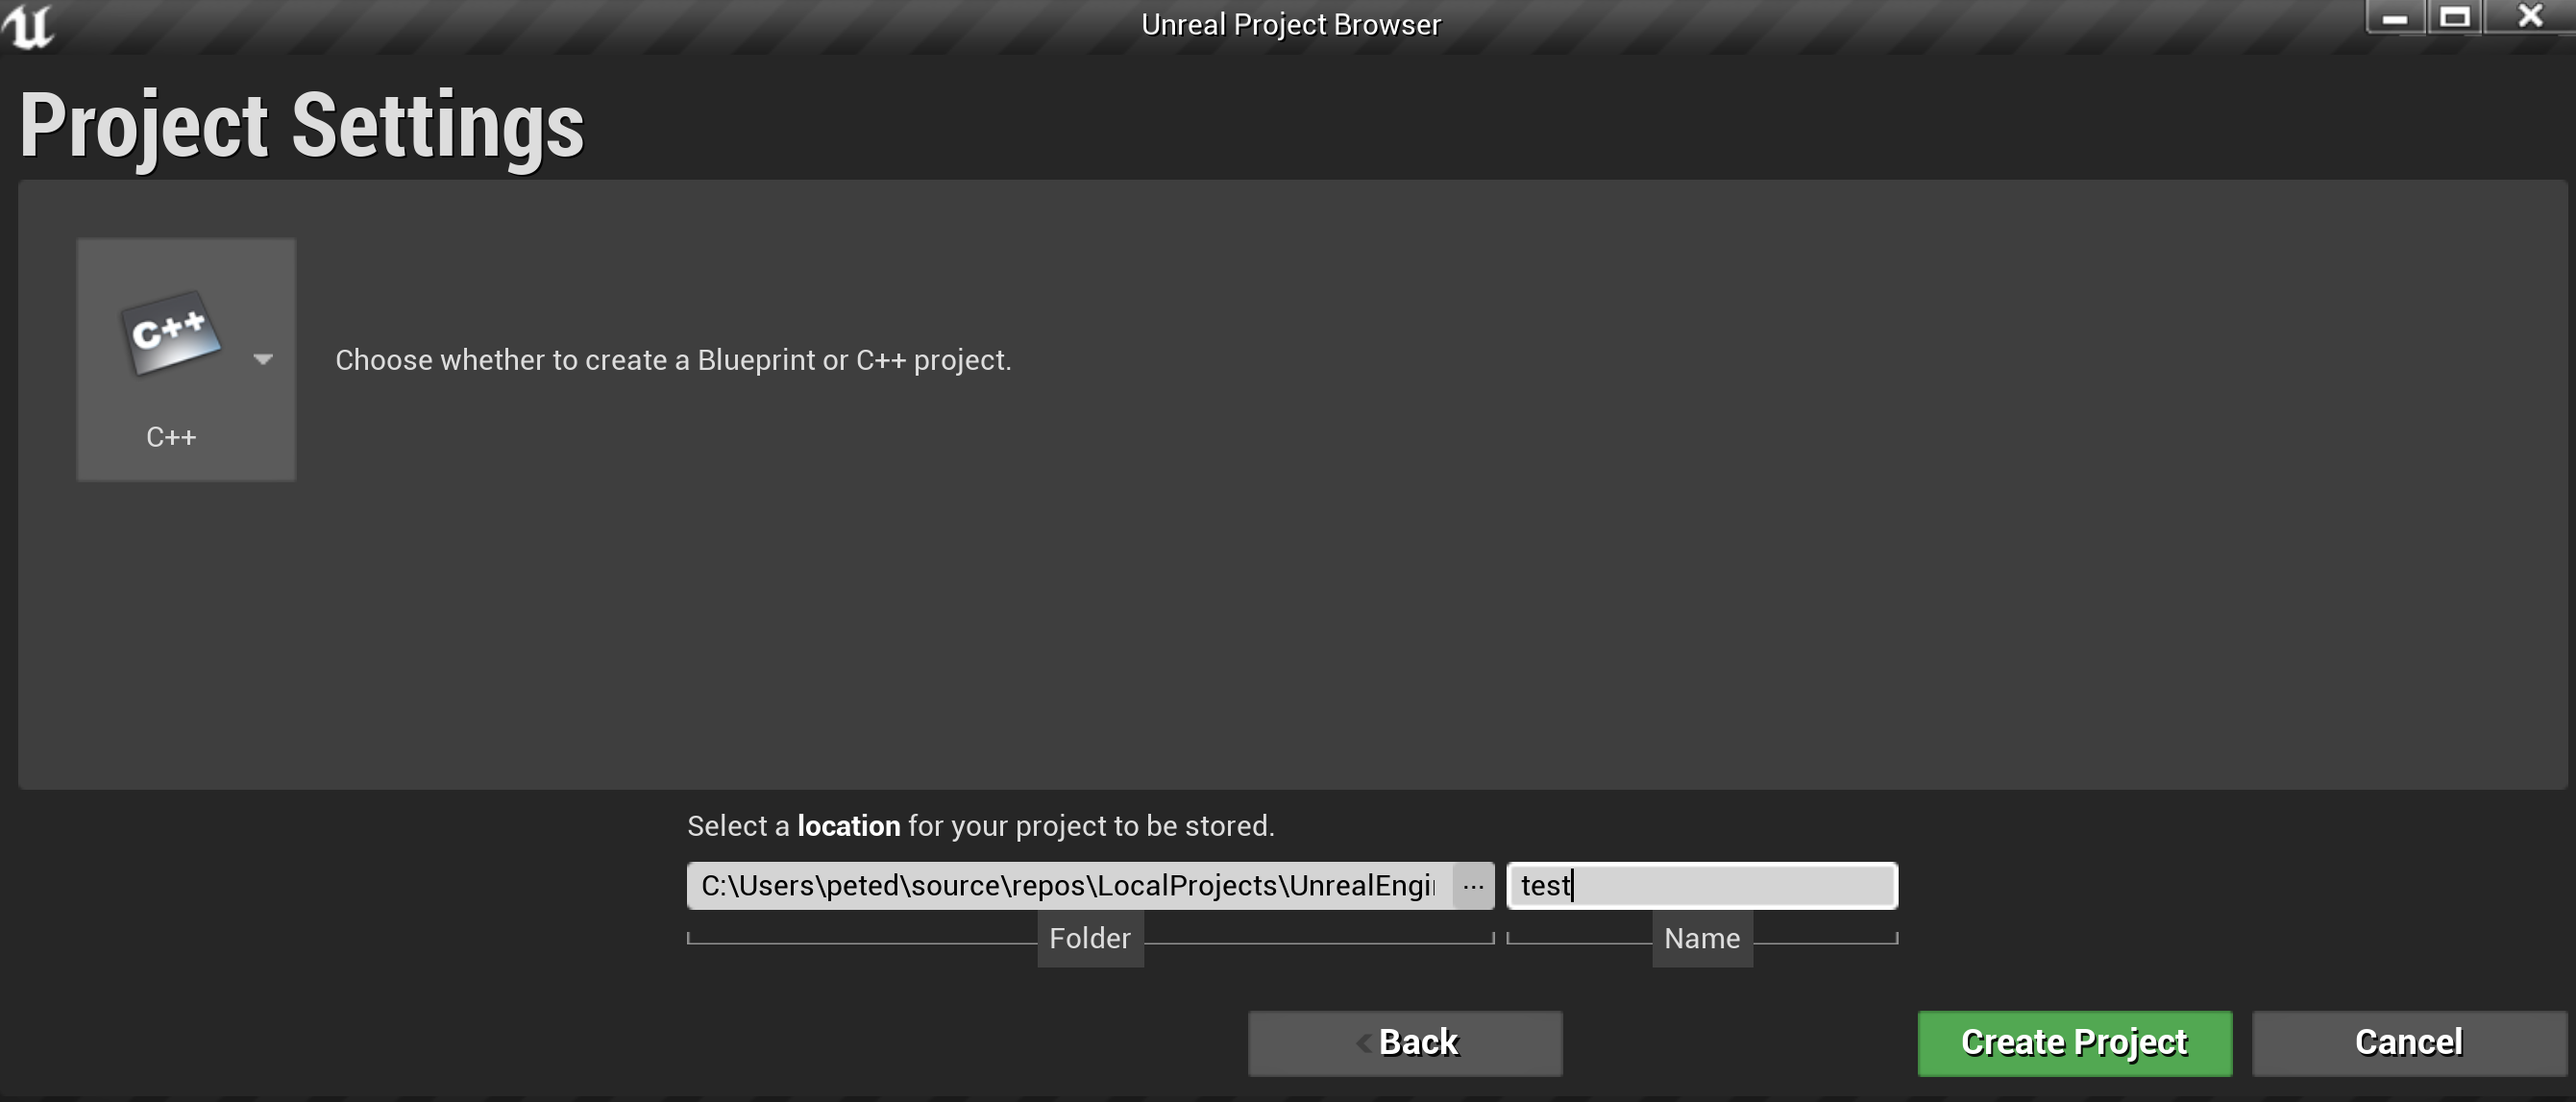
- Create a new Project
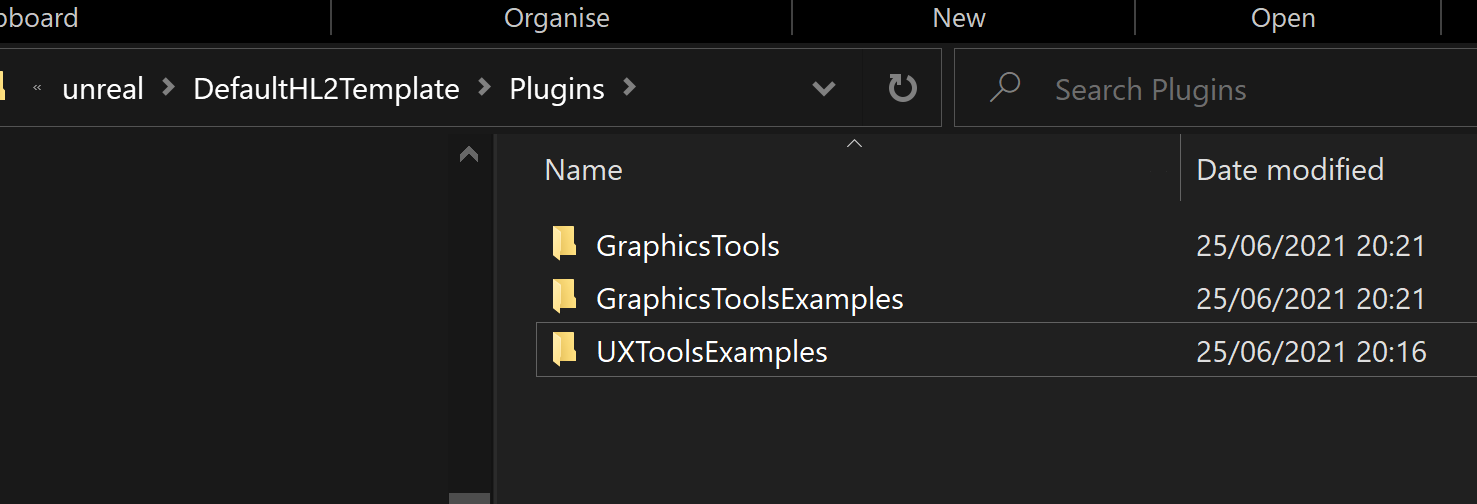
Whilst I am creating test and sample projects I will often add and enable plugins:
- UX Tools & Examples
- Graphics Tools & Examples
- OpenXR
Some of these would come from Unreal marketplace and I would have them preinstalled to the engine and some I would clone from Github and copy into my project's Plugins folder.
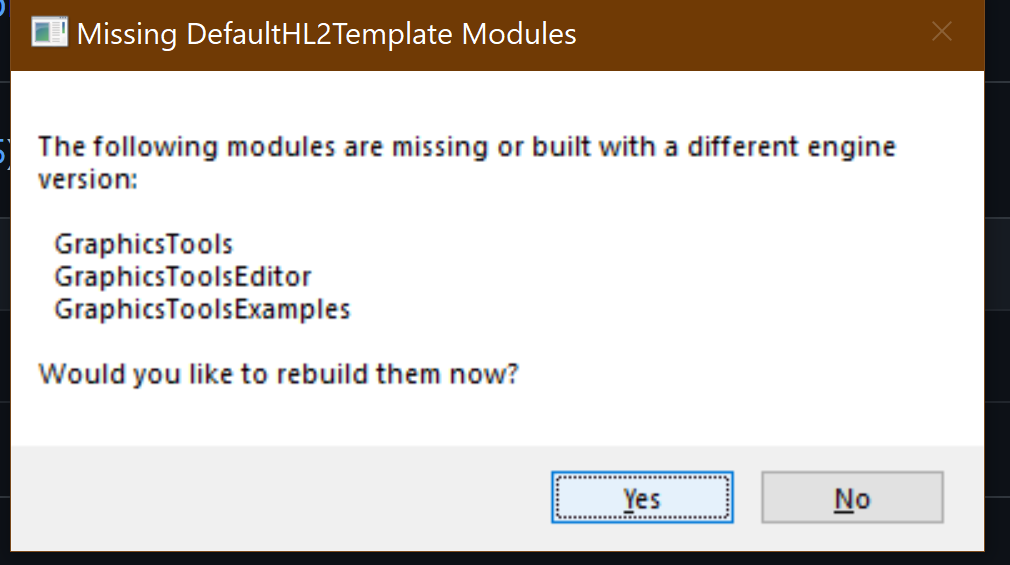
After restarting Unreal you will be prompted to recompile:
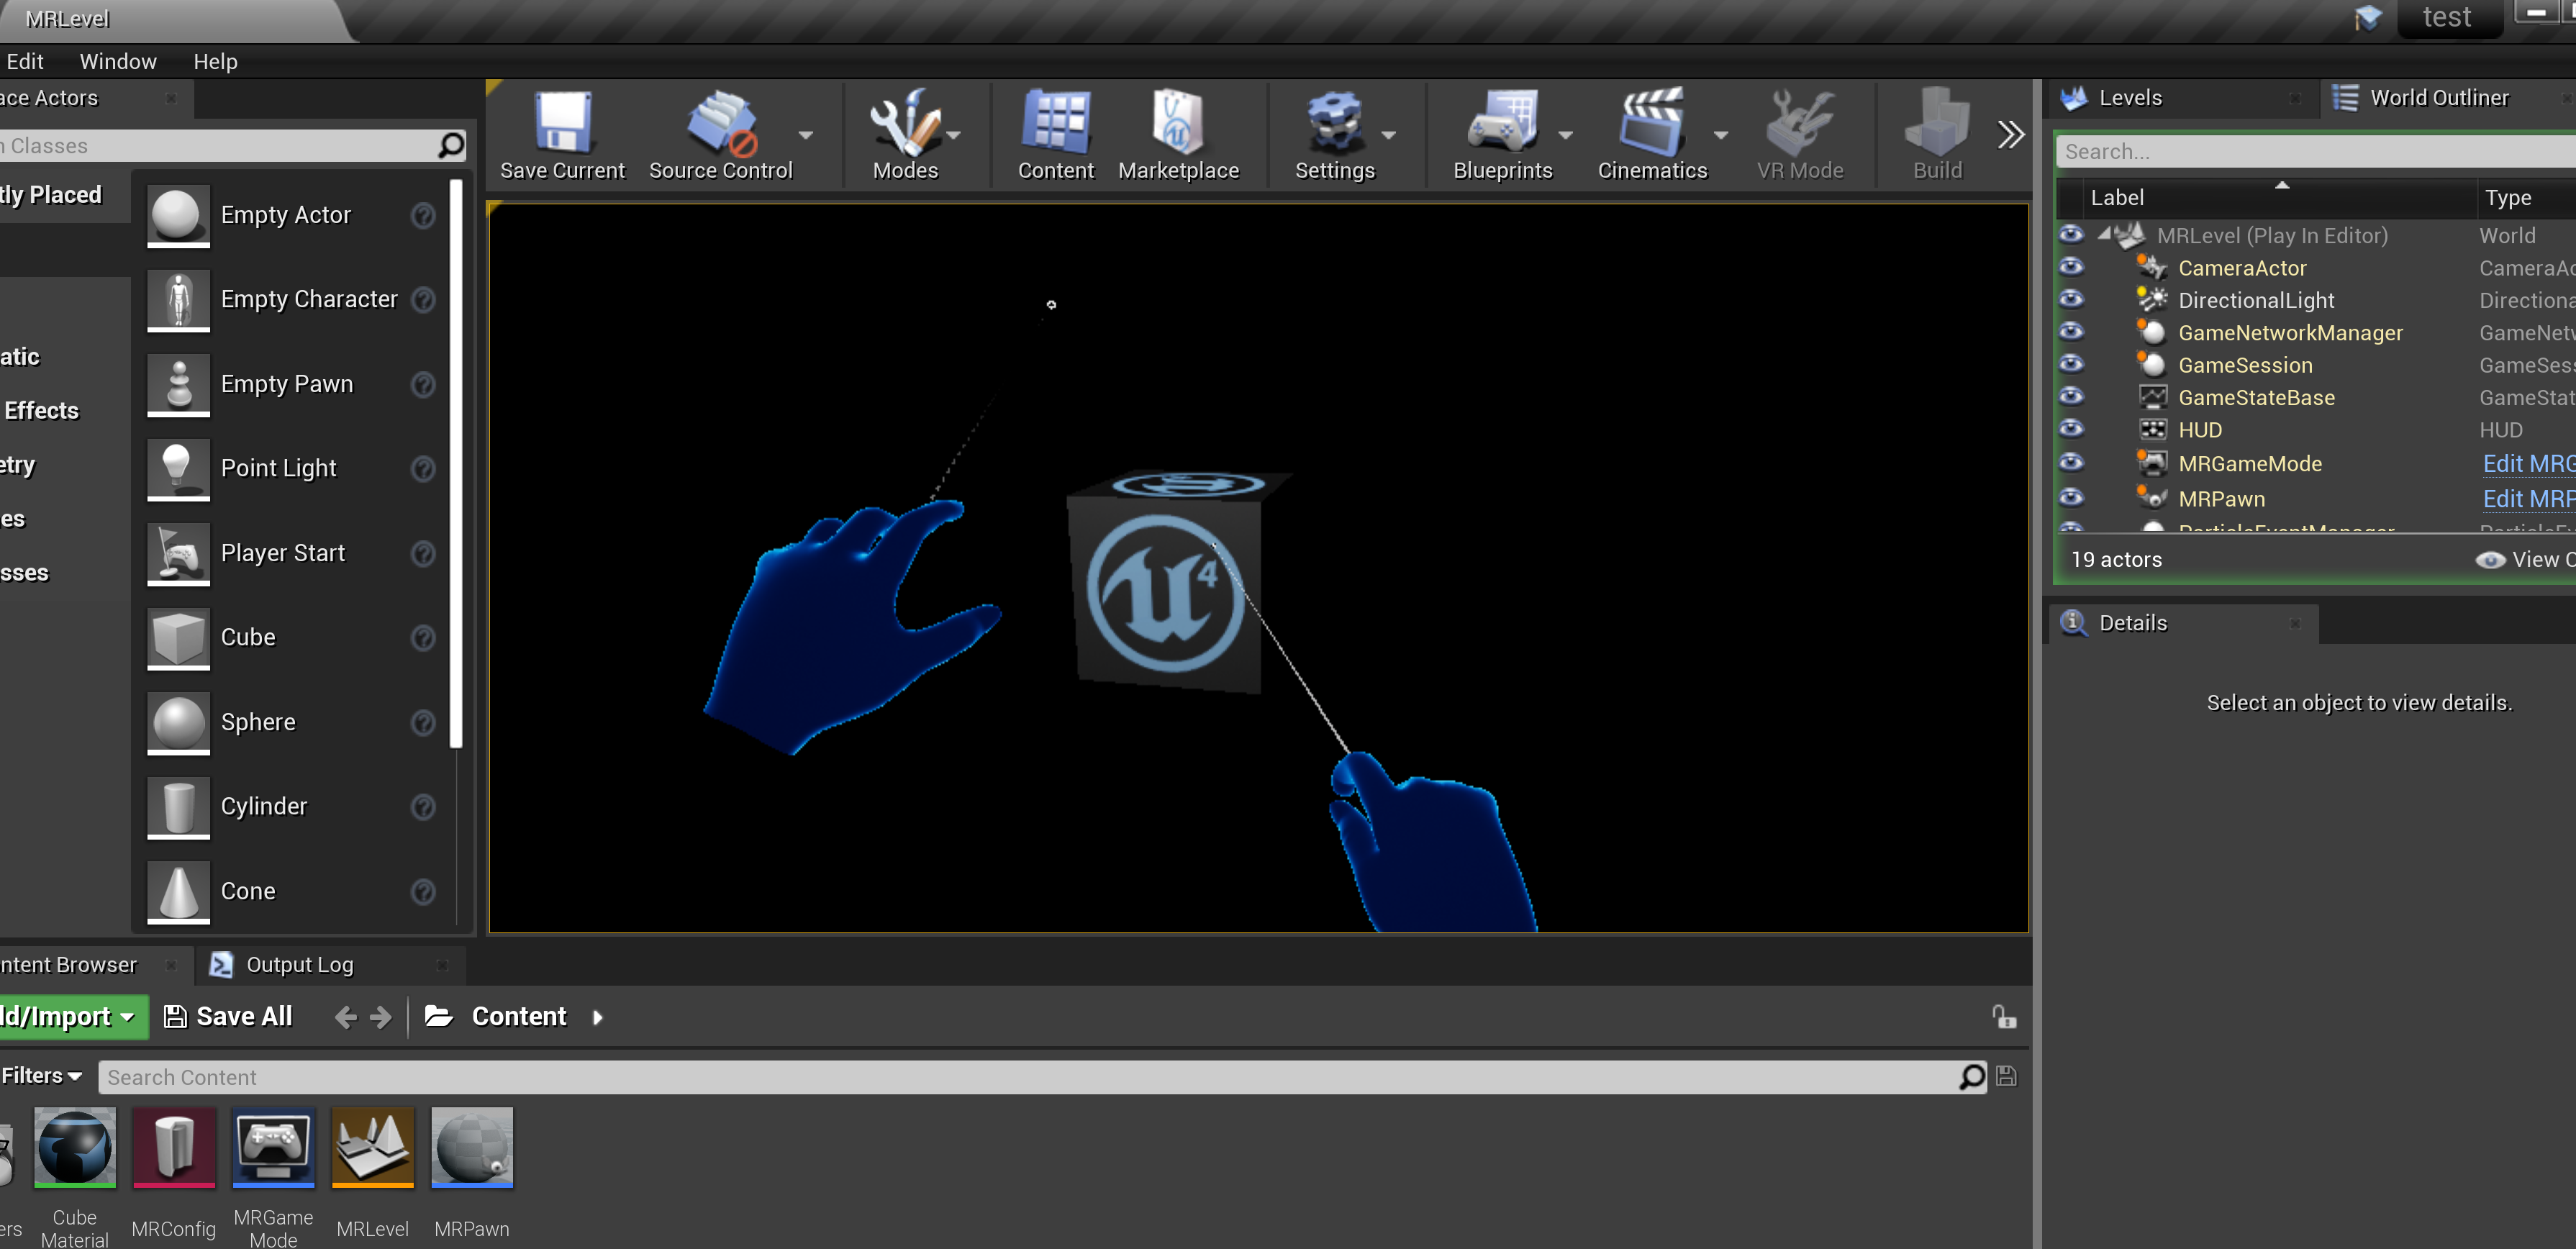
Then I would follow roughly the guide here to configure for HoloLens. Then I, added a 'player start' at (0, 0, 0), a cube with a simple textured material. So, the level looks like this:
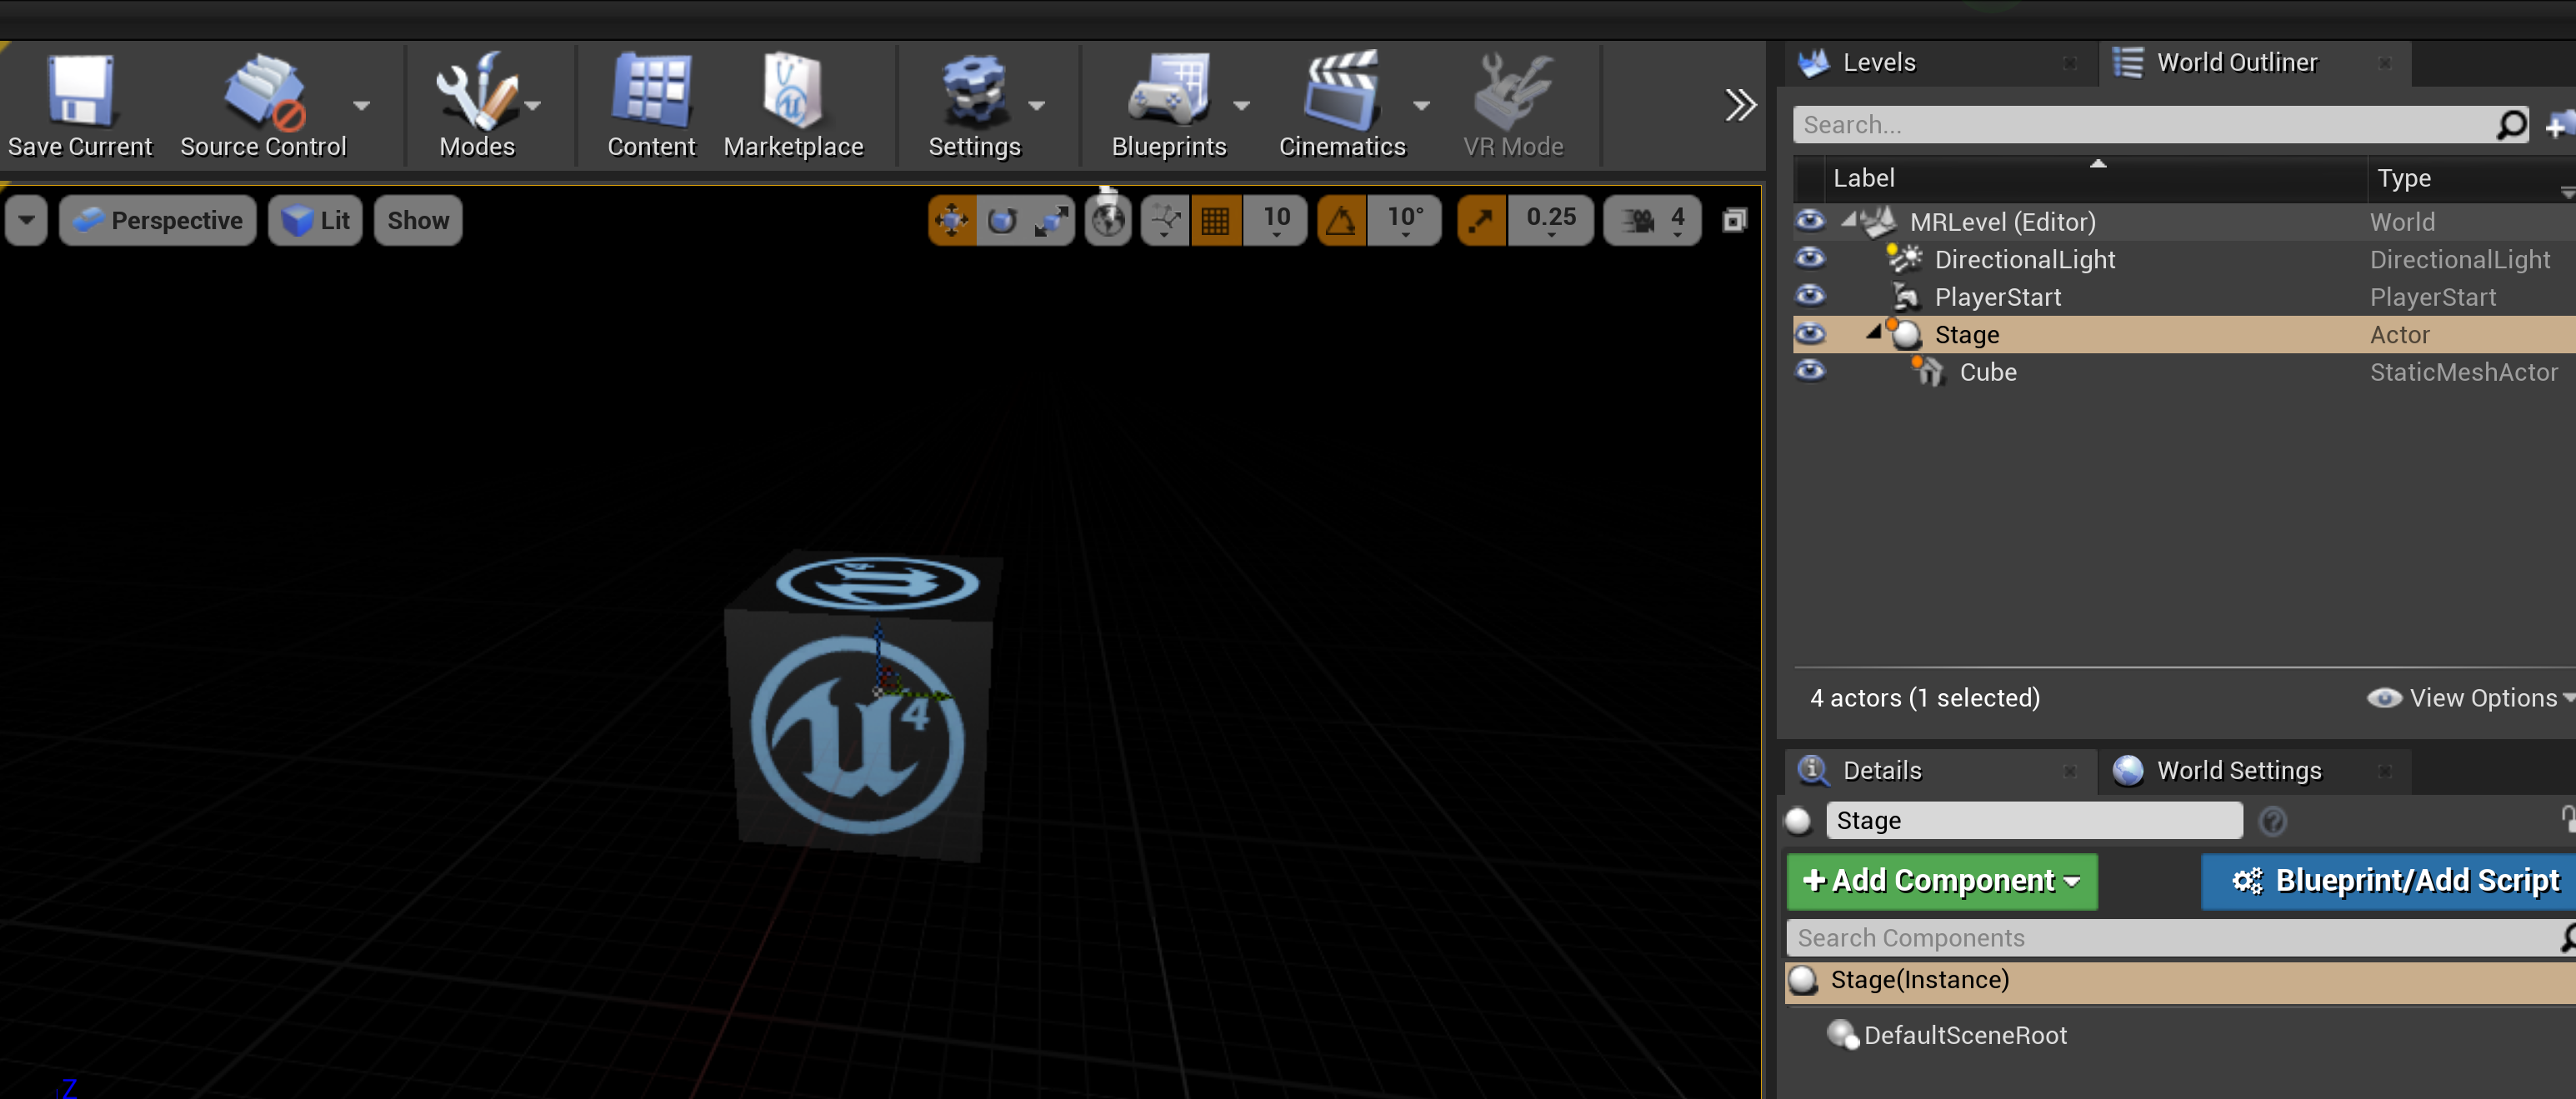
And I have these items in my content folder:
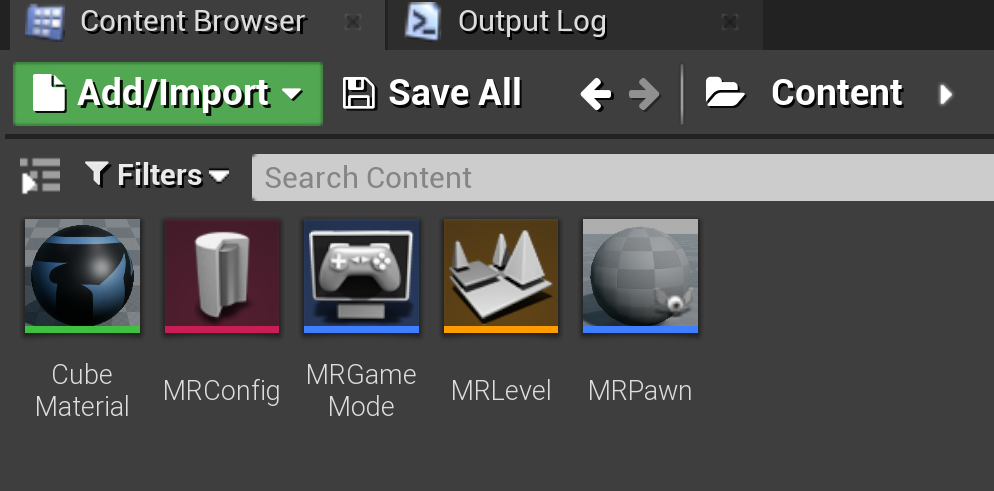
Template
This is a bit time-consuming to carry out each time I want to create a quick test or sample project so I decided to automate it using a project template https://docs.unrealengine.com/4.26/en-US/Resources/Templates/
The basic idea is to copy the project you want the template to be based on into a folder here [Unreal install location]\[Unreal version]]\Templates and configure it using a TemplateDefs.ini file. There are plenty of examples in that folder already so if you want to create a template I would suggest looking at those as they are well commented.
Note.
Unfortunately, it is possible that you would hit the issue around windows path names being too long
See https://docs.microsoft.com/en-us/windows/win32/fileio/naming-a-file#maximum-path-length-limitation
I used the instructions here https://docs.microsoft.com/en-us/windows/win32/fileio/maximum-file-path-limitation?tabs=cmd#enable-long-paths-in-windows-10-version-1607-and-later to get around this issue.
And also, in the Unreal Editor, check the “Enable Long Paths Support” in the experimental settings dialog.
The registry key Computer\HKEY_LOCAL_MACHINE\SYSTEM\CurrentControlSet\Control\FileSystem\LongPathsEnabled (Type: REG_DWORD) must exist and be set to 1
If you hit an issue with long path names when compiling for the first time then just moving to a shorter root path for your project is a possible workaround.
Create a New HL2 Project with the Template
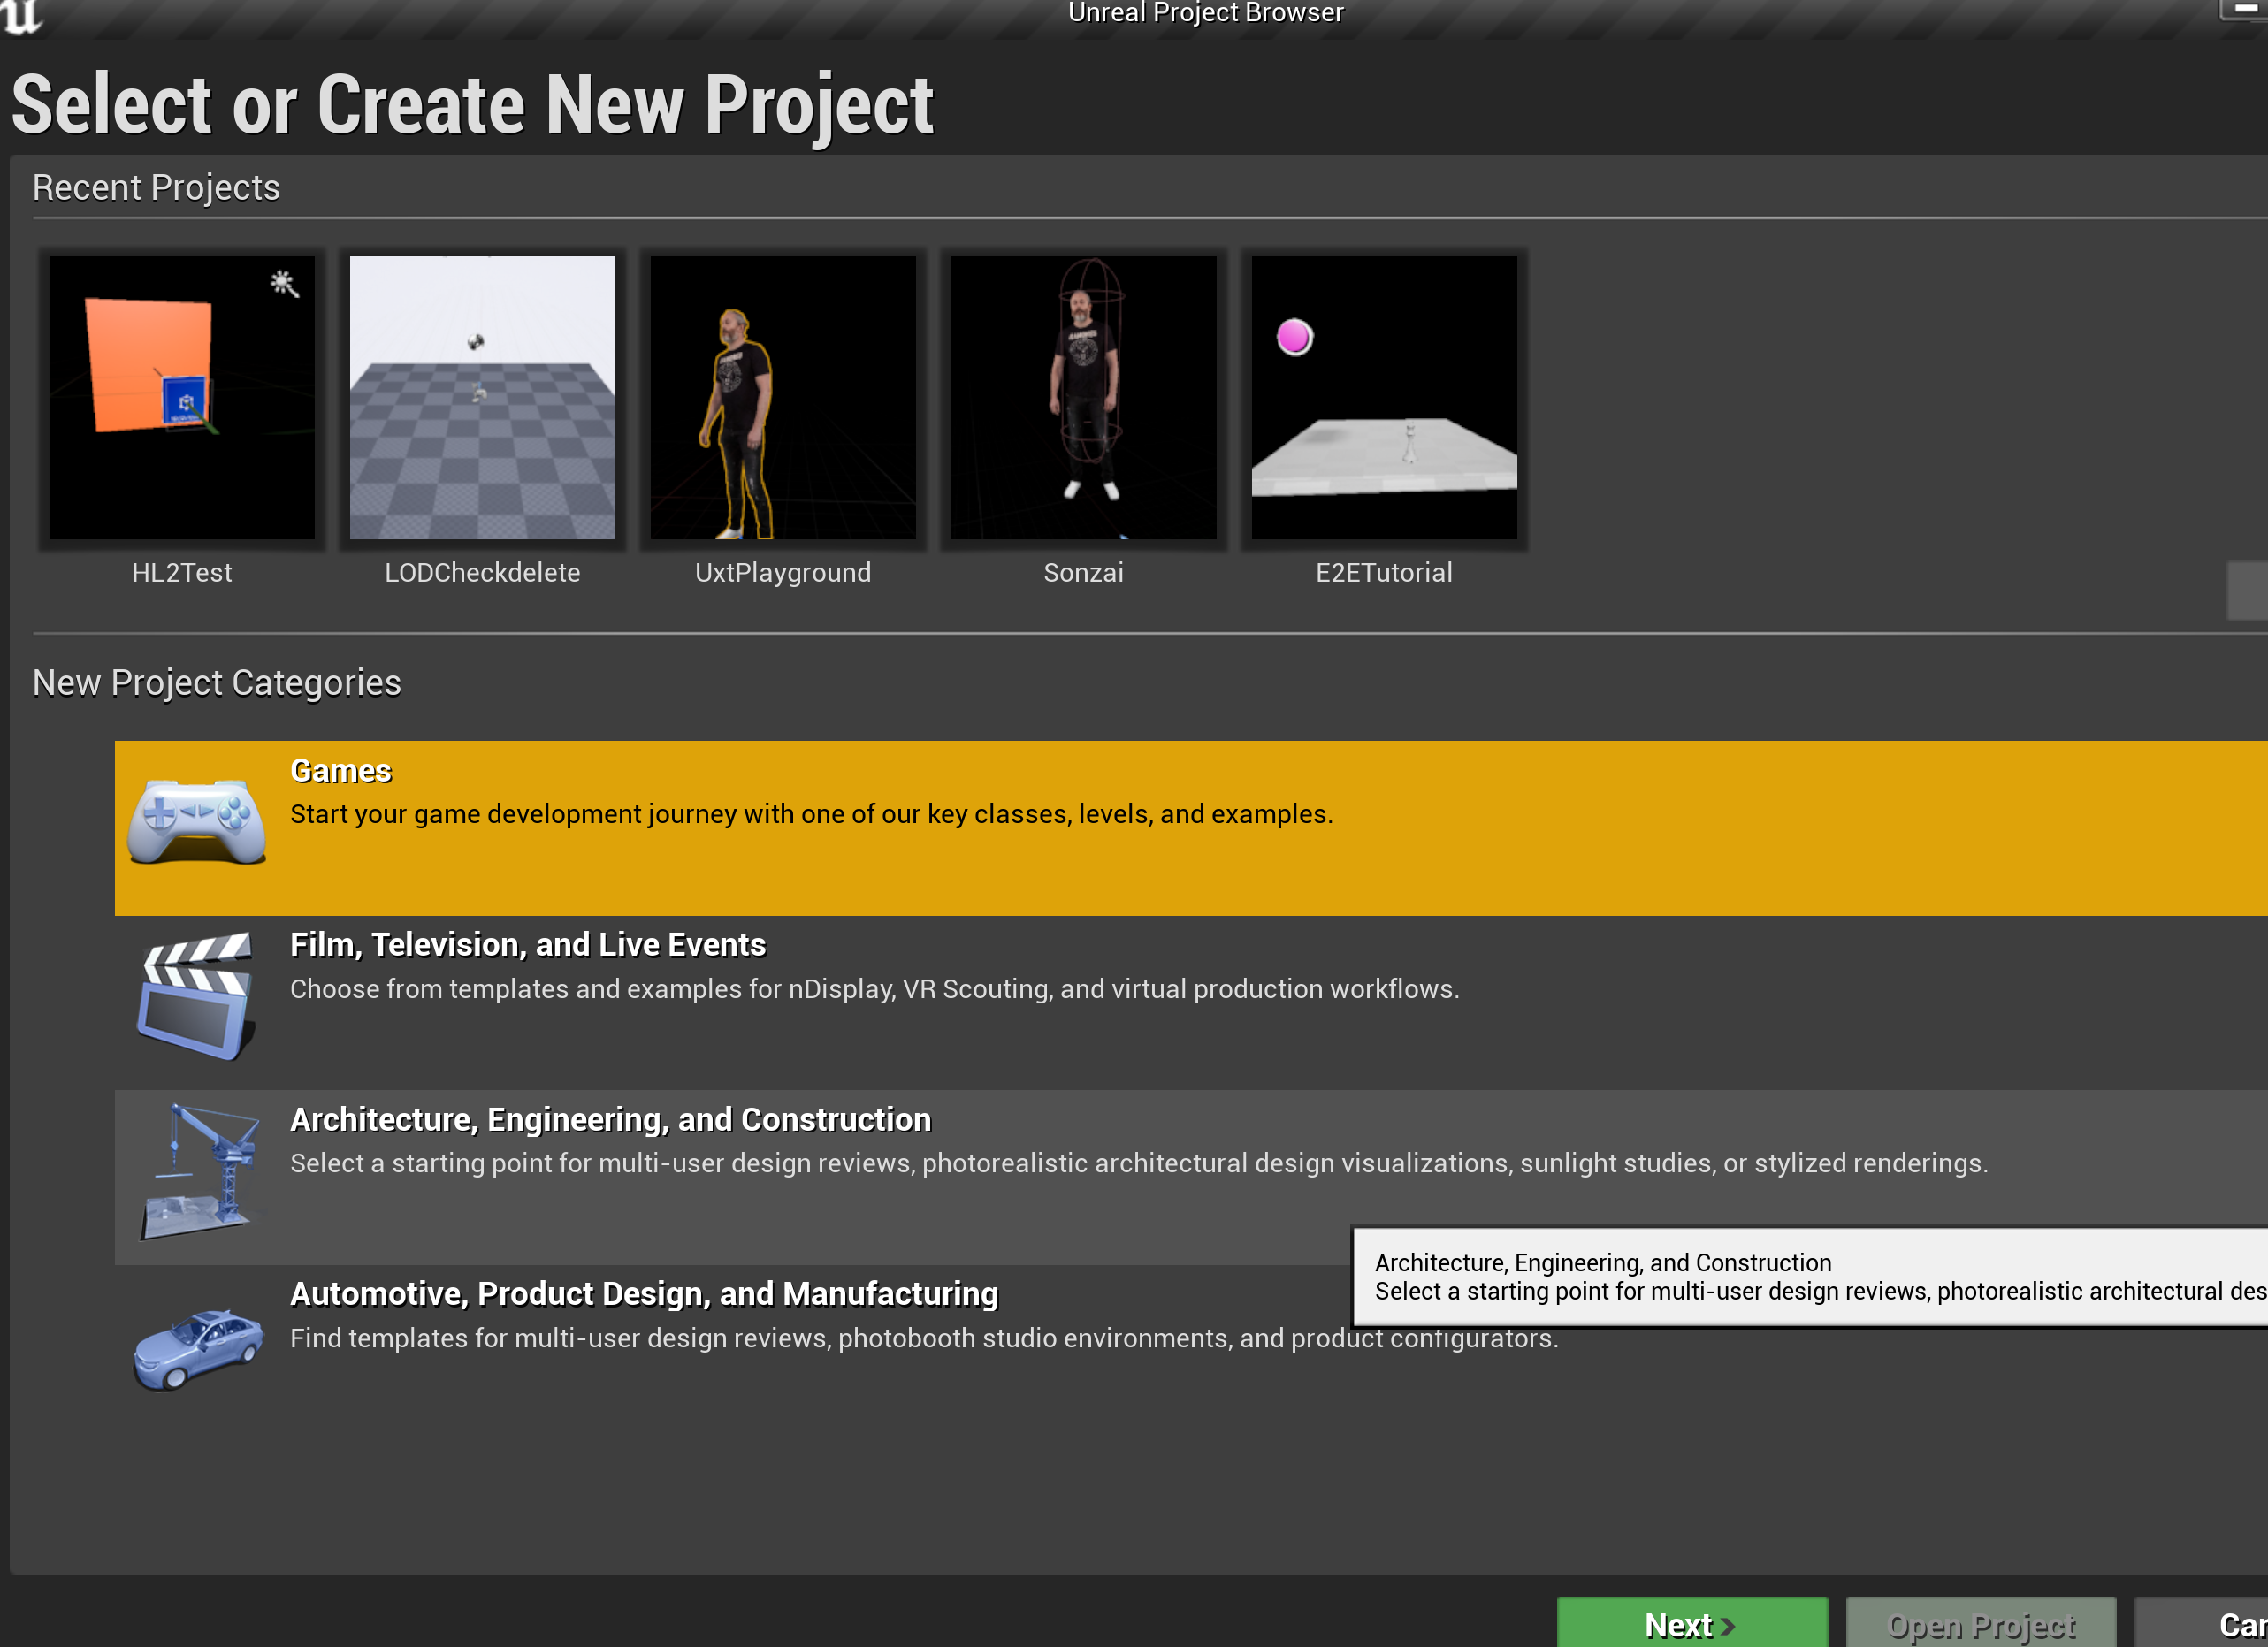
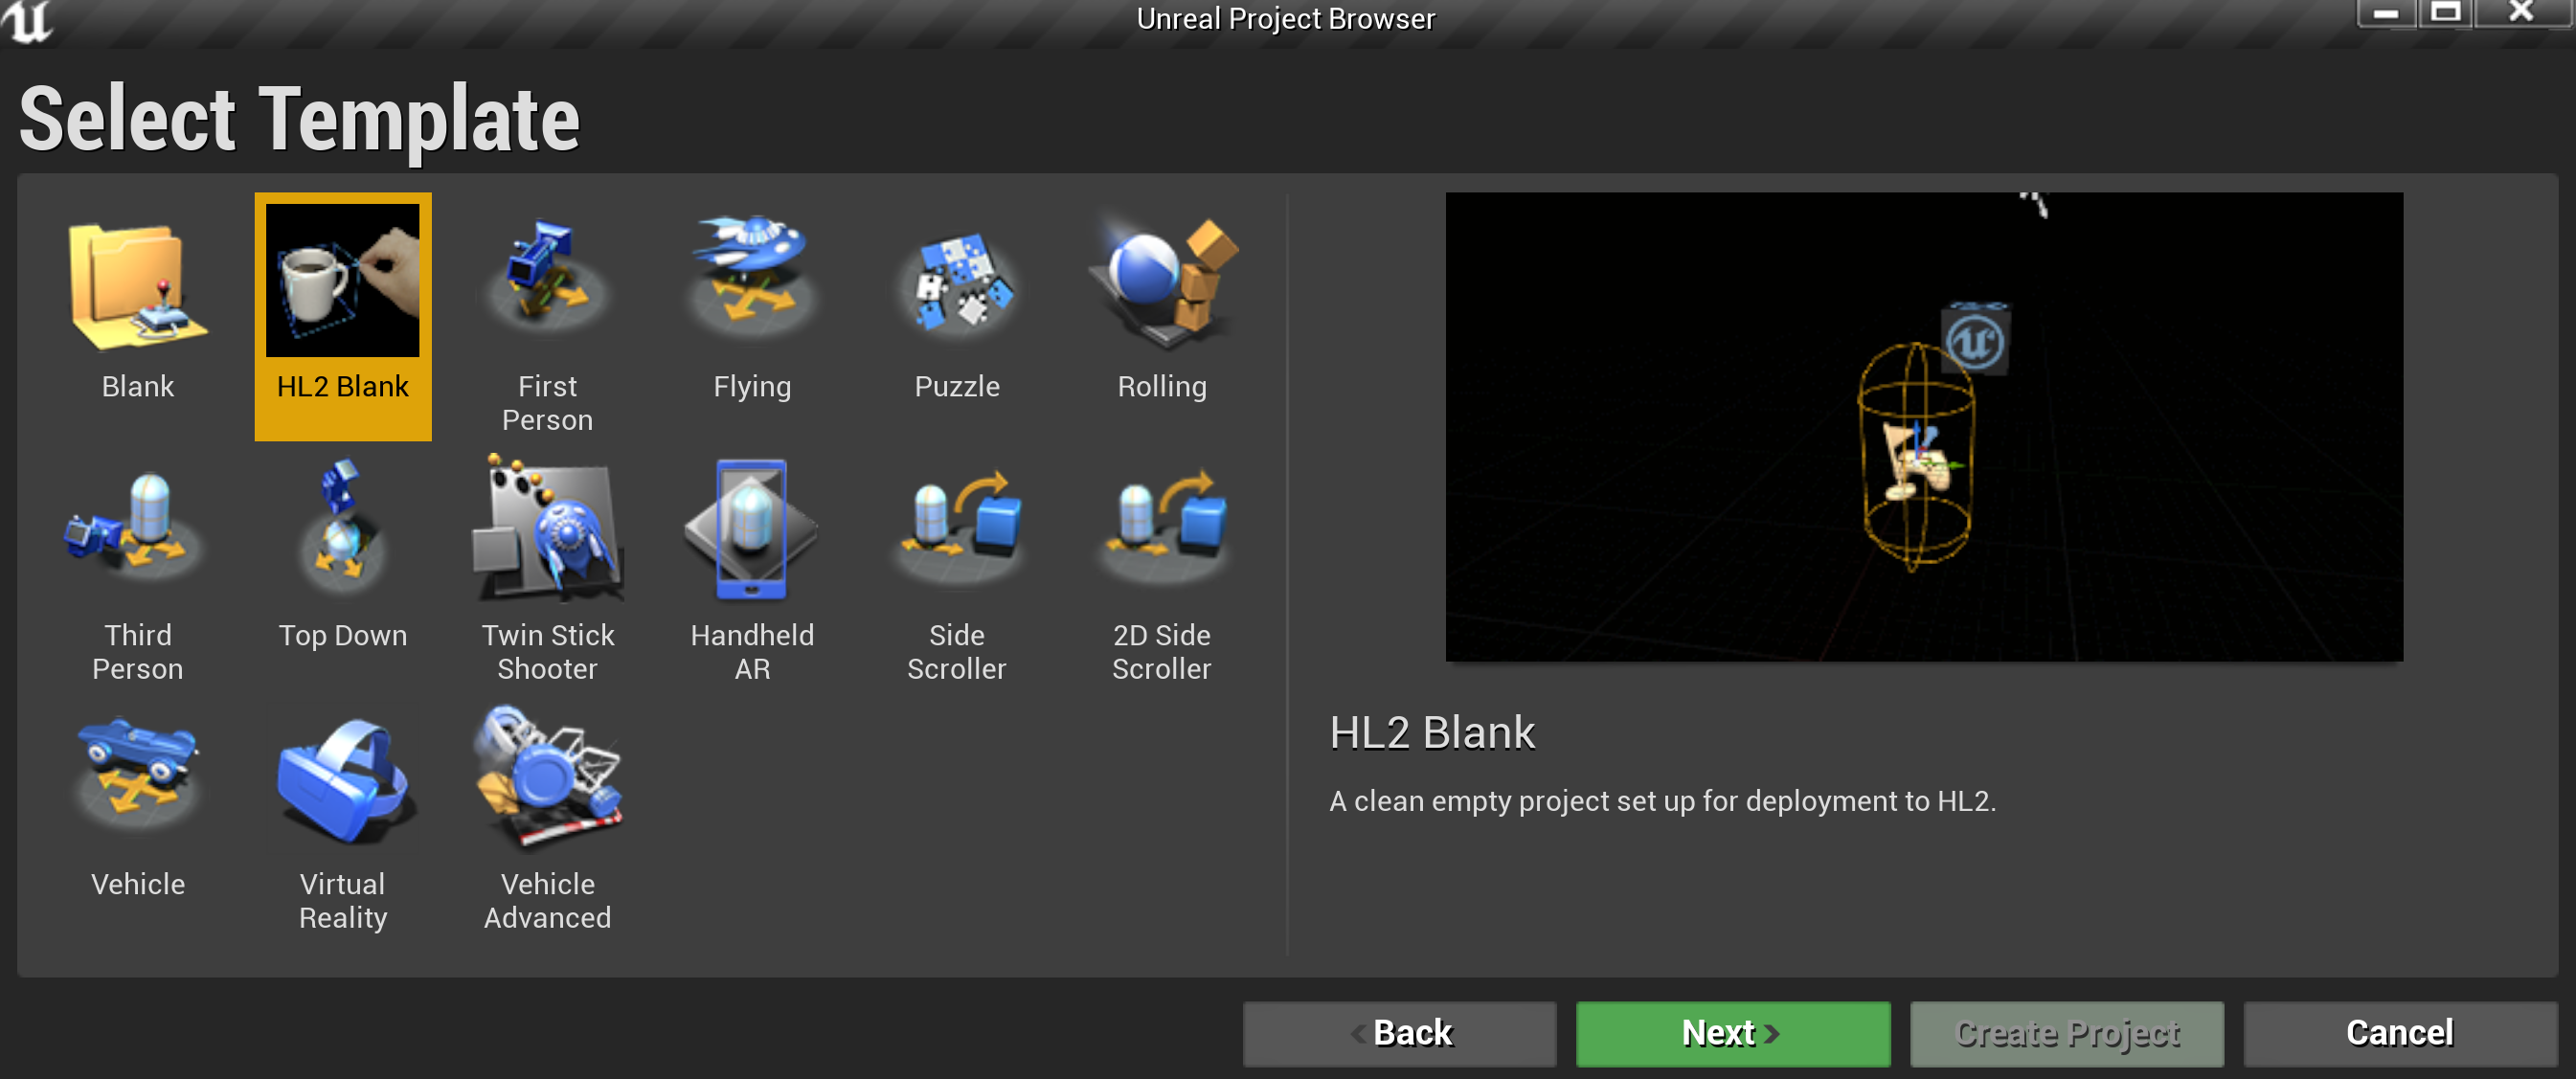
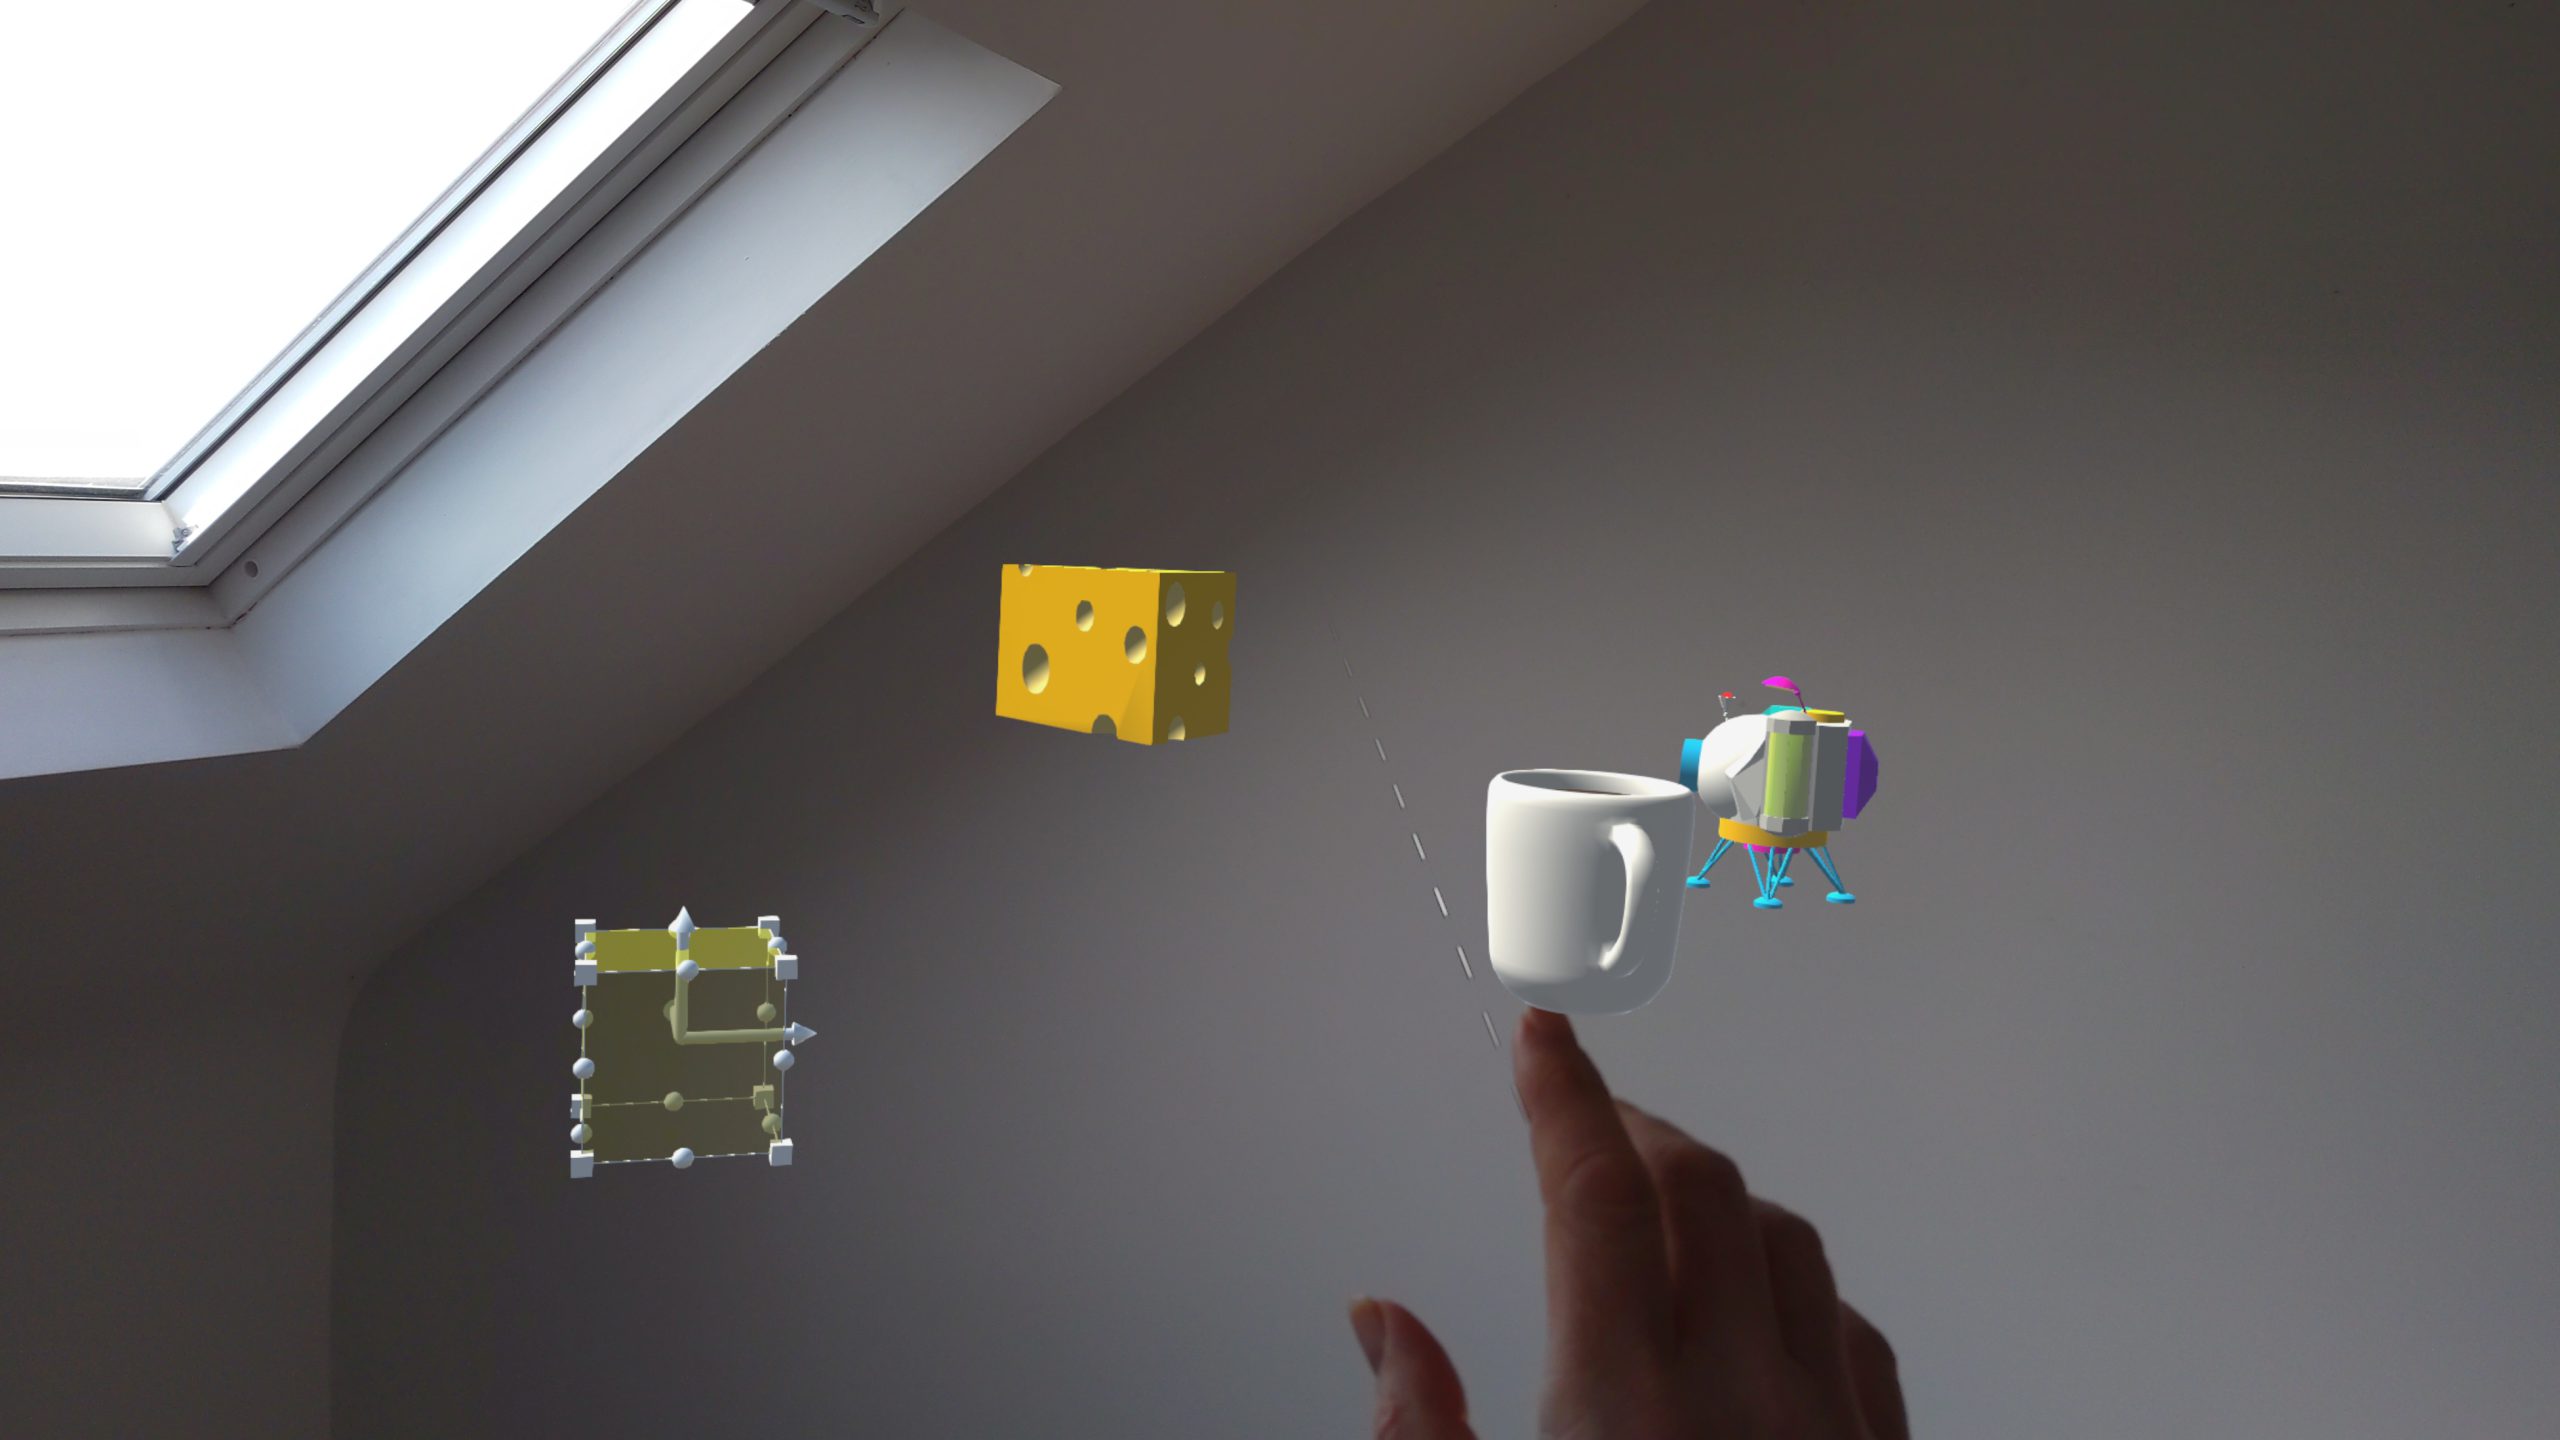
When you hit create the project files will get copied over from the template and the plugins will be compiled (this could take a while). After that you will have a project that looks a bit like this. Hitting play will enable you to use the dummy hands to interact with the cube:
In order to deploy to a device you will need a developer certificate which you can generate by navigating to Project Settings > Platforms > HoloLens and choose to generate a new certificate. Then you can create an app package by choosing File > Package Project > HoloLens and you can subsequently sideload the app package using the HoloLens Developer Portal - details here.


Comments