
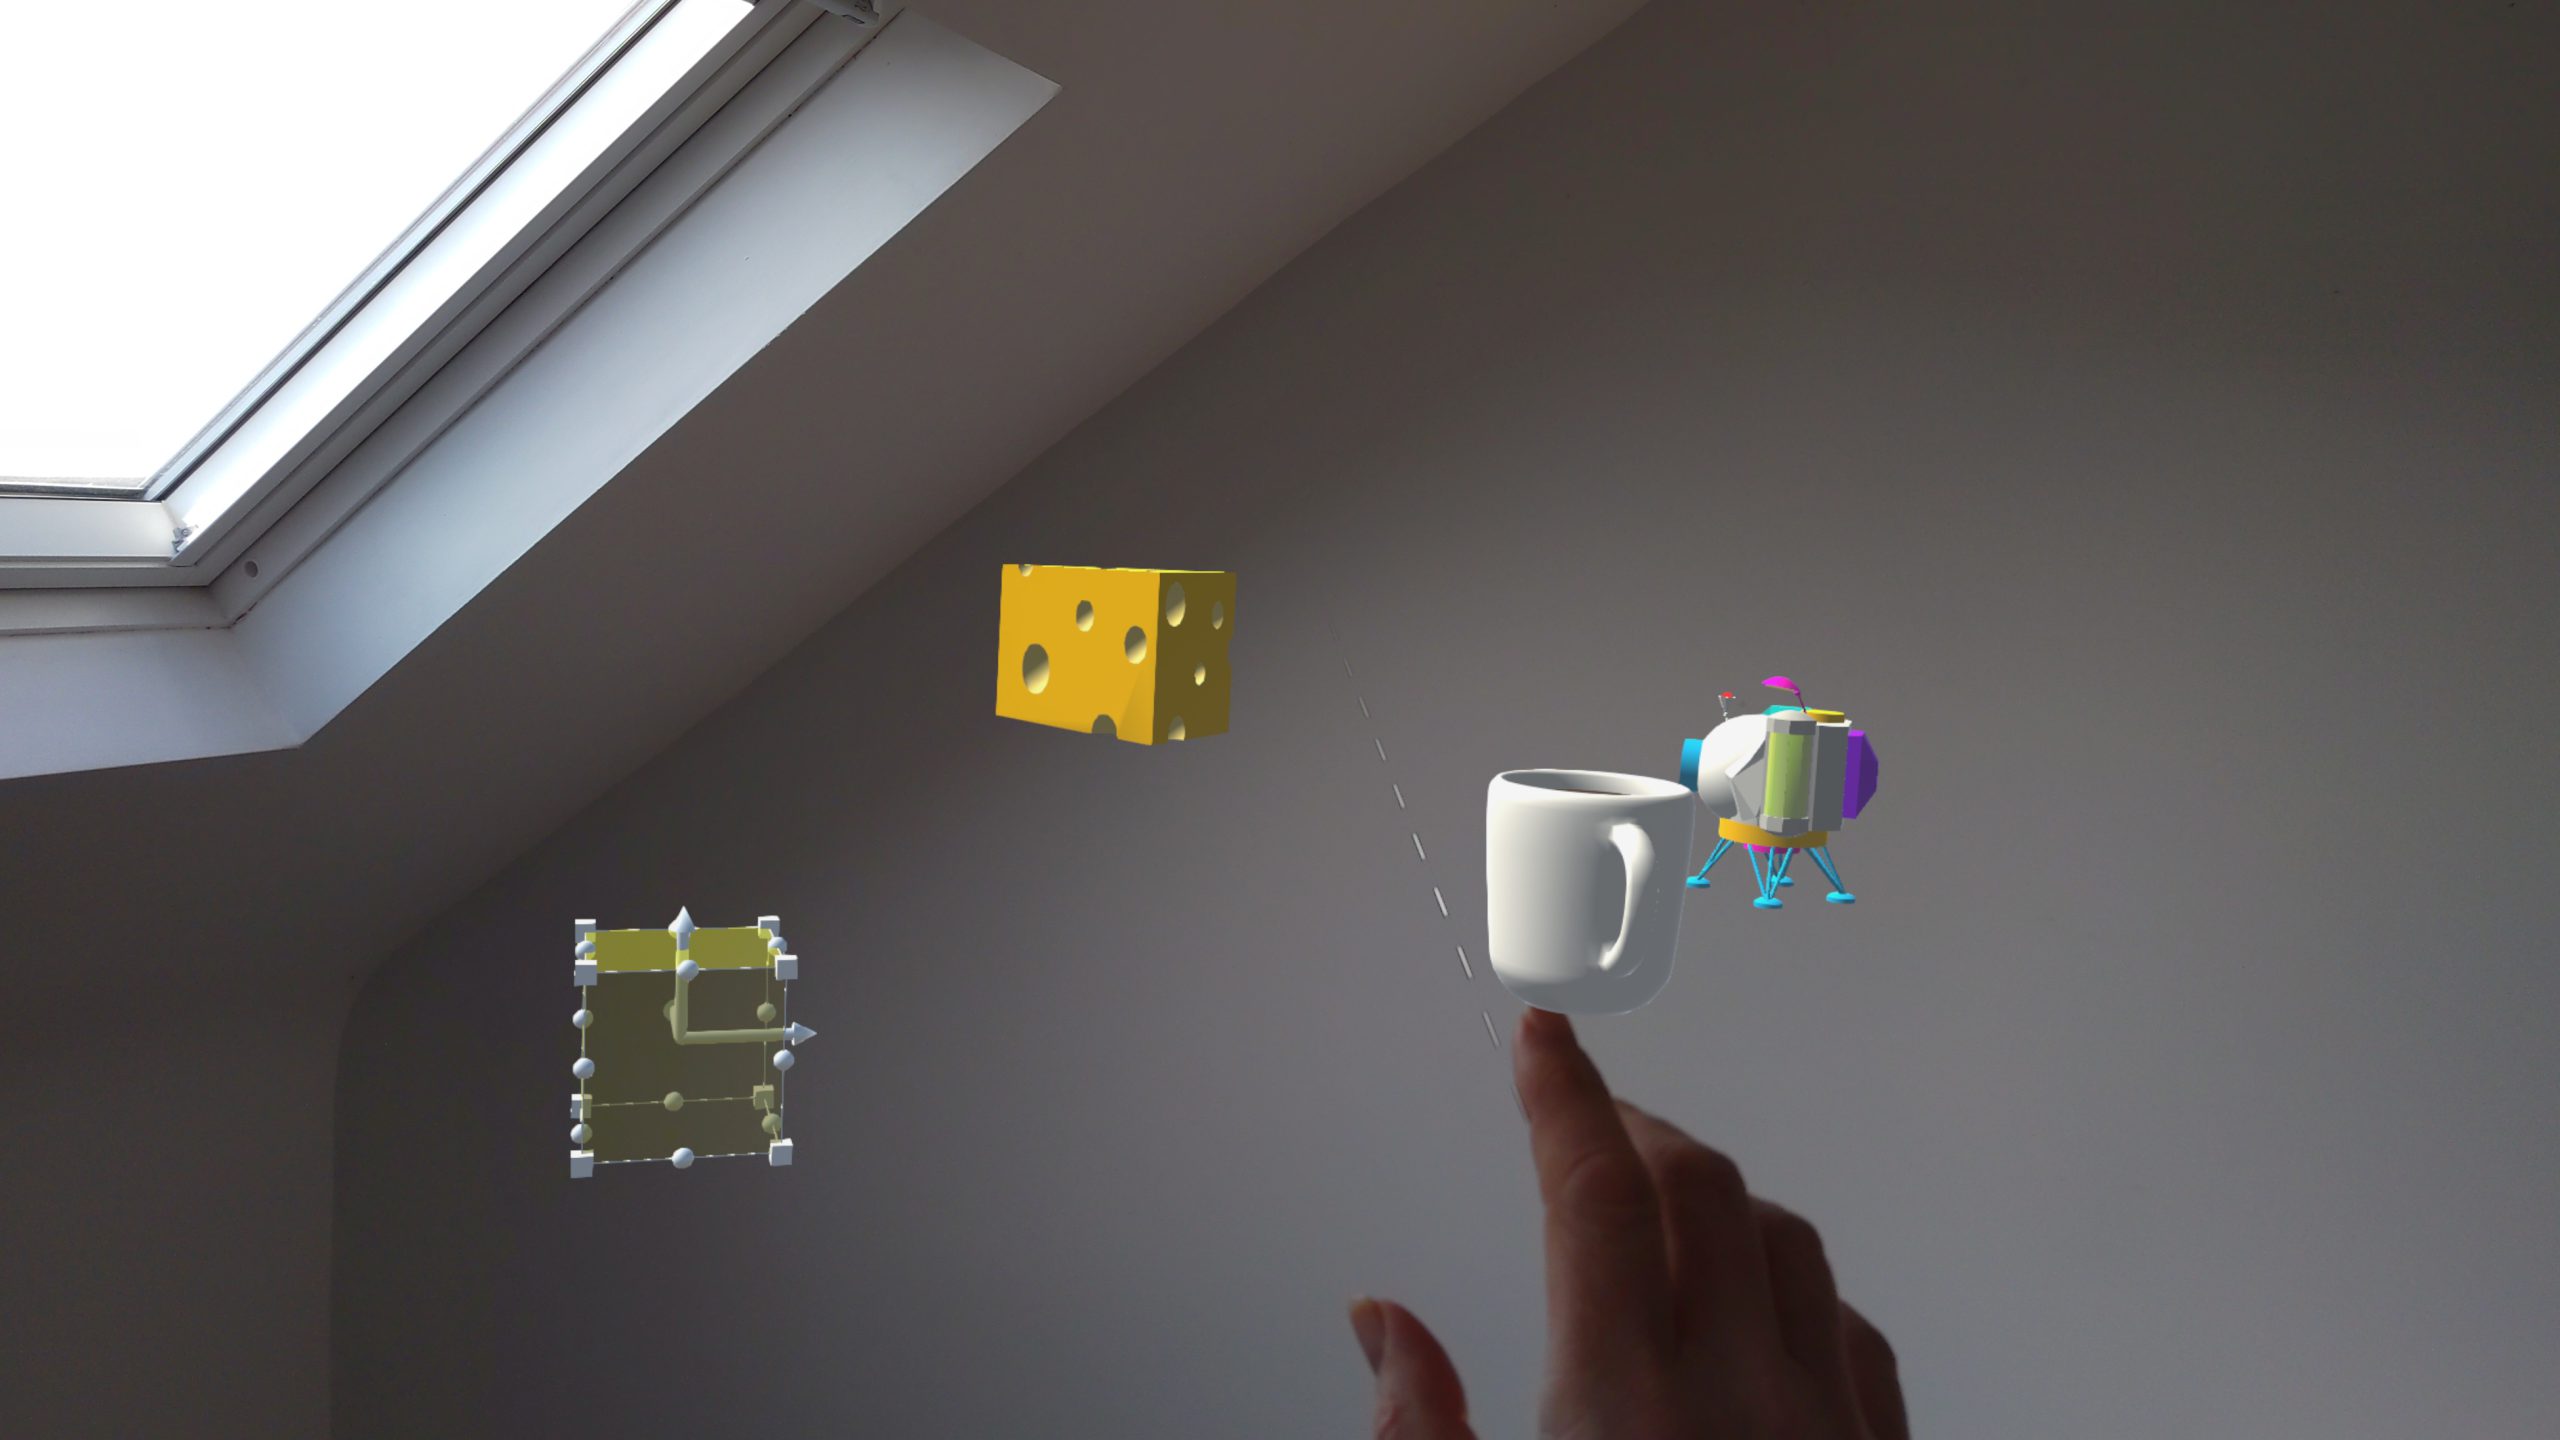
AAD Login on HoloLens 2
Here's a short video of the sample app that goes with this post:
The code is all found on Github here
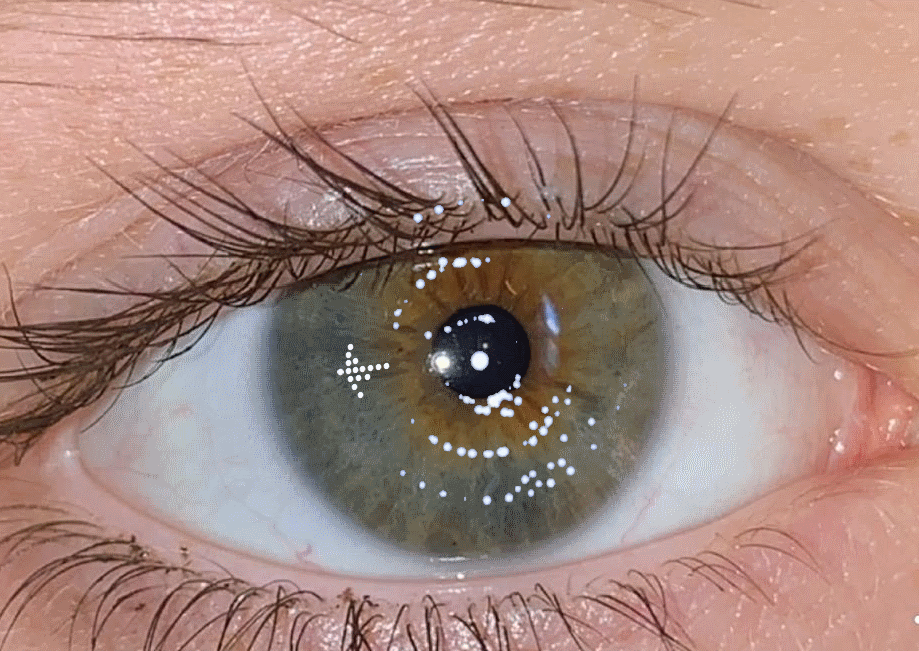
One of the coolest aspects of HoloLens2 is the iris login as it removes the need for typing on a virtual keyboard. So a cool feature which avoids the need for the coolest feature! Although hand-tracked typing is arguably the coolest feature it can become tiring when needed over and over...
So set up your HoloLens2 device using AAD credentials and then configure the device to use Iris login as shown below:
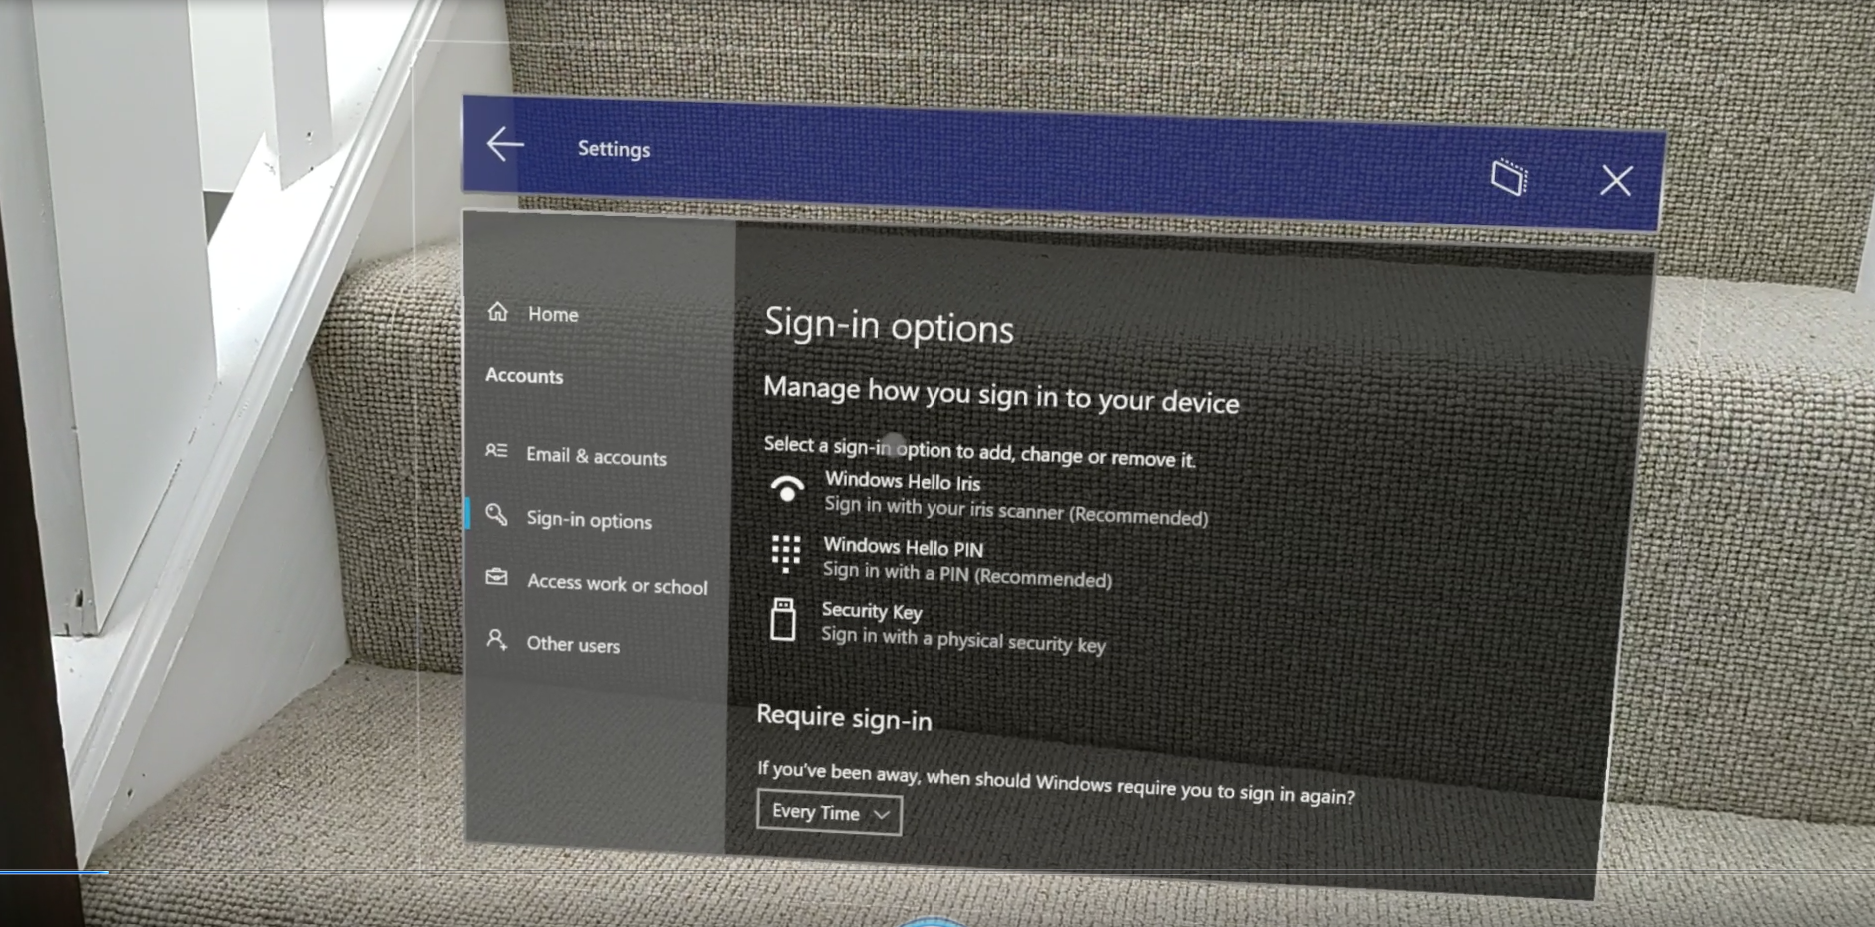
An app to configure will run and guide you to watch a moving animation.
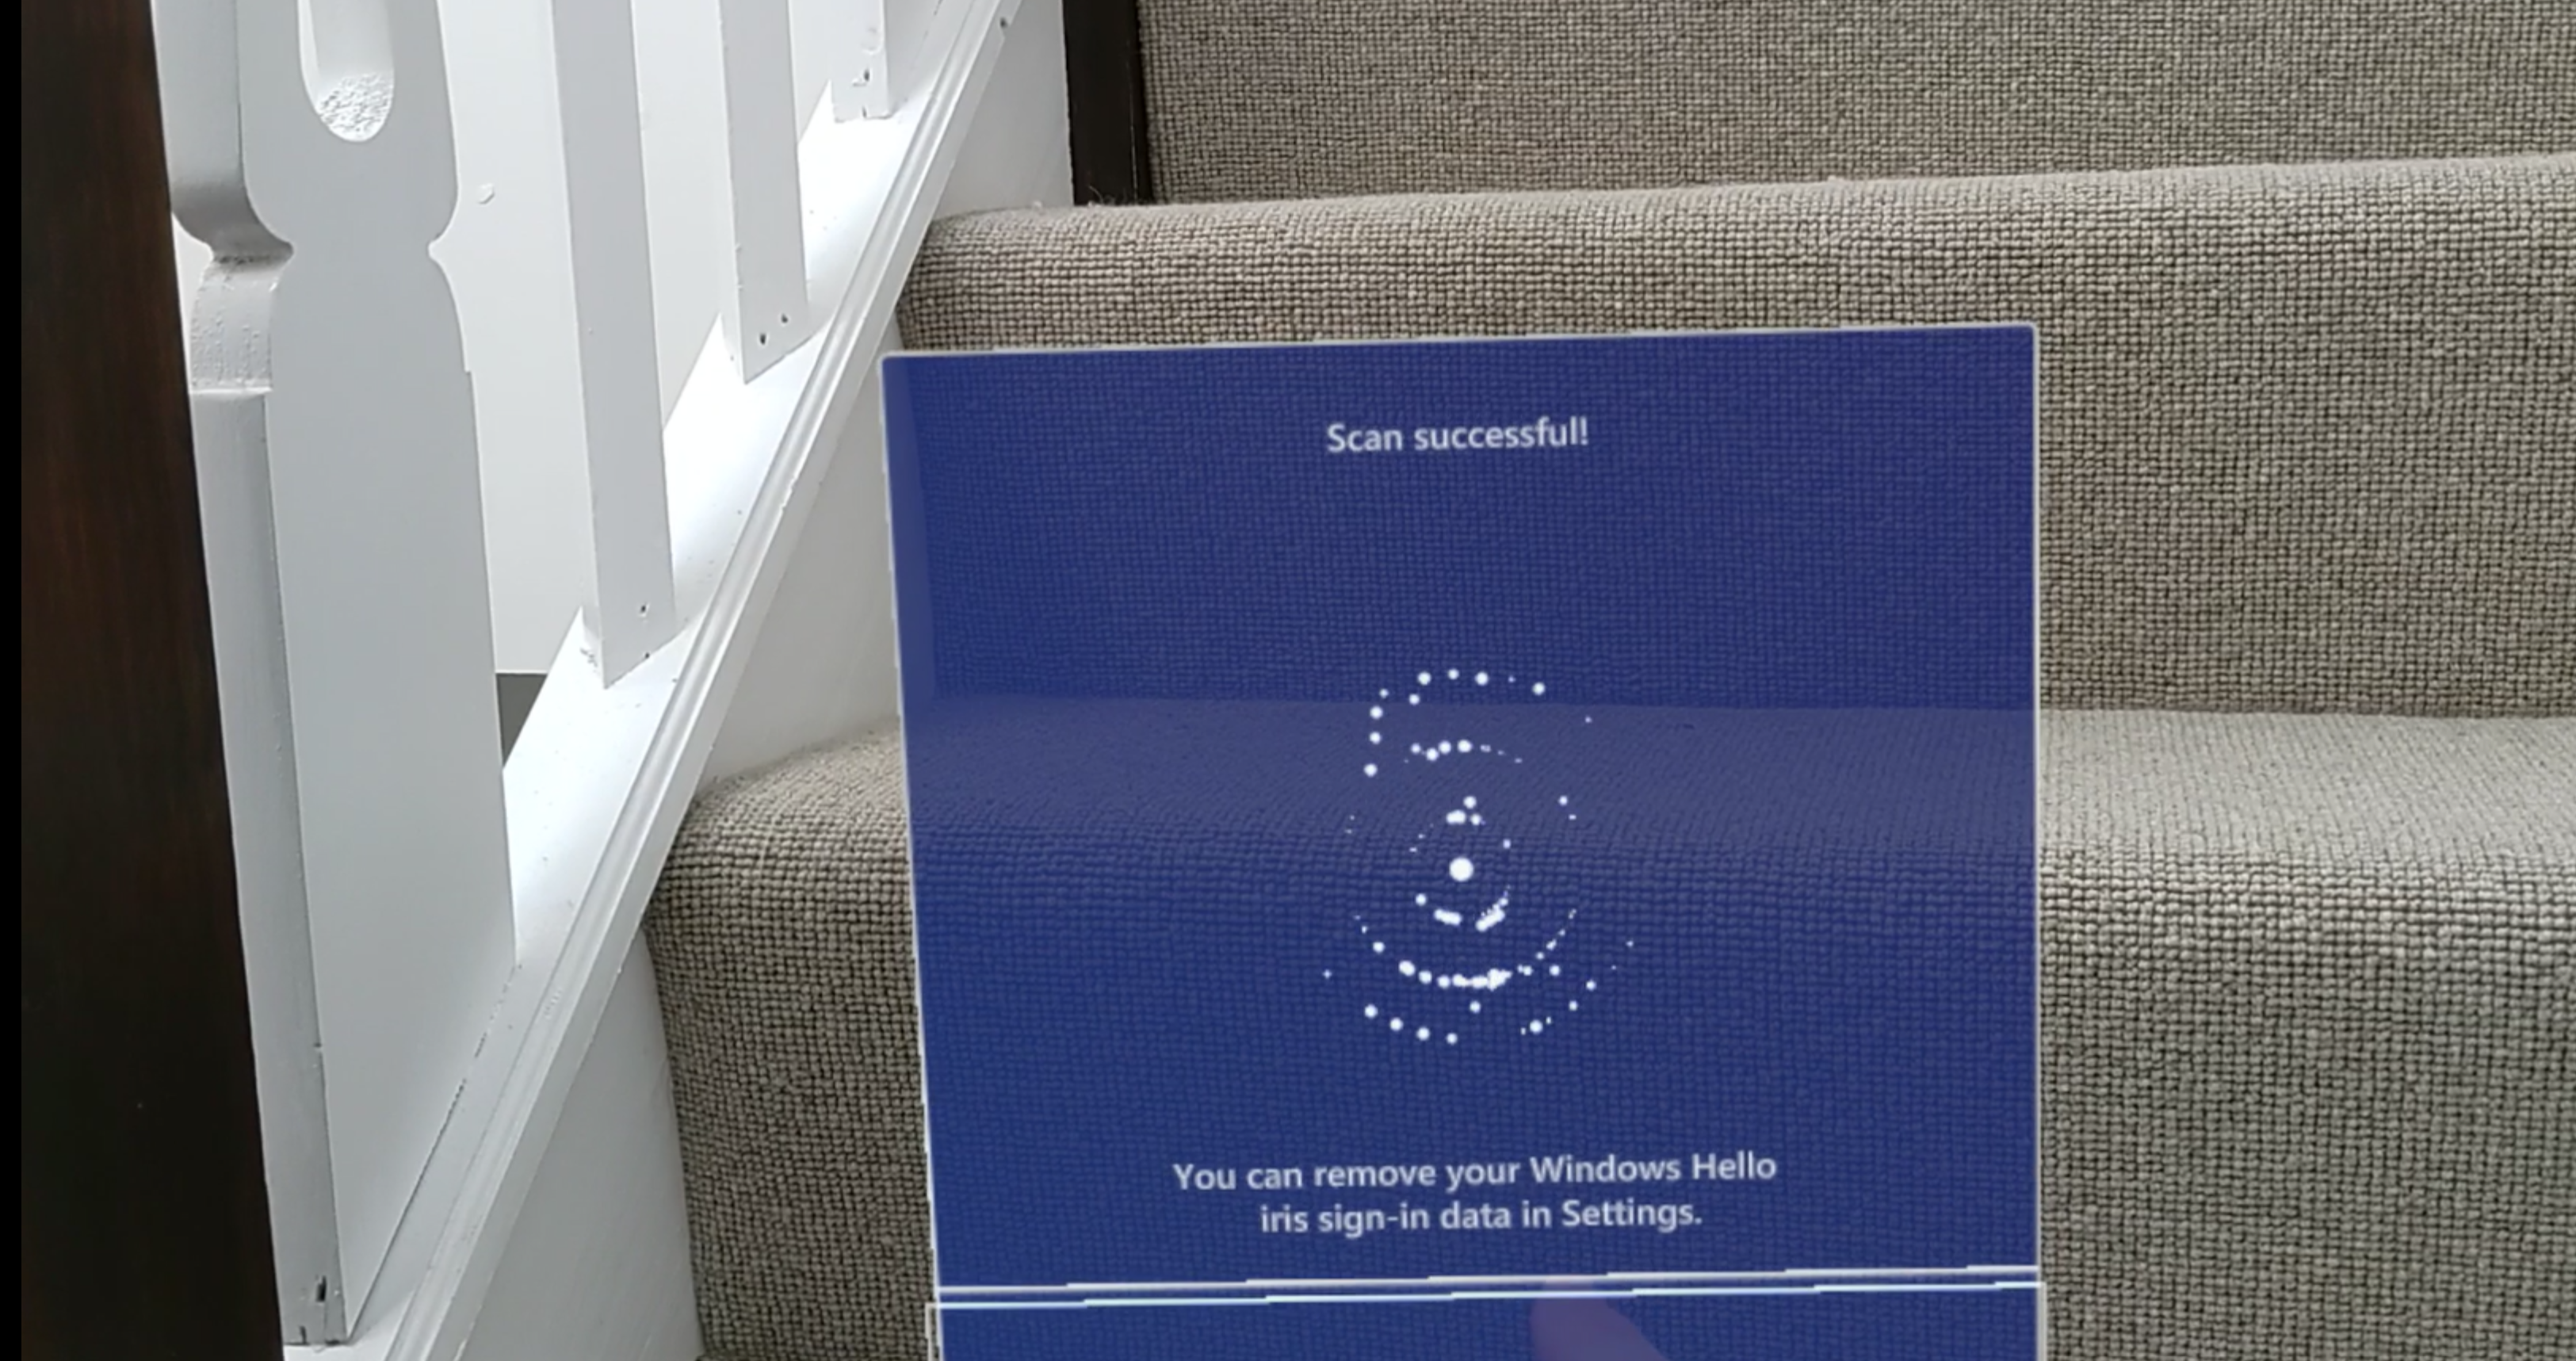
You can now add up to 64 other users logging in via AAD and have the device be shared by signing in an out. We'll see how this can be extended into an app later in the article.
I have previously written a little about the topic of retrieving Azure Active Directory (AAD) OAuth2 identity and access tokens on a HoloLens device.
If this topic is new to you I would suggest reading through the identity platform overview here
I focused on specific topics such as how to retrieve a token to access the Microsoft Graph API using Microsoft Authentication Library for .NET (MSAL) using the OAuth delegated flow and device code flows. You can see code and read about those here and here. There are some complications and potential blockers for those trying to set this up for the first time and, in my experience there is quite a lot of misunderstanding around the topics of auth in general. In my role at Microsoft I have worked through some of these issues for customers and I get asked a lot about how to set up auth correctly to access Graph APIs, your own APIs and Mixed Reality services. Often samples for services will skirt the issue by using secrets embedded into a client side application which you can configure with your own set of secrets for your service instances. This is fine for a demo and a first-try of the services in question but as soon as you turn your thoughts to developing production code falls down immediately and the first task you will be faced with is how to secure access to your services. I am going to cover the OAuth 2.0 Authorization Code Grant which you can read about here OAuth Grant Types if you want to understand the details of the flow.
In brief, the scenario I am talking about is when an end user provides permissions for an app to access services that the user has access to on their behalf. The end user does this by authenticating and consenting to a set of permissions known as scopes. The consented scopes are encapsulated within the access token itself.
I won't cover, for instance Client Credentials flow which is used in an app to service scenario not involving a user.
So, it seems pretty simple so far so why the need for this post? These are the complications that I associate with this:
-
Which APIs or framework should I use?
-
The acquisition of an OAuth token requires a browser doesn't it? So, how can I do this in Unity without buying a browser plugin?
-
How do I configure my Azure Active Directory to access services and use role-based access control?
-
I'm already logged into the HoloLens can I not just access the token already on the device?
I won't focus on some of the other topics like IL2CPP stripping code from .NET libraries as I have covered that in a previous post IL2CPP + HoloLens, so you may want to be on the lookout for those kind of issues. I will leave you with a code repository that you can borrow code from to set up the particular scenario that you are interested in. The code and the rest of this post will be concerned with the different ways that access and id tokens can be retrieved, back-end configuration and an illustration of how you might get an AAD token for some of the new Mixed Reality services such as Azure Spatial Anchors and Azure Remote Rendering.
Sample Walkthrough
This just describes some aspects of how I created the demo application. If this isn't of interest just skip these sections as I will make my way towards the various frameworks and APIs used.
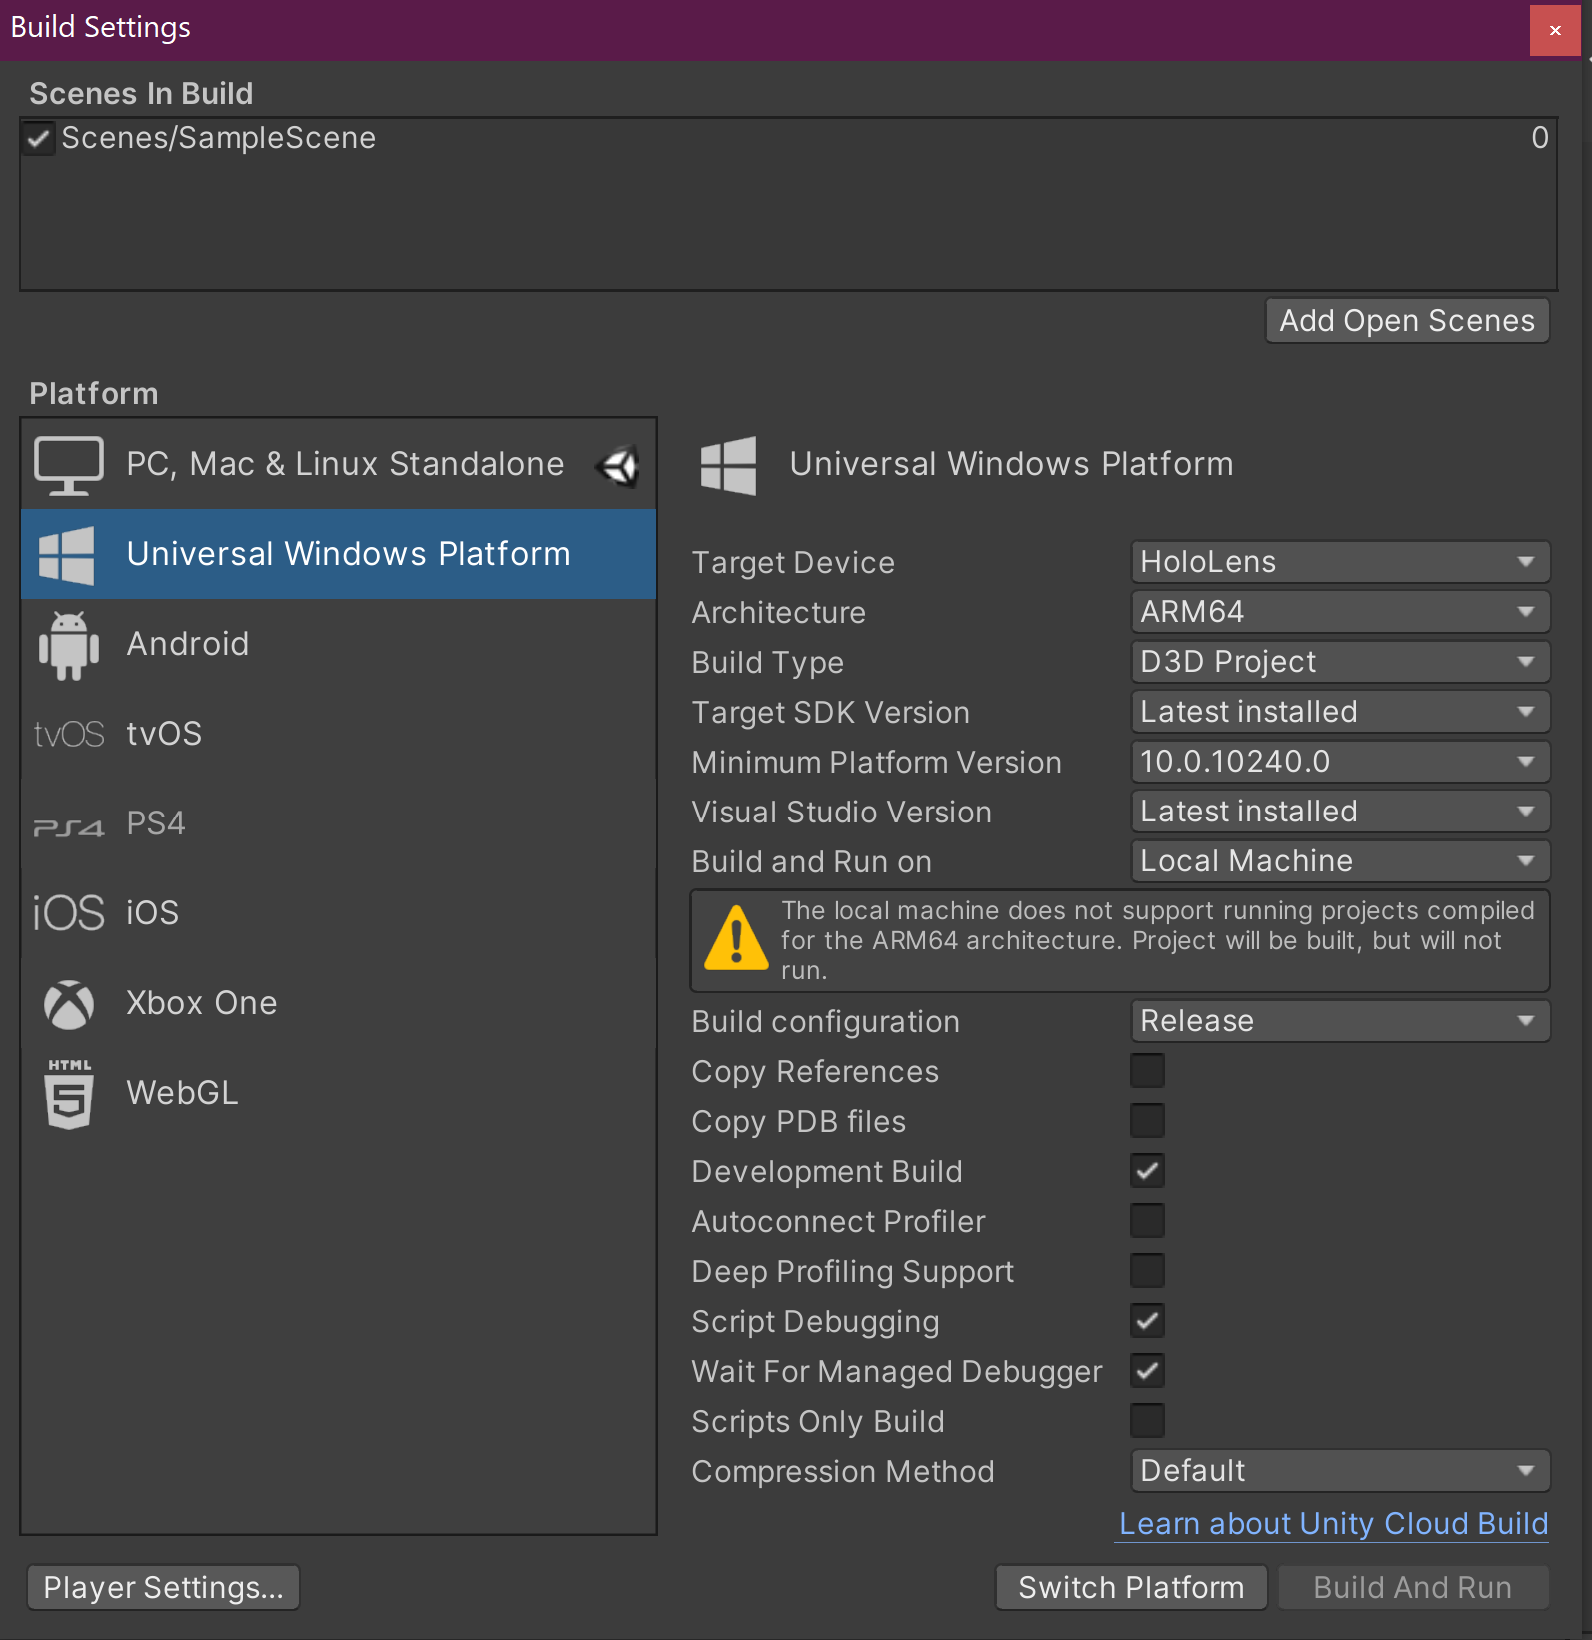
For the sample I have used Unity 2019.4.0f1. First add Nuget 2.0.0 to your project. Then, add MRTK v2.4.0 to your project using nuget. It looks like nuget support has been dropped for MRTK v2.4.0 so download the packages and import into your project.
Set app package name and capabilities to allow debugging on device via the unity debugging tools so we can connect using the managed debugger
I have trained myself to set the package name to avoid clashes with other apps I am developing

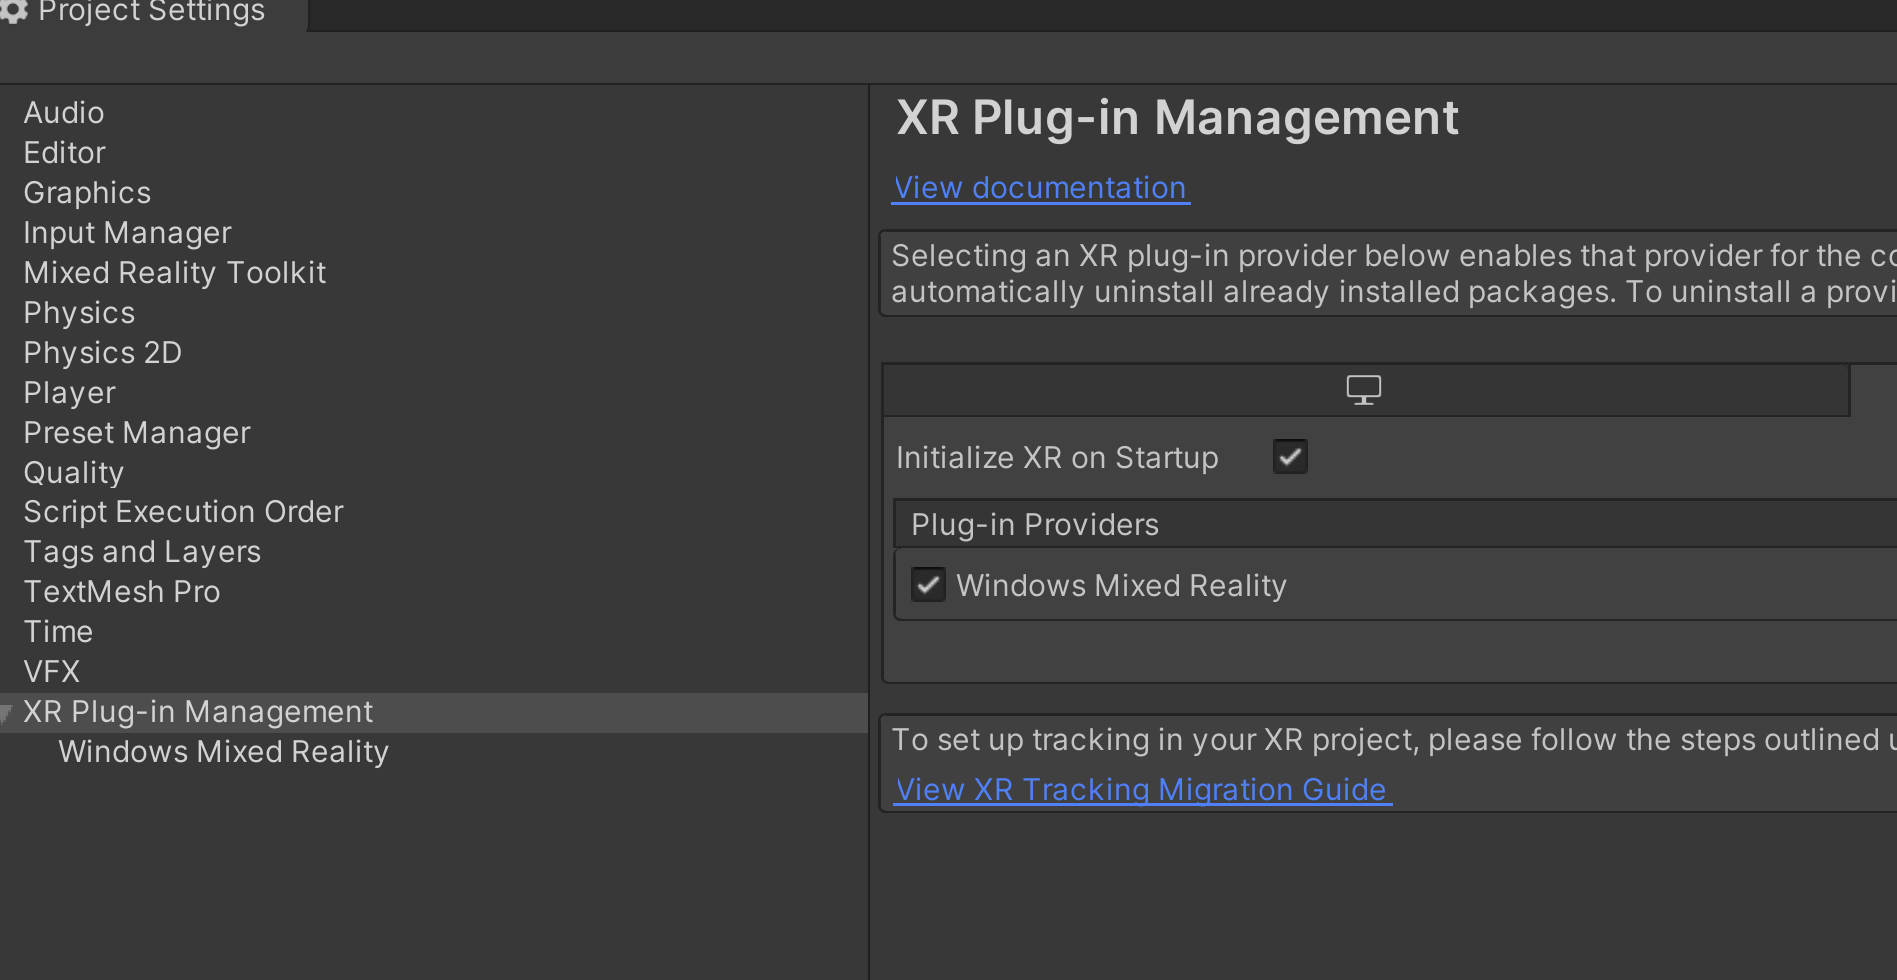
This also involves removing any legacy XR packages using the Unity package manager, if necessary..
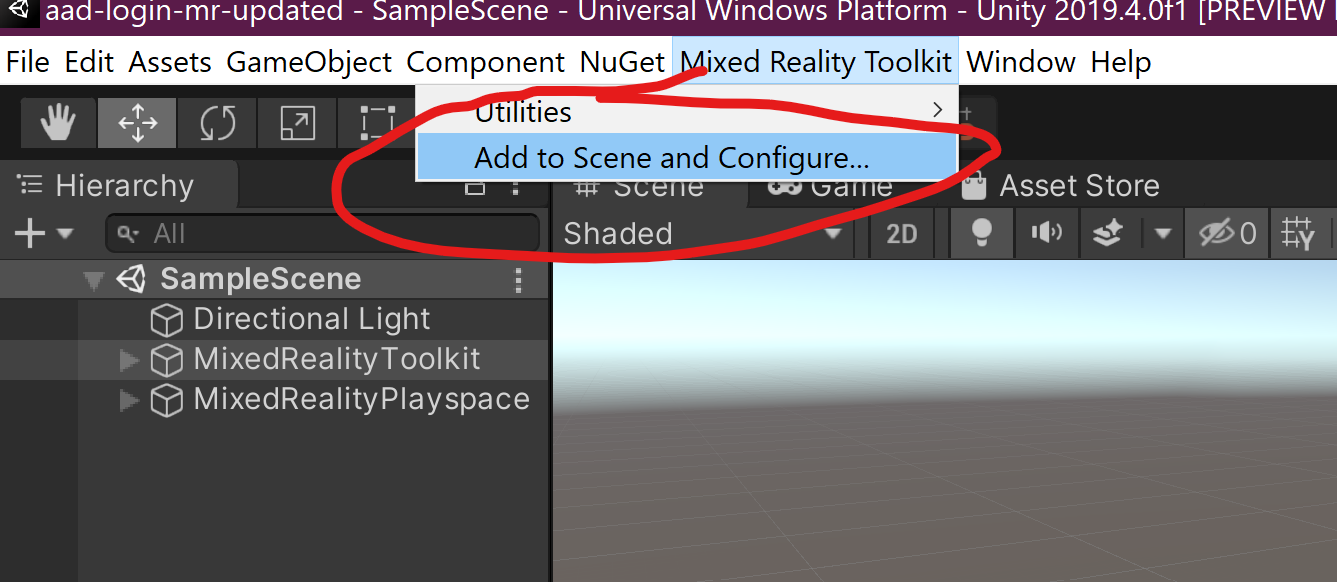
add MRTK to the scene
Turn off spatial awareness by cloning the MRTK configuration and turning Enable Spatial Awareness off. Add a near menu prefab to your scene, empty it's contents (you will need to unpack the prefab) and resize the remaining items so that the backplate is bigger, the visual cues are re-positioned and the pin is re-positioned.
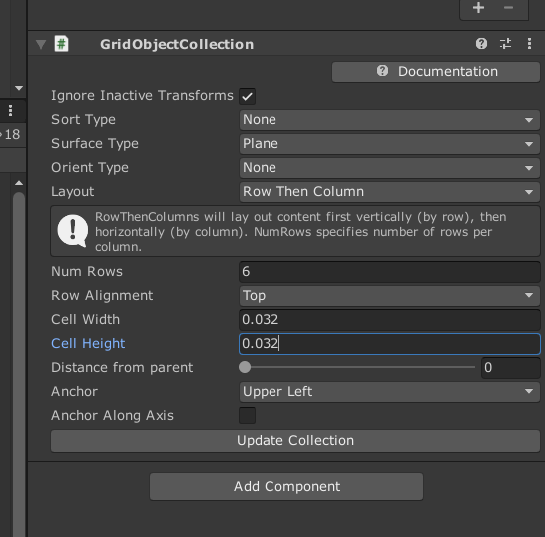
Find the RadialSet prefab in the MRTK and drag an instance under the near menu game object, add a GridObjectCollection component to the RadialSet and add a toggle button for each option we want to represent (one for each login method).
Search the project panel for toggle to find the PressableButtonHoloLens2Toggle and drag one under the RadialSet.
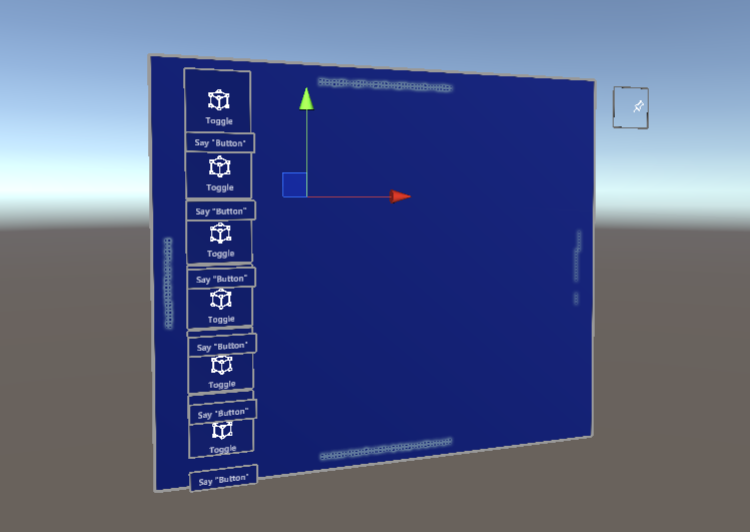
Layout the toggle buttons
Adjust the backplate and grip visuals to arrive at:
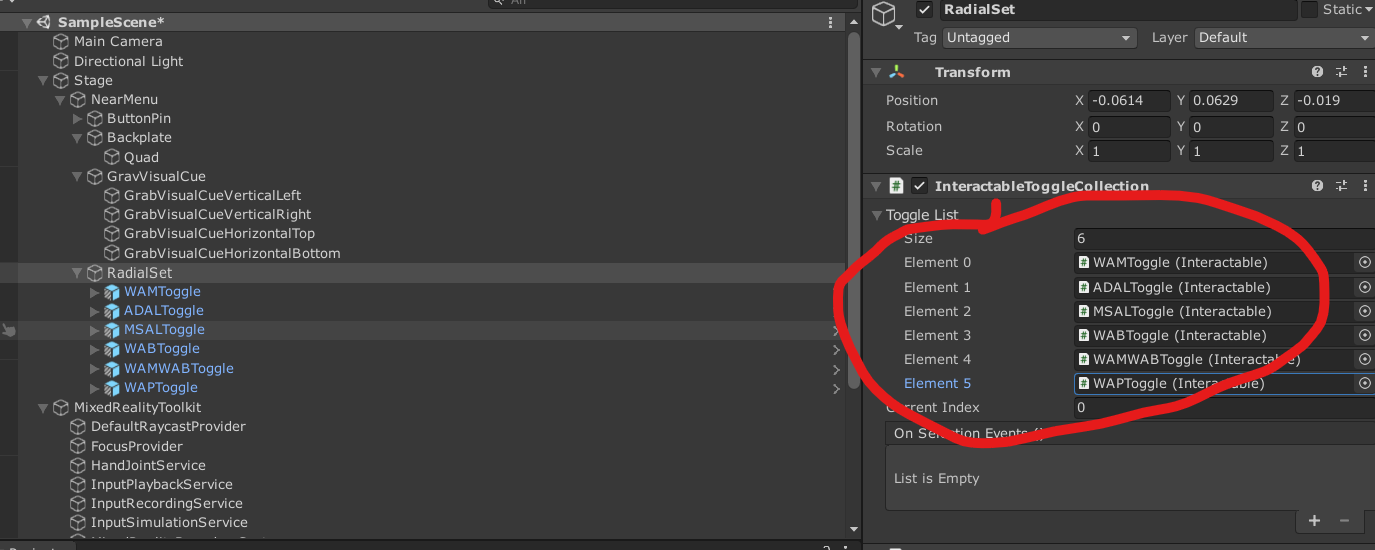
Rename and configure toggle buttons in the InteractableToggleCollection component on the RadialSet
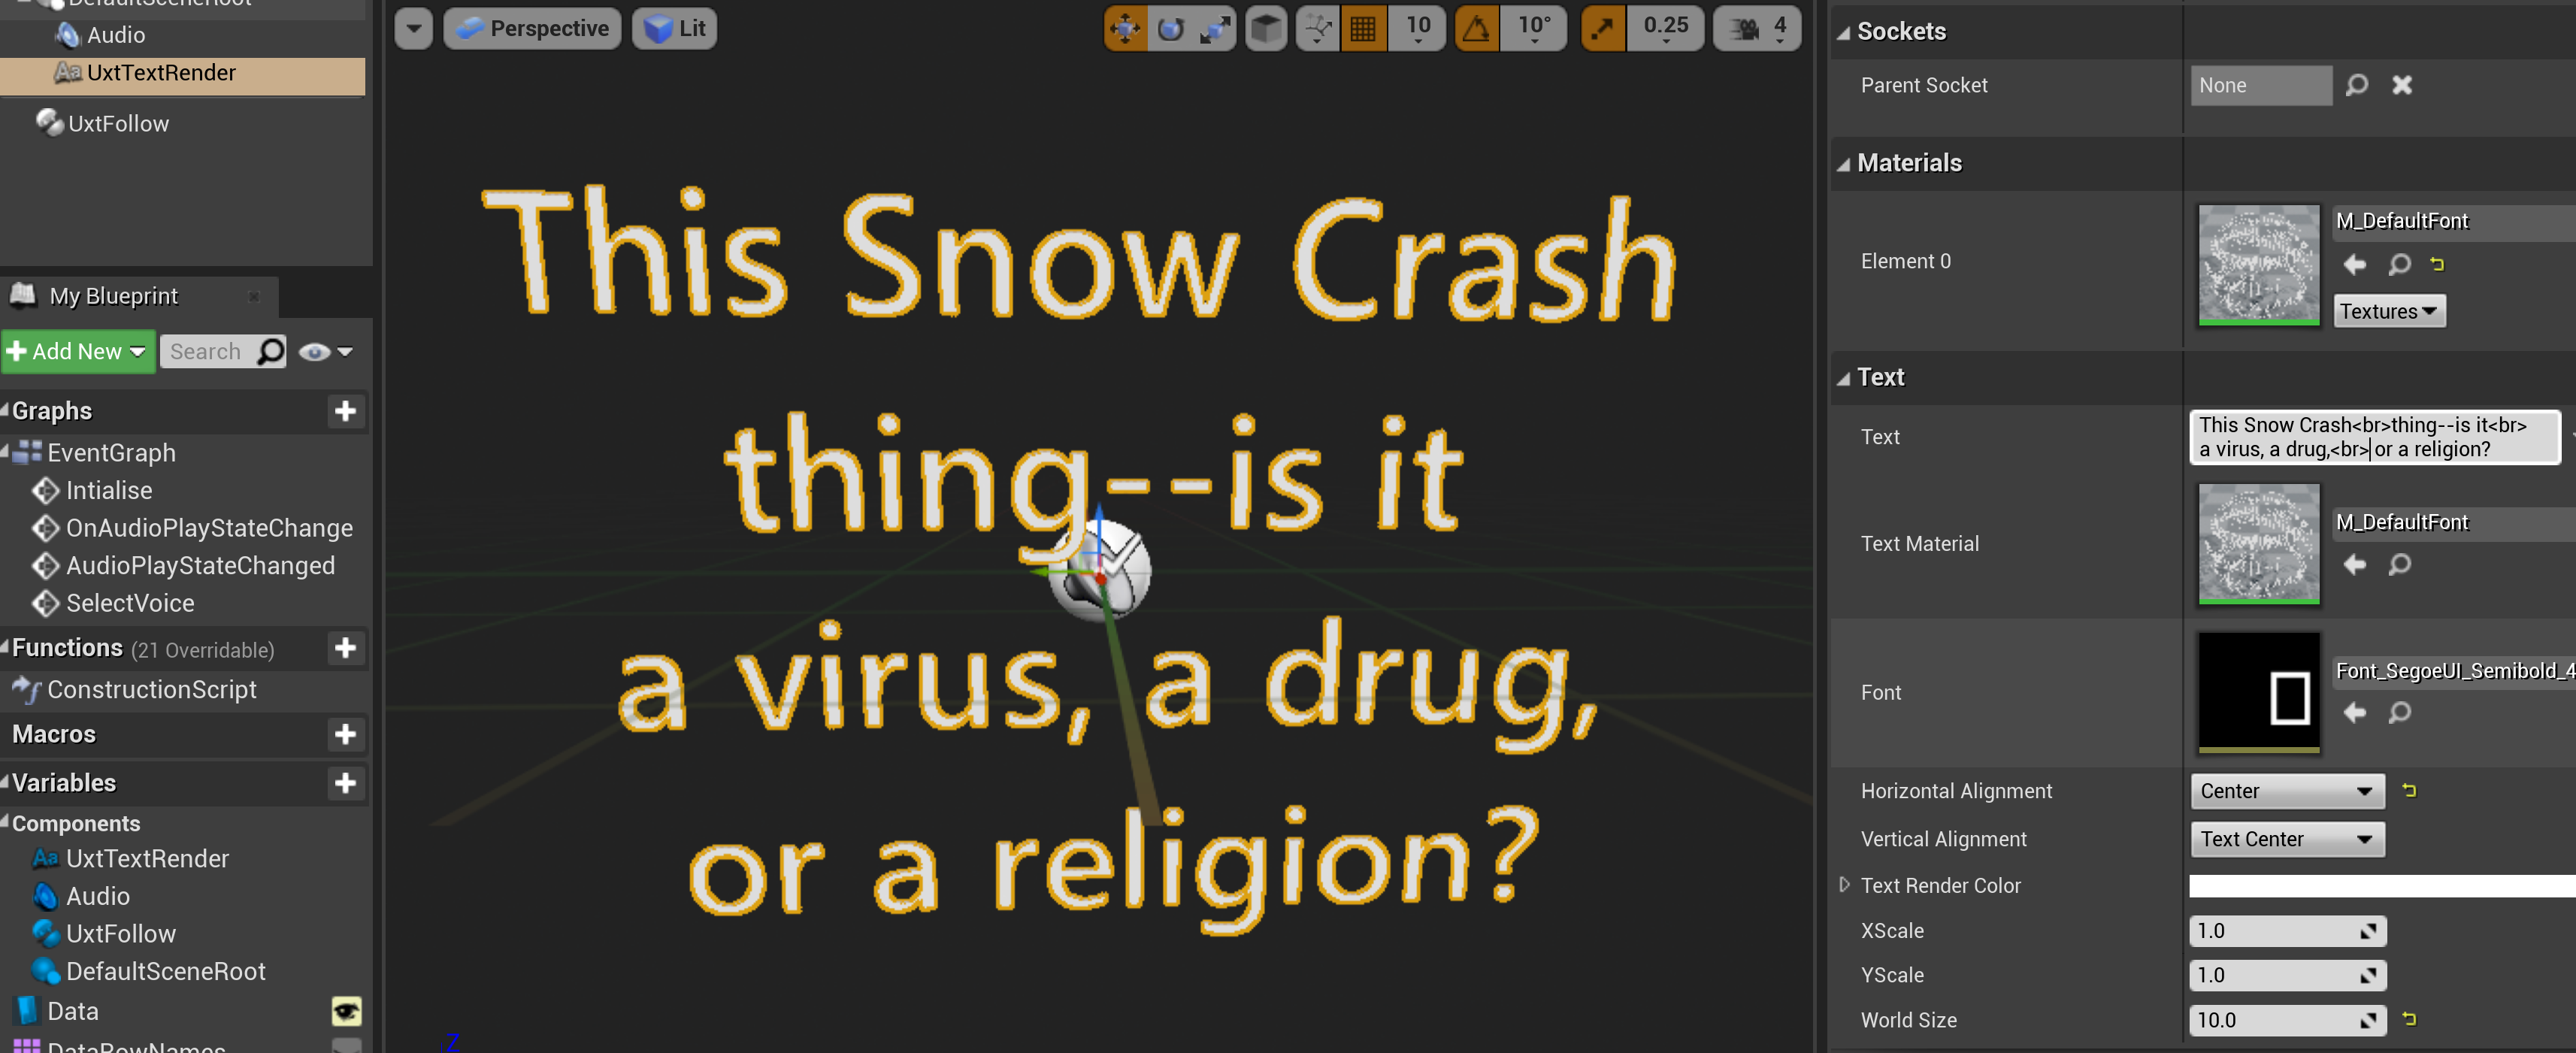
Then we are going to make this into a tabbed dialog by adding a parent node to the RadialSet (I called this TabbedDialog) and then adding a script to that node. Here's a snippet from TabbedDialog.cs showing how the content visibility is synchronised with the tab selection.
private void OnSelectedChanged()
{
// Retrieve the current Index here...
var newId = SyncPanelToCurrentIndex();
if (!string.IsNullOrEmpty(newId))
SelectedChanged.Invoke(newId);
}
private void OnEnable()
{
if (_selectionChanged == null)
_selectionChanged = OnSelectedChanged;
tabs.OnSelectionEvents.AddListener(_selectionChanged);
SyncPanelToCurrentIndex();
}
string SyncPanelToCurrentIndex()
{
int idx = tabs.CurrentIndex;
if (idx < 0 && idx >= Panels.Length)
return string.Empty;
foreach (var panel in Panels)
{
panel.SetActive(false);
}
Panels[idx].SetActive(true);
return Panels[idx].GetComponent<ProviderId>().Id;
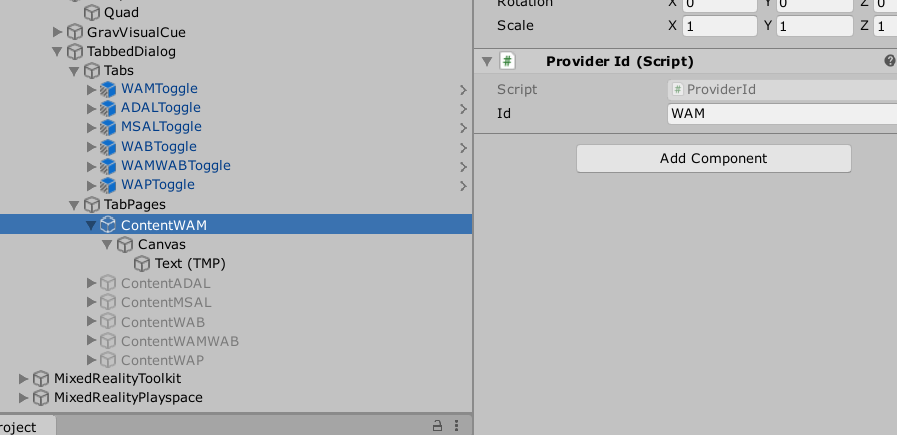
}The content pages are arbitrary game objects and are given an ID by adding the ProviderId script. This way the ID can be passed around to switch the content page and also the Identity provider.
The video below shows the tabbed dialog being used to switch the content pages in the Unity Game preview.
We can use this UI to plug in different auth providers and switch them at runtime.
APIs and Frameworks
Web Authentication Manager
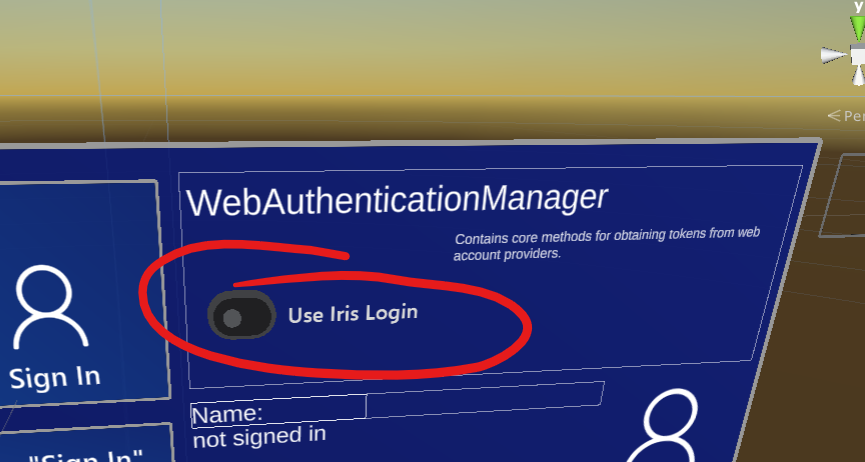
Here we can access the APIs which enable you to retrieve the current user's AAD token and also to invoke a biometric check against the current physical user. this would guard against another user picking up a device and accessing sensitive information. You can switch the iris check on/off in the sample with a toggle switch.
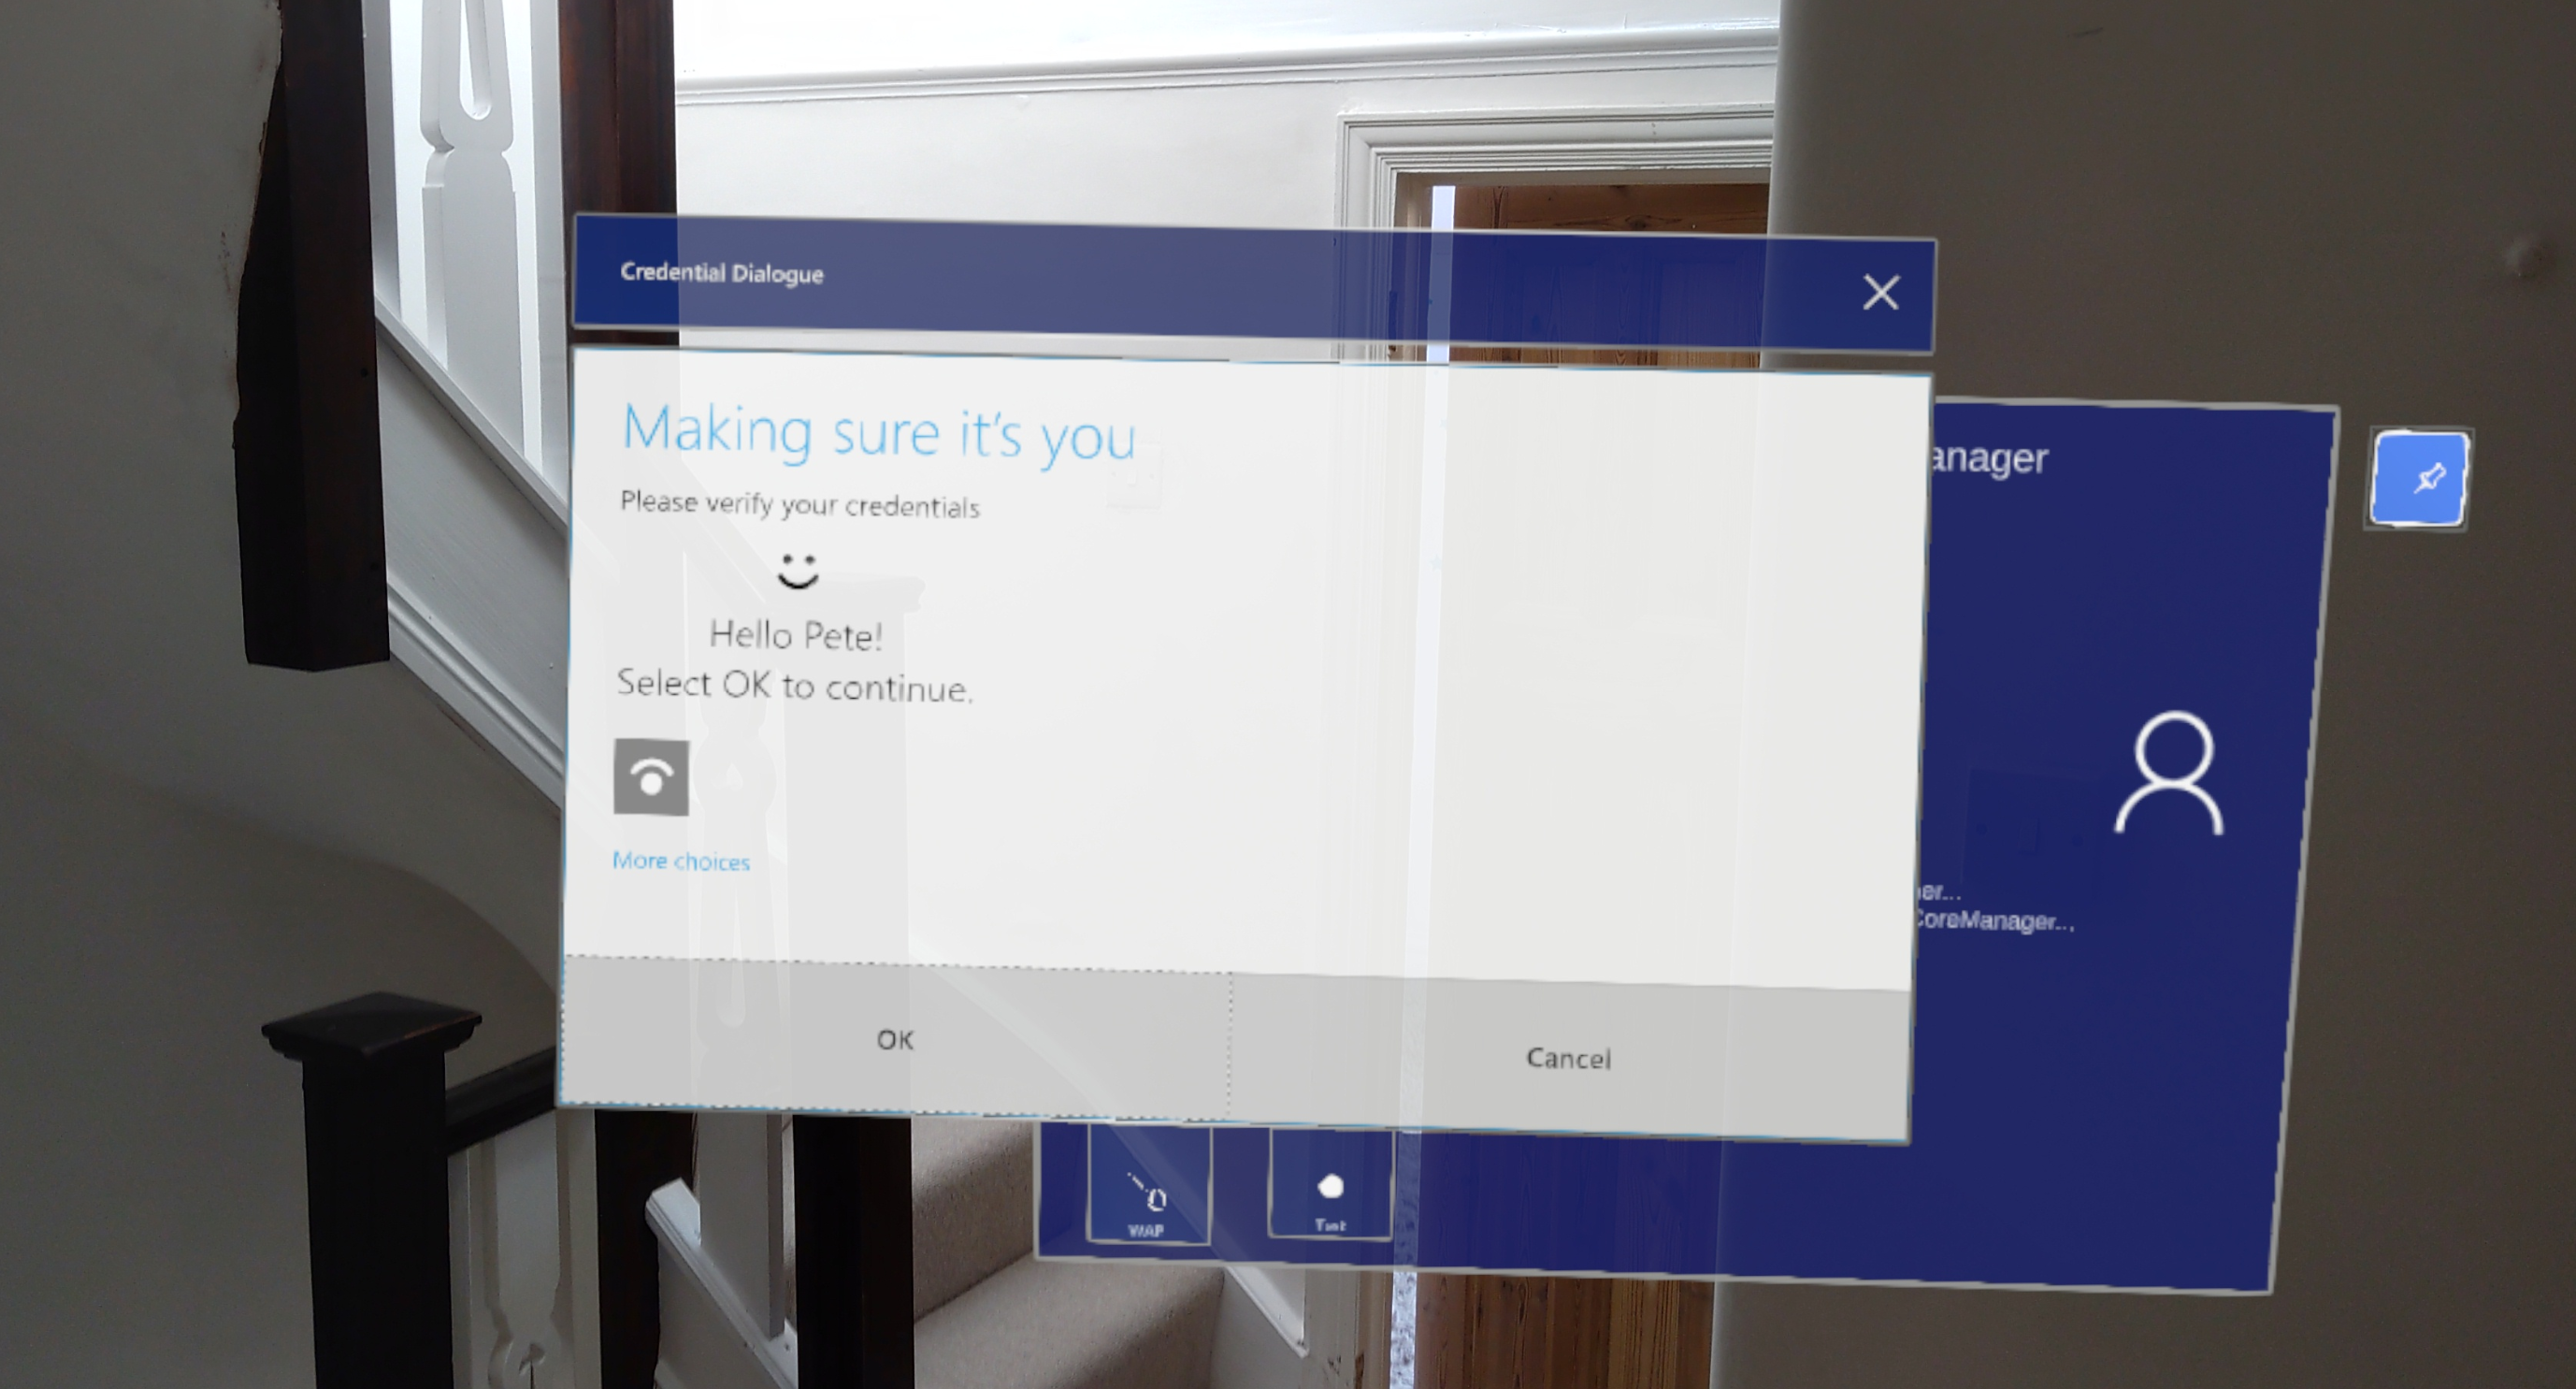
When this is selected and you sign in your iris will be re-scanned and you will see this dialog.
With the switch toggled to the 'off' position you go through a flow that acquires the currently logged in user's AAD token so you won't get a prompt to login. This way you can share a HL2 device amongst multiple people and ensure that if one user forgets to sign out they will not leak sensitive data. More information about setting up a device for multiple users can be found here.
Windows Account Provider
I have experimented here as I found a scenario where I wanted to switch between different known accounts but I couldn't get the account settings pane to show so haven't completed this part but may return to it later.
Microsoft Authentication Library
Aside from the built-in APIs this would be the next favourite method of gaining an AAD token and that would be the suggestion of the Microsoft Identity team. Plus it supports device code flow which is sometimes handy depending on your scenario. Also it allows you to continue to develop your app against real APIs from the Unity editor.
Active Directory Authentication Library
When we first try to use ADAL we get hit with the following error:
Error on deserializing read-only members in the class: No set method for property 'TenantDiscoveryEndpoint' in type 'Microsoft.IdentityModel.Clients.ActiveDirectory.InstanceDiscoveryResponse'.
This looks suspiciously like an IL2CPP code stripping issue. This occurs as byproduct of the optimisation used when the .NET binary is converted to C++. Unused code is stripped out in that process and sometimes code that isn't detected as reachable gets removed. Look out for code that is only referenced in a reflection scenario. See here for further details. The short answer is to add a link.xml stating which types to not strip.
You can see the link.xml for the app here
Although ADAL is not the recommended way forward for legacy and cross-platform reasons you may need to use it and so I have included it in my sample.
If you are using ADAL but would like to migrate to MSAL then the differences are distilled in this guide.
Web Authentication Broker
WebAuthenticationBroker is a broker component that manages the http redirects retrieving the resulting AAD token that would usually be managed by a browser for a web application. As a result there is a bit more work to do to construct the original url than the other libraries.
Settings
The settings for auth are stored in a json file in the Assets folder
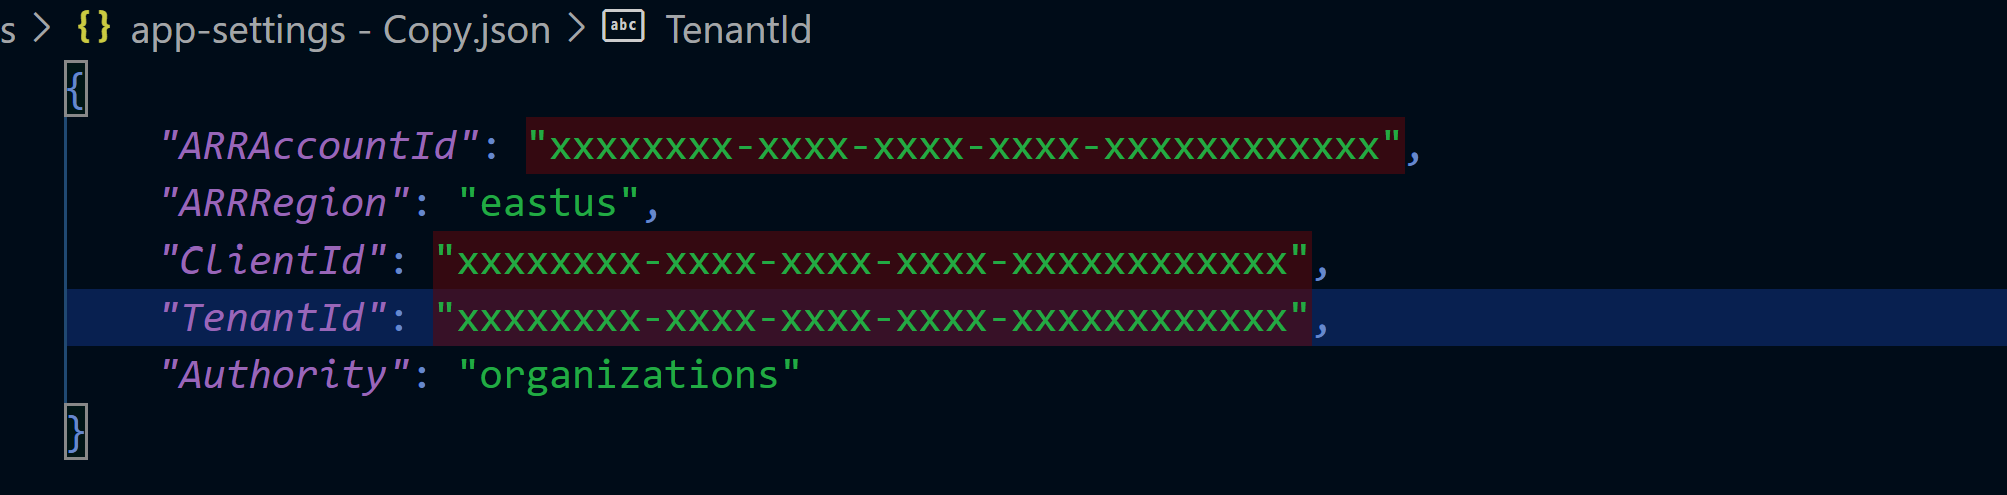
So edit this file with your own settings and rename it to app-settings.json and the sample code will pick it up.
Configure the Backend
It is worth scanning the docs here and although we can see from those docs that you can login to your HL2 with a local account or an MSA things get more interesting when we consider Azure Active Directory because at the time of writing it is possible to have 64 AAD user accounts with the following options:
- Azure web credential provider
- Azure Authenticator App
- Biometric (Iris) – HoloLens 2 only
- PIN – Optional for HoloLens (1st gen)required for HoloLens 2
- Password
Of most interest to me being iris login with multiple accounts.
Just getting an OAuth token and displaying it isn't too interesting as really the aim in a real app would most-likely be to access a custom API or some other Azure resource. So, to show that things are working as expected we'll take the AAD token and exchange it for and access token for Azure Mixed Reality services. We'll use that access token to make a call to the Azure Remote Rendering Service to enumerate rendering sessions just to check that the call succeeds. This access token could be used to access any MR services, e.g. Azure Spatial Anchors, that the logged in user has access to. We'll look into how to configure the application and also provide access to a particular user next.
Test
I added a button to run the test which calls the ARR service and shows the results of whether the call succeeded or not.
After getting an AAD token you can press the button which will exchange the AAD token for an MR access token using the Mixed Reality Secure Token Service (STS). This access token will subsequently be in a call to the ARR service. The test UI will show green if the http status is successful and red otherwise.
Register the App
I've covered this a few times on my blog so will just include the basic steps here:
In the Azure portal if you don't have an AAD set up there is a quickstart here to help get you up and running. Once created you can register a new application:
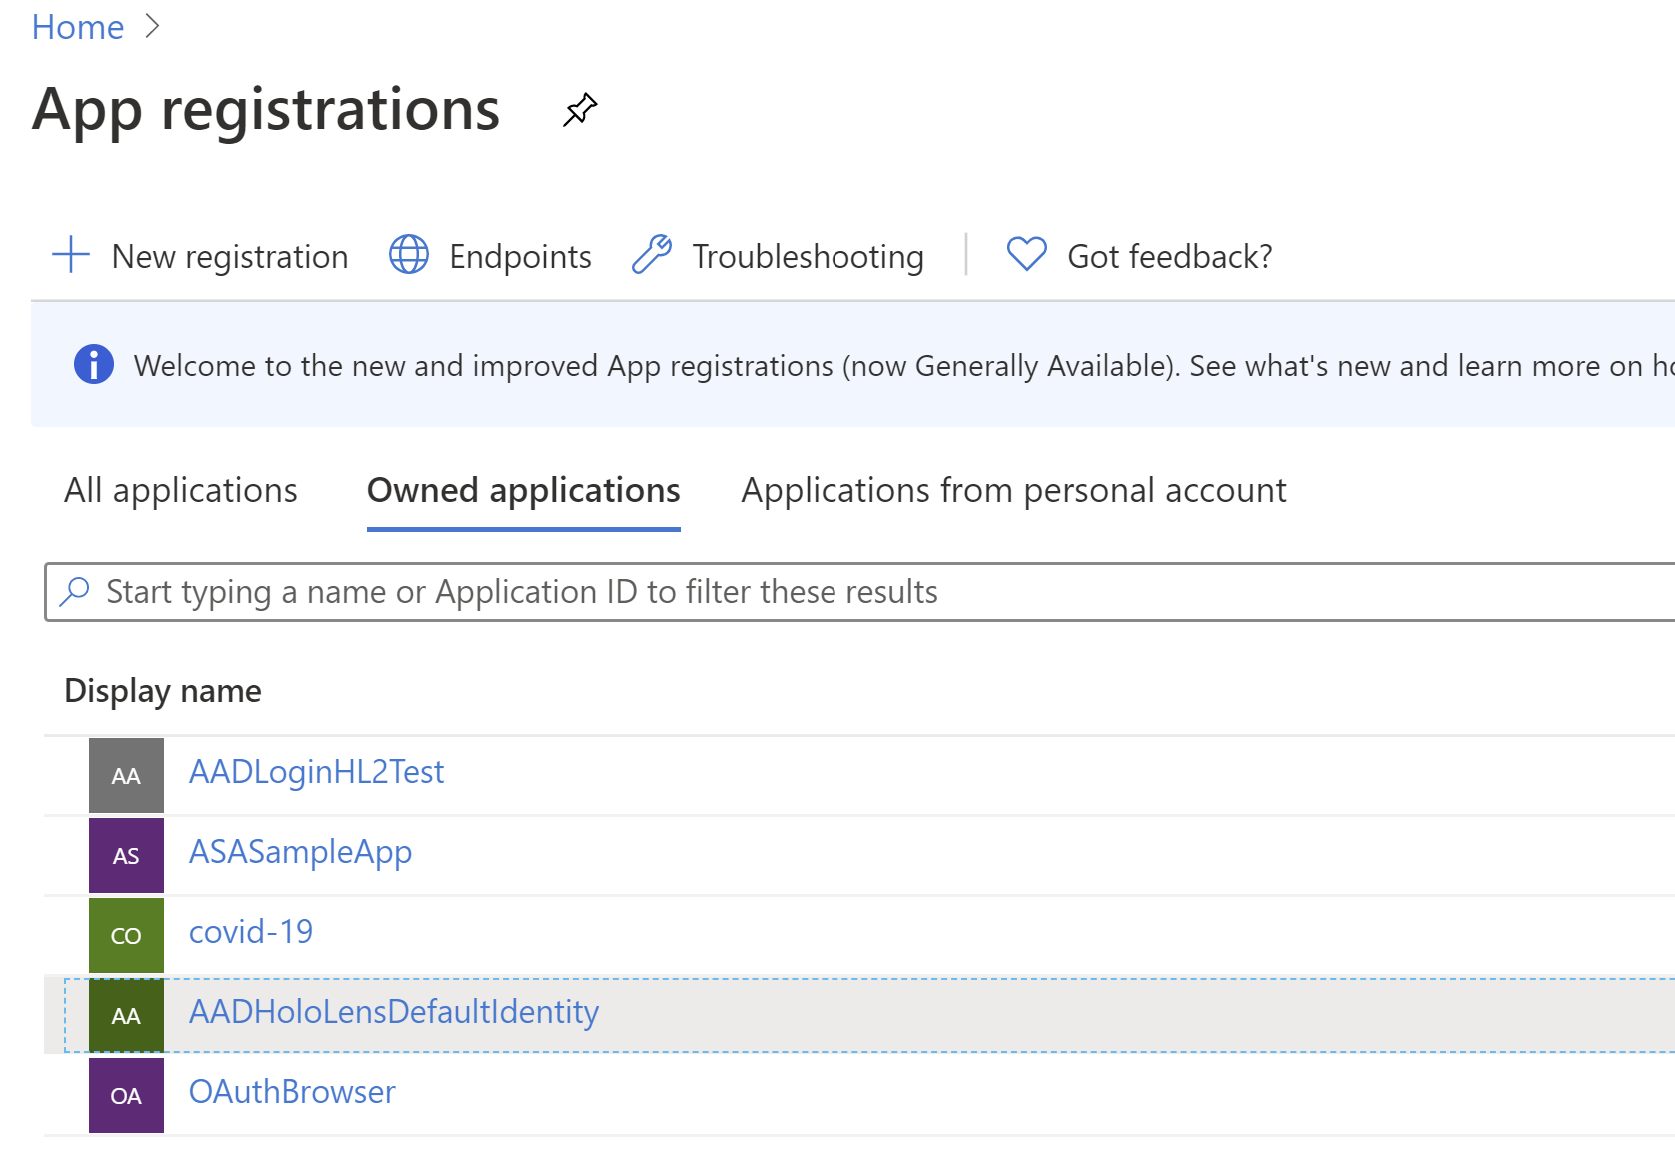
Select 'New Registration' and just name it without worrying about the other settings. You will be shown a page which has settings that you will need for the app-settings.json file we mentioned above (maybe fill those now). The other important thing is to register a redirect uri for your app.
Redirect URI
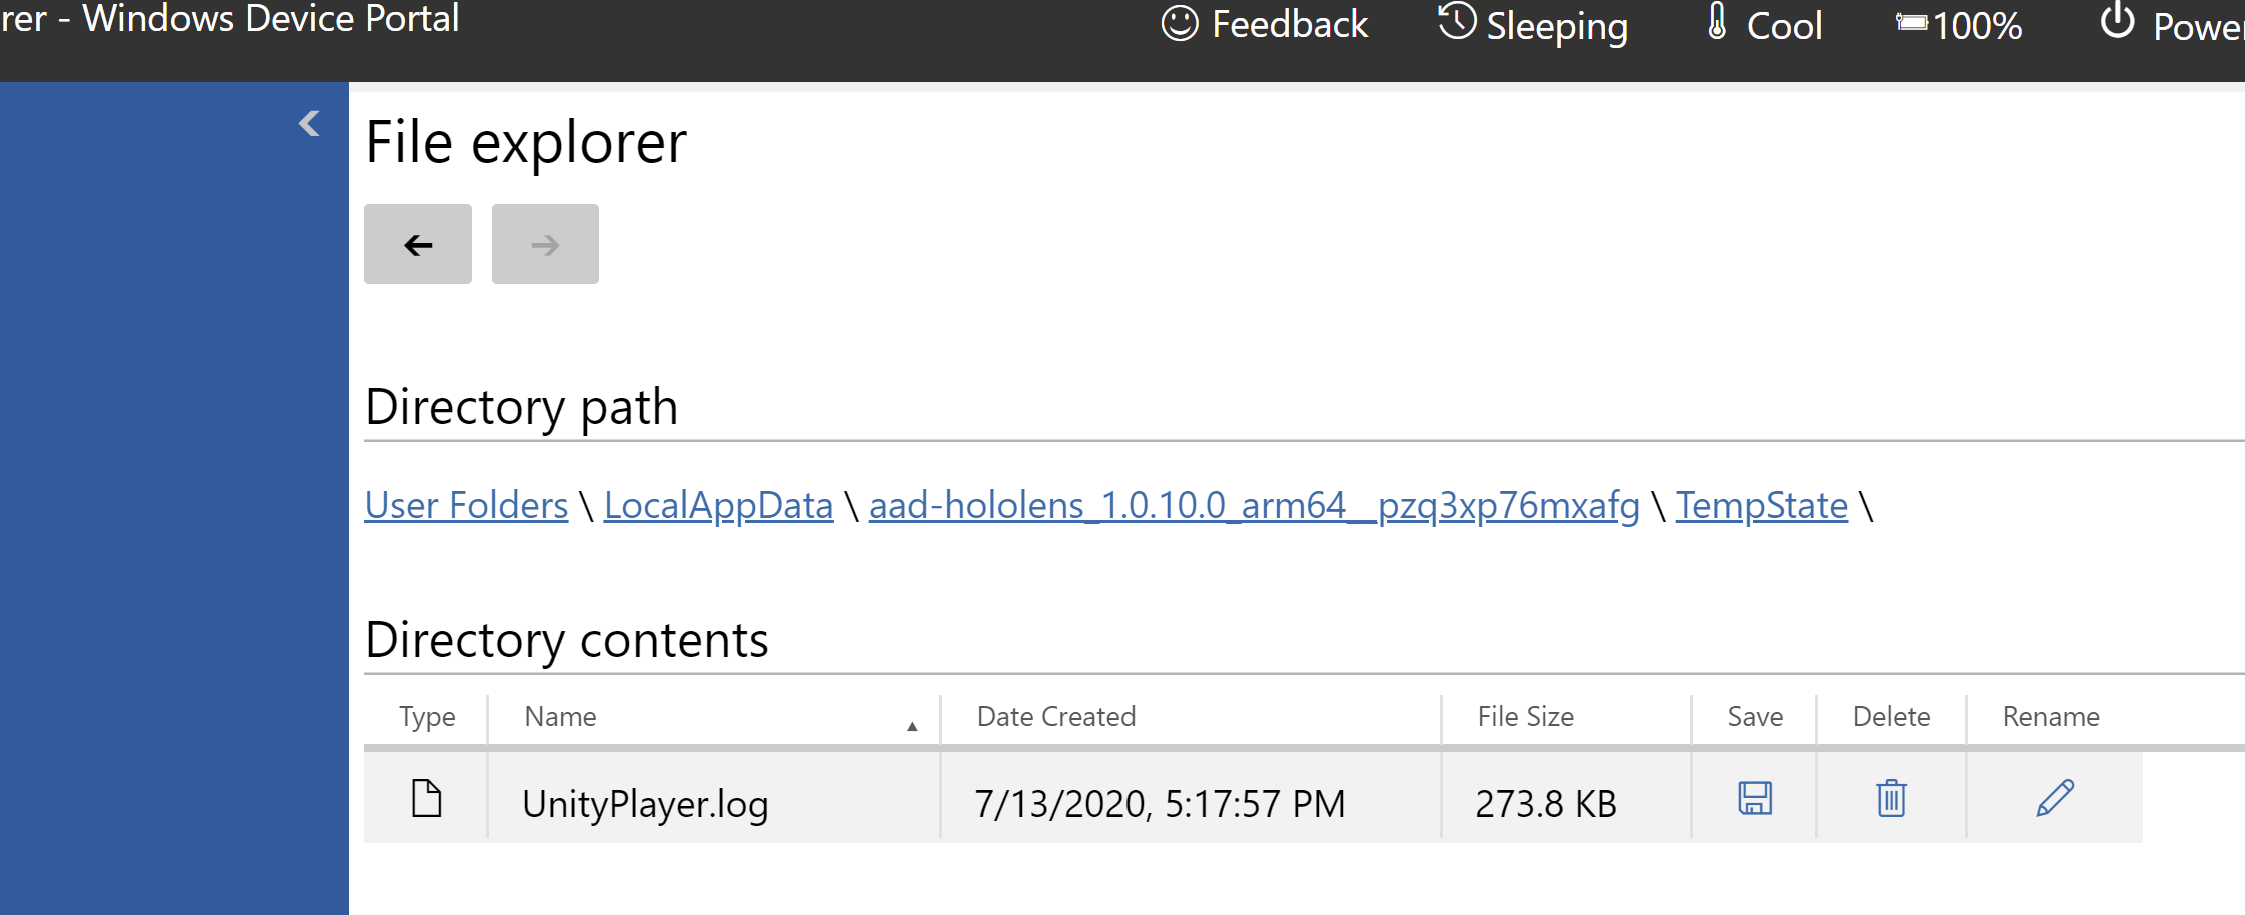
The easiest way to discover the redirect URI for the sample app is to run it and the app will write the uri to th unity log.
Note, that the running instance of your app needs to be terminated before the log is flushed. You can terminate the app and download the unity log using the HoloLens device portal.
This code:
string URI = string.Format("ms-appx-web://Microsoft.AAD.BrokerPlugIn/{0}", WebAuthenticationBroker.GetCurrentApplicationCallbackUri().Host.ToUpper());
Logger.Log("Redirect URI: " + URI);
will log out a redirect URI for a UWP app.
If I have this right the ADAL implementation required a slightly different format so I registered both:
string URI = string.Format("ms-app://{0}", WebAuthenticationBroker.GetCurrentApplicationCallbackUri().Host.ToUpper());
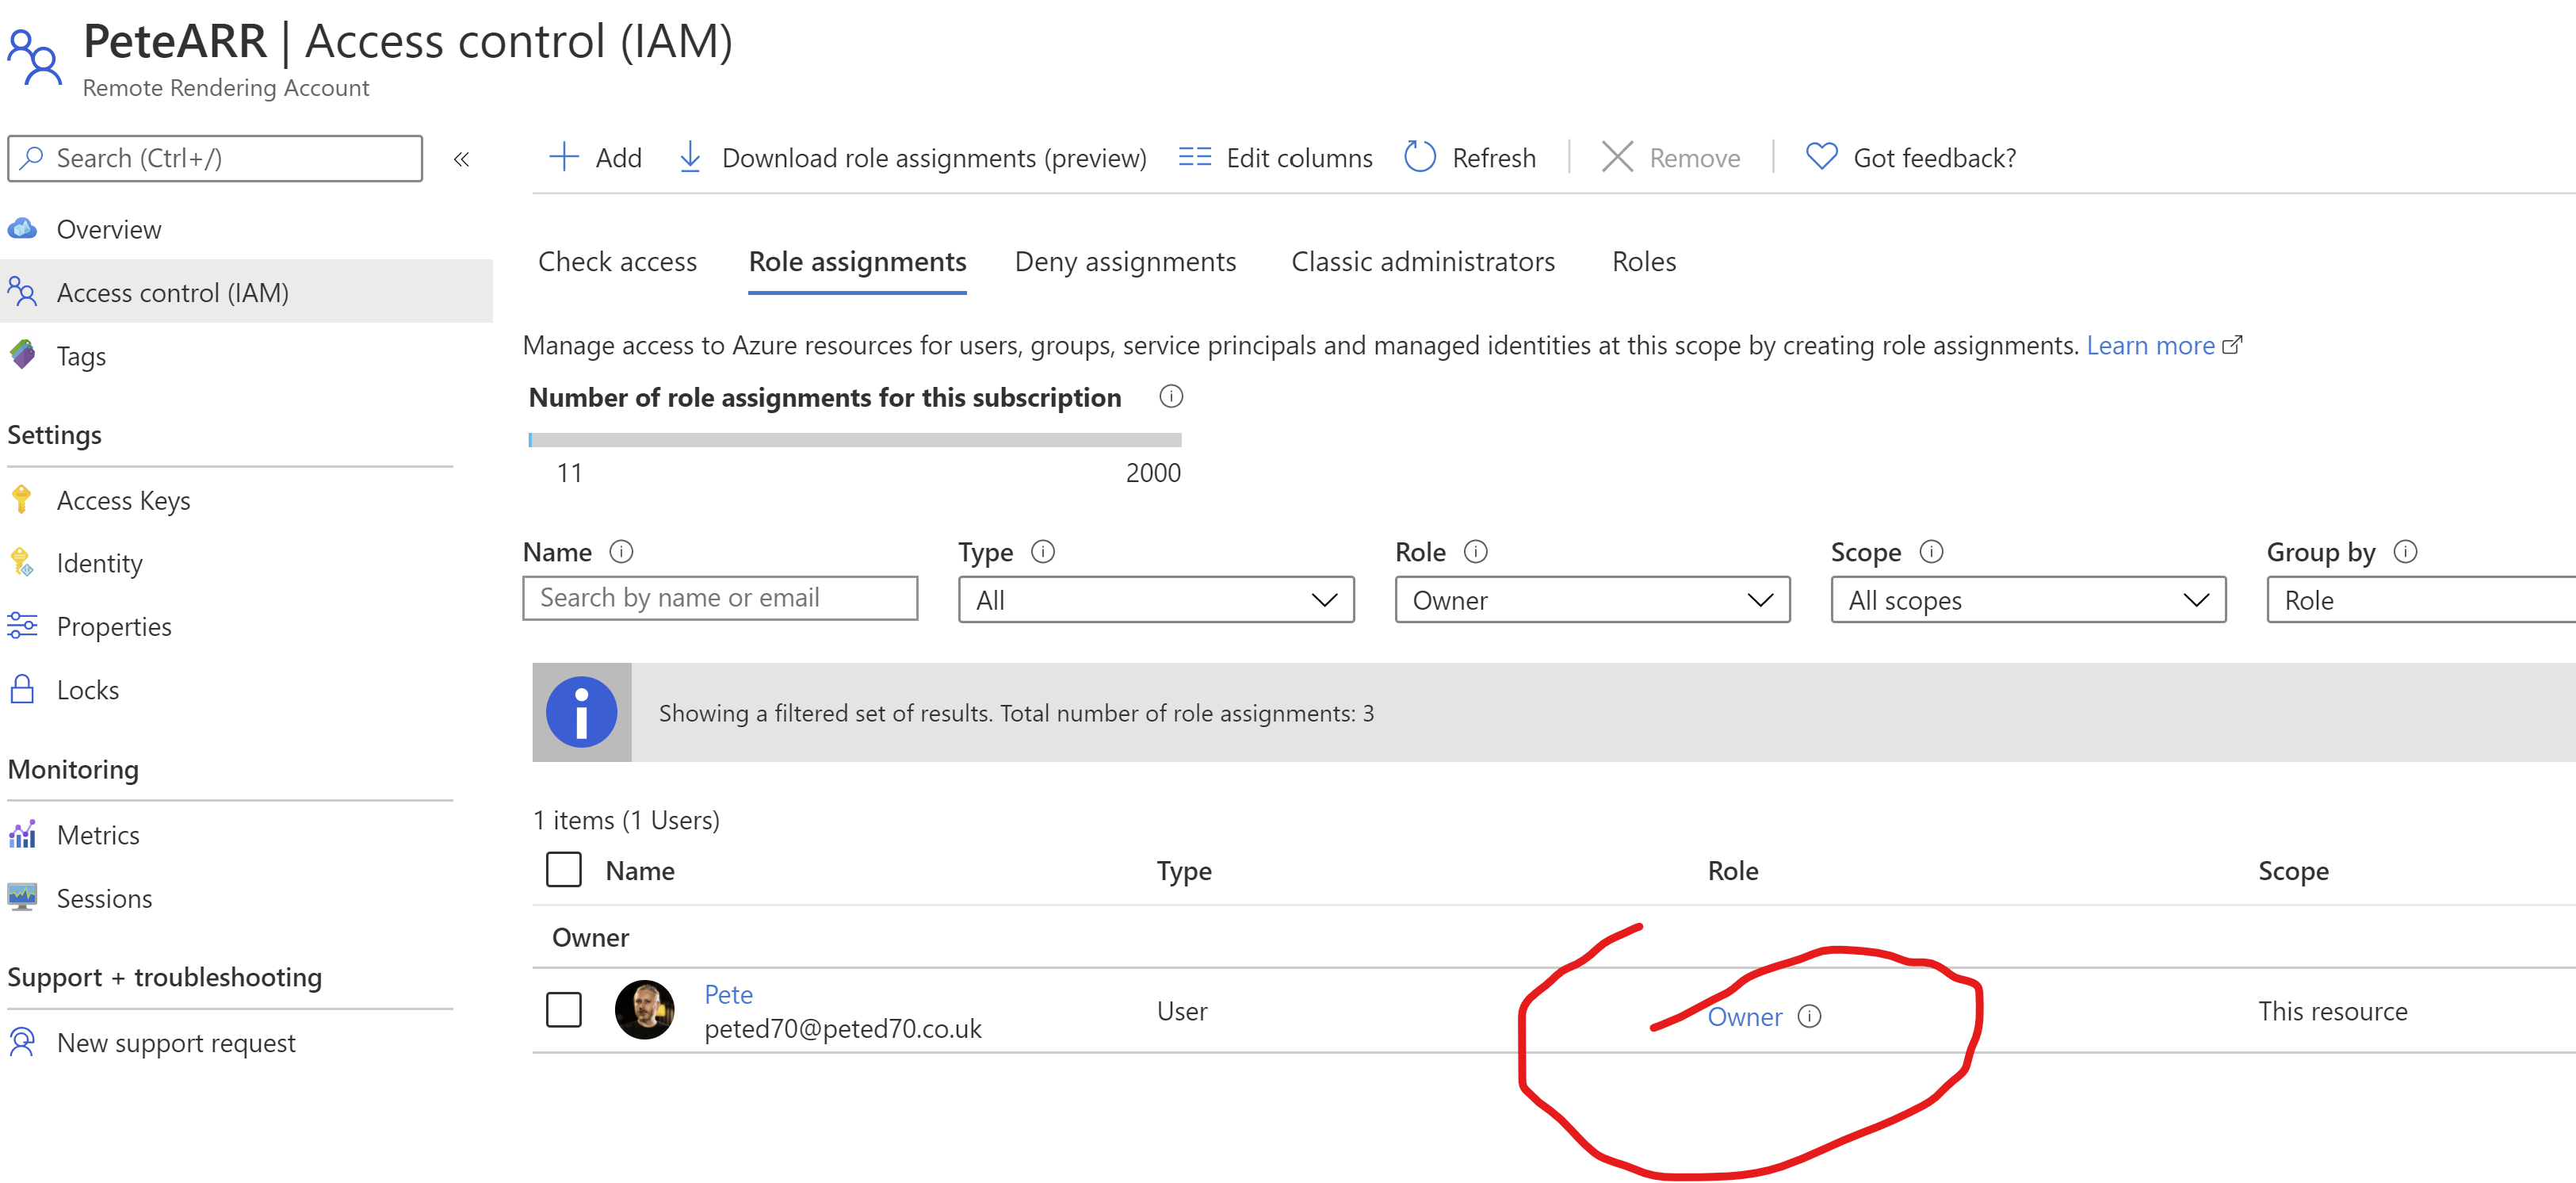
Logger.Log("Redirect URI: " + URI);To configure access for a user navigate to the Mixed Reality service you want to grant access to

More info here along with instructions on how to set up an Azure Remote Rendering account. I've set up my test user as an owner.
Along with this I also need to give my app the necessary API permissions to access the Mixed Reality services. I can navigate to my app registration page on the Azure portal.
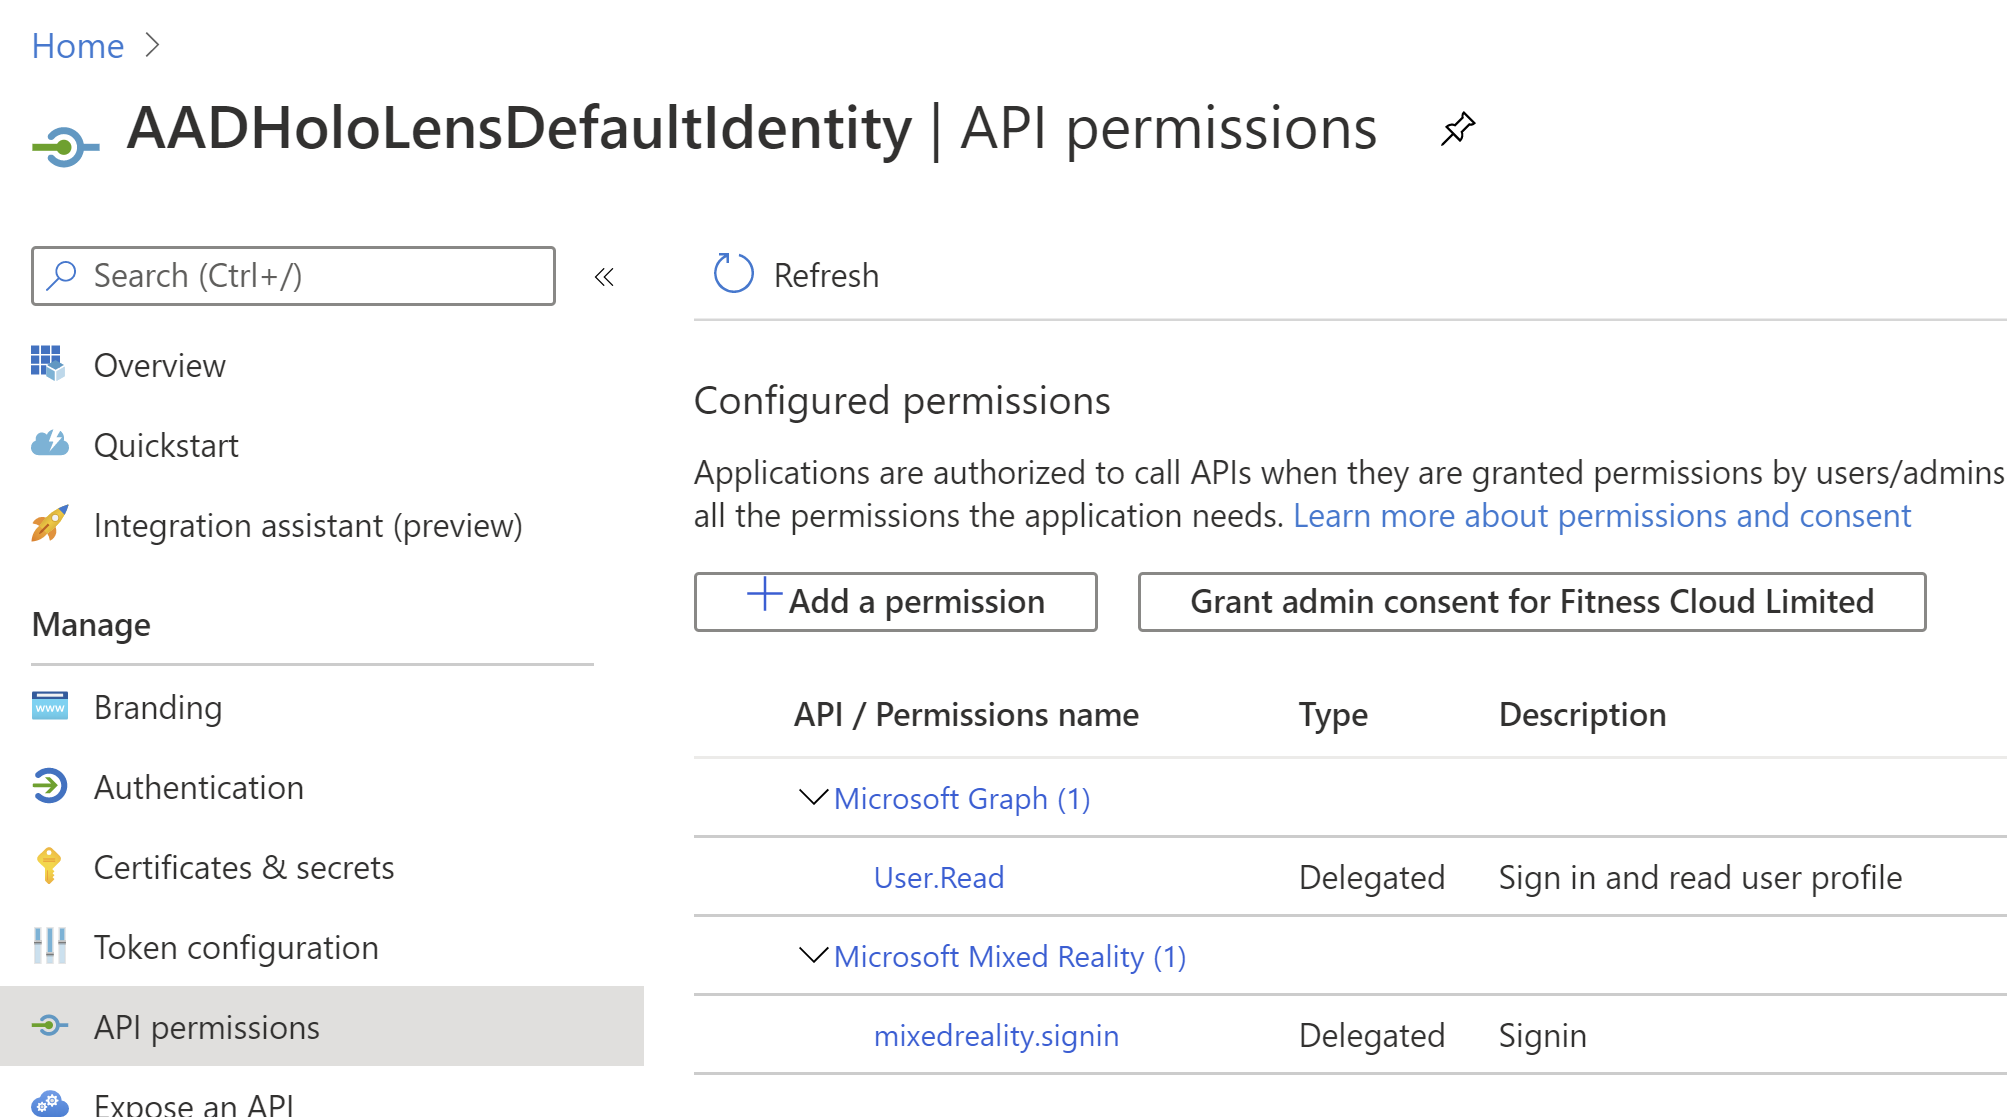
and I can request a permission by searching for Microsoft Mixed...
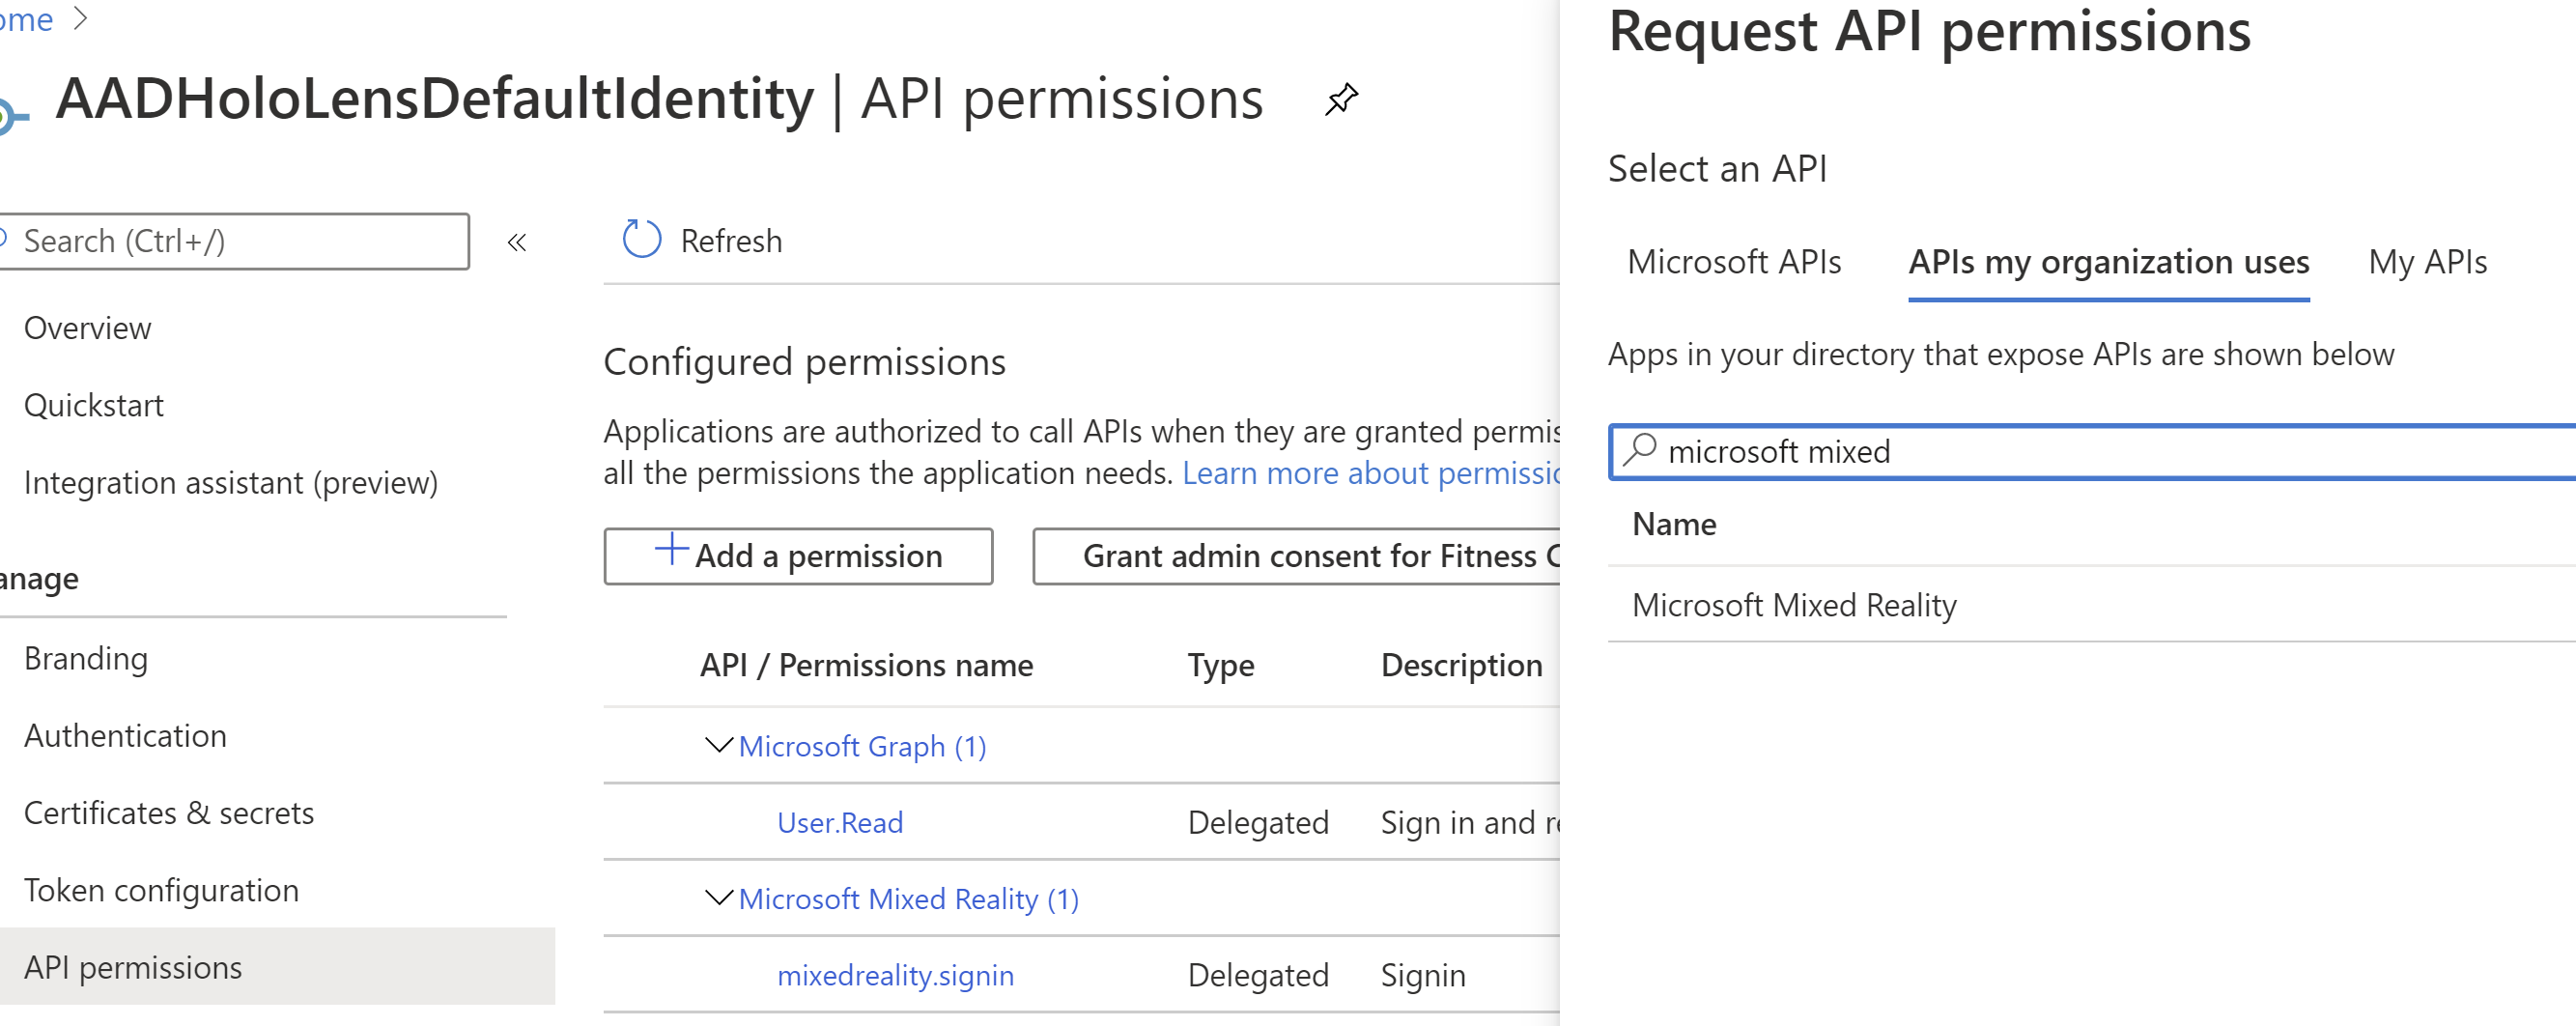
Selecting that and choosing 'Delegated Permission'...
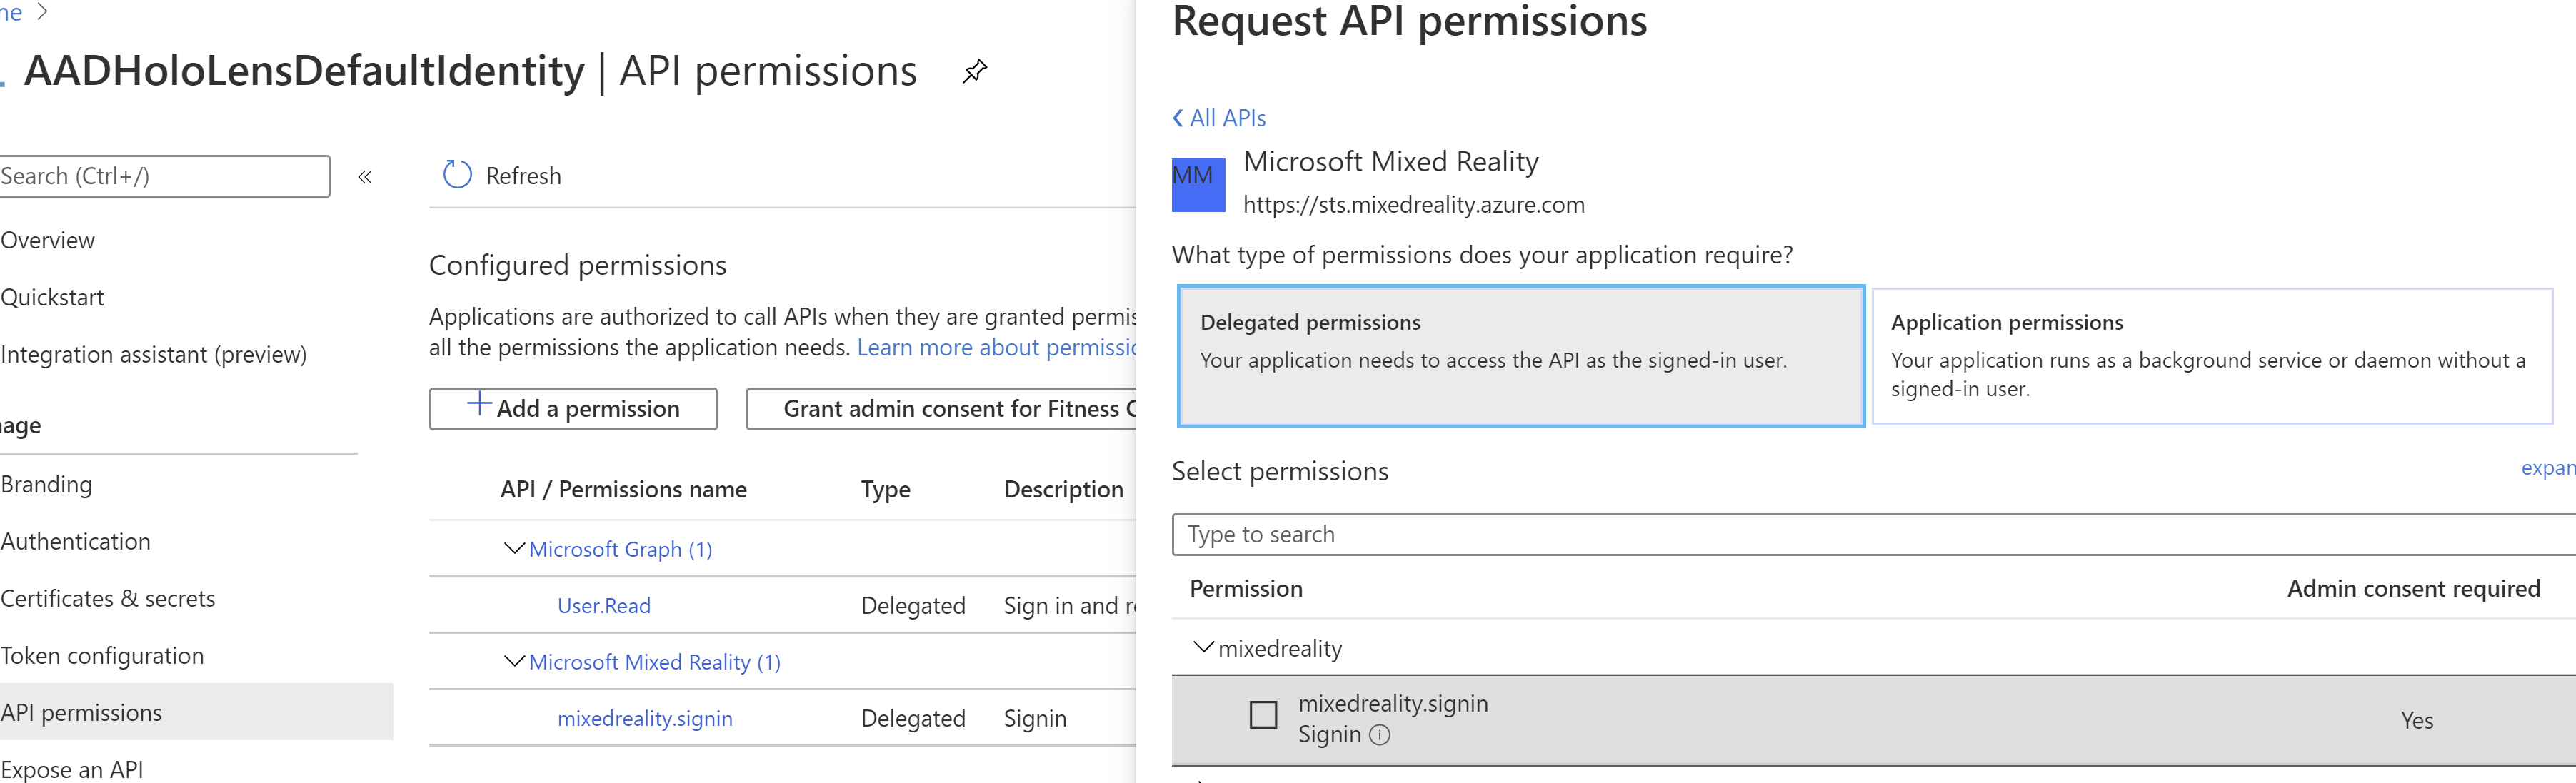
and choose mixedreality.signin permission.
This will also be the scope that you will request for your AAD token.
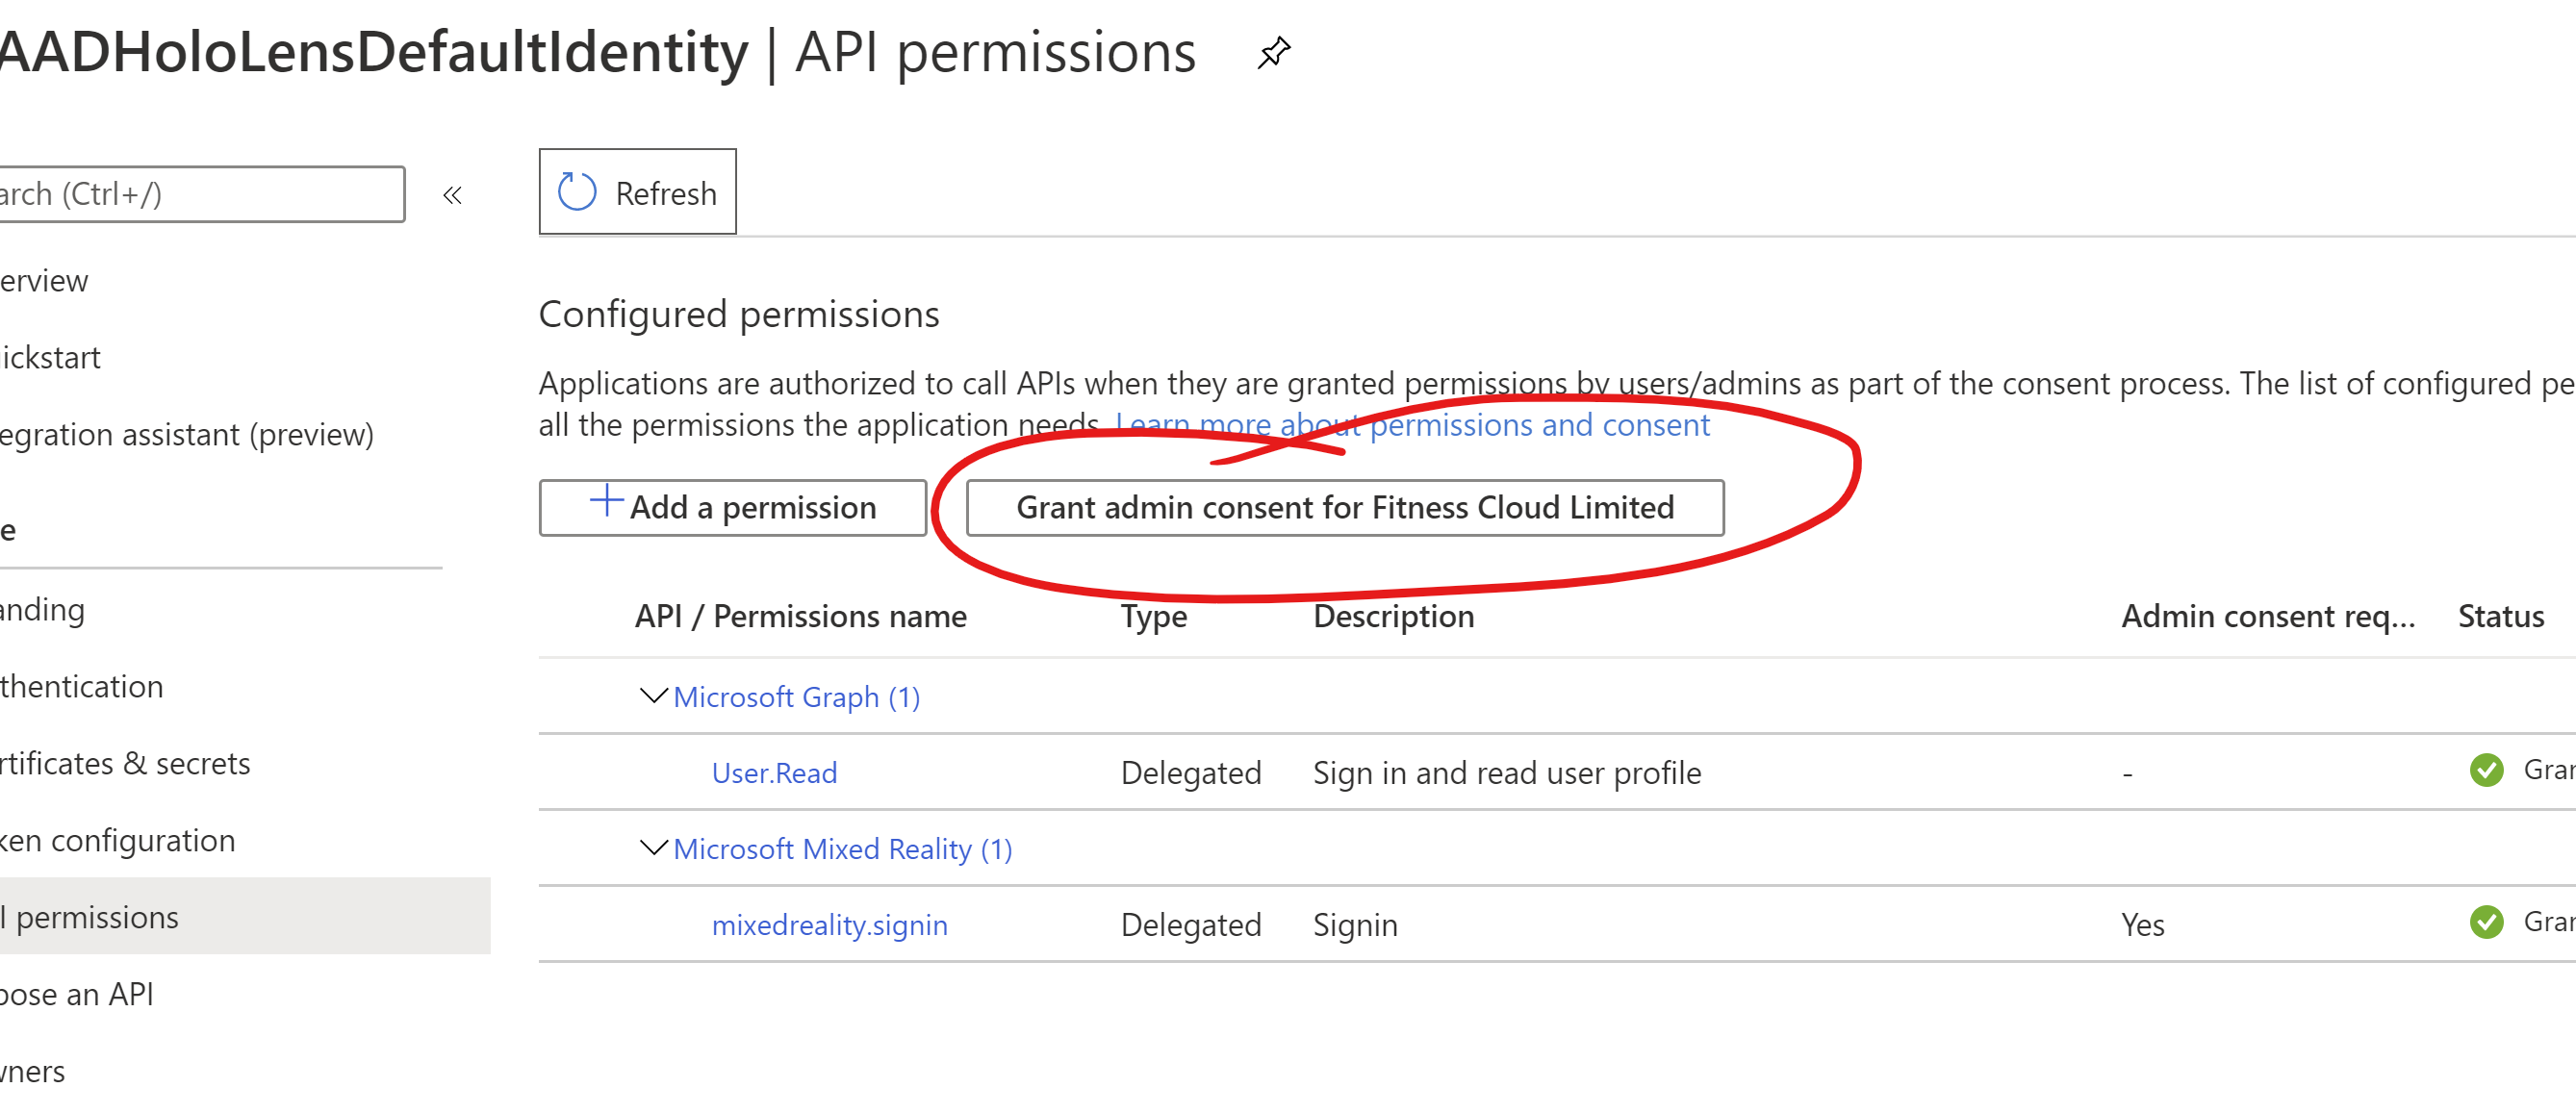
And finally I granted access to my tenant:
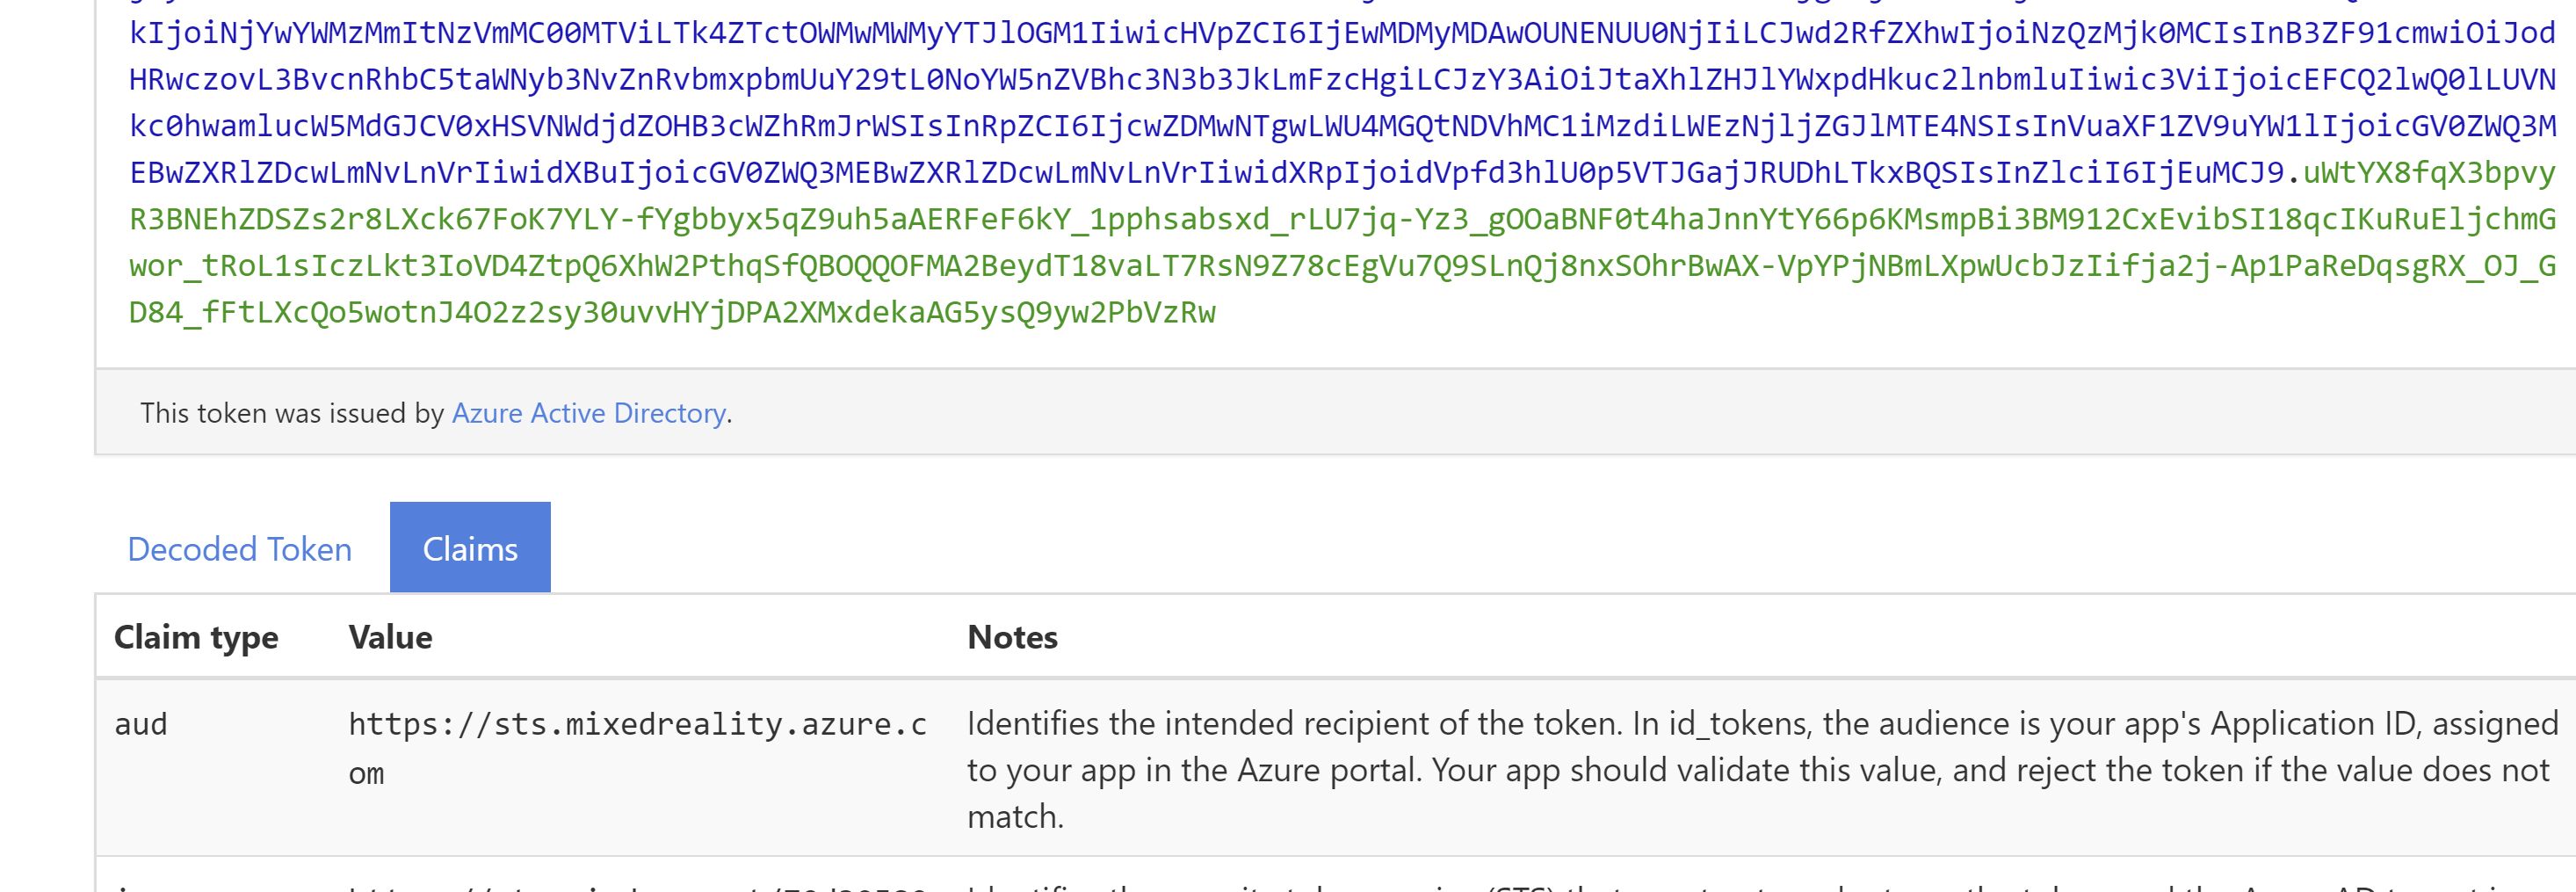
Diagnosing Token Issues
If at some point you get stuck on some AAD error then having an understanding of the OAuth flow that you are using is vital and you can also use https://jwt.ms/ to paste in a token and have a look at it's contents/claims to ensure they match with what you are expecting.


Comments